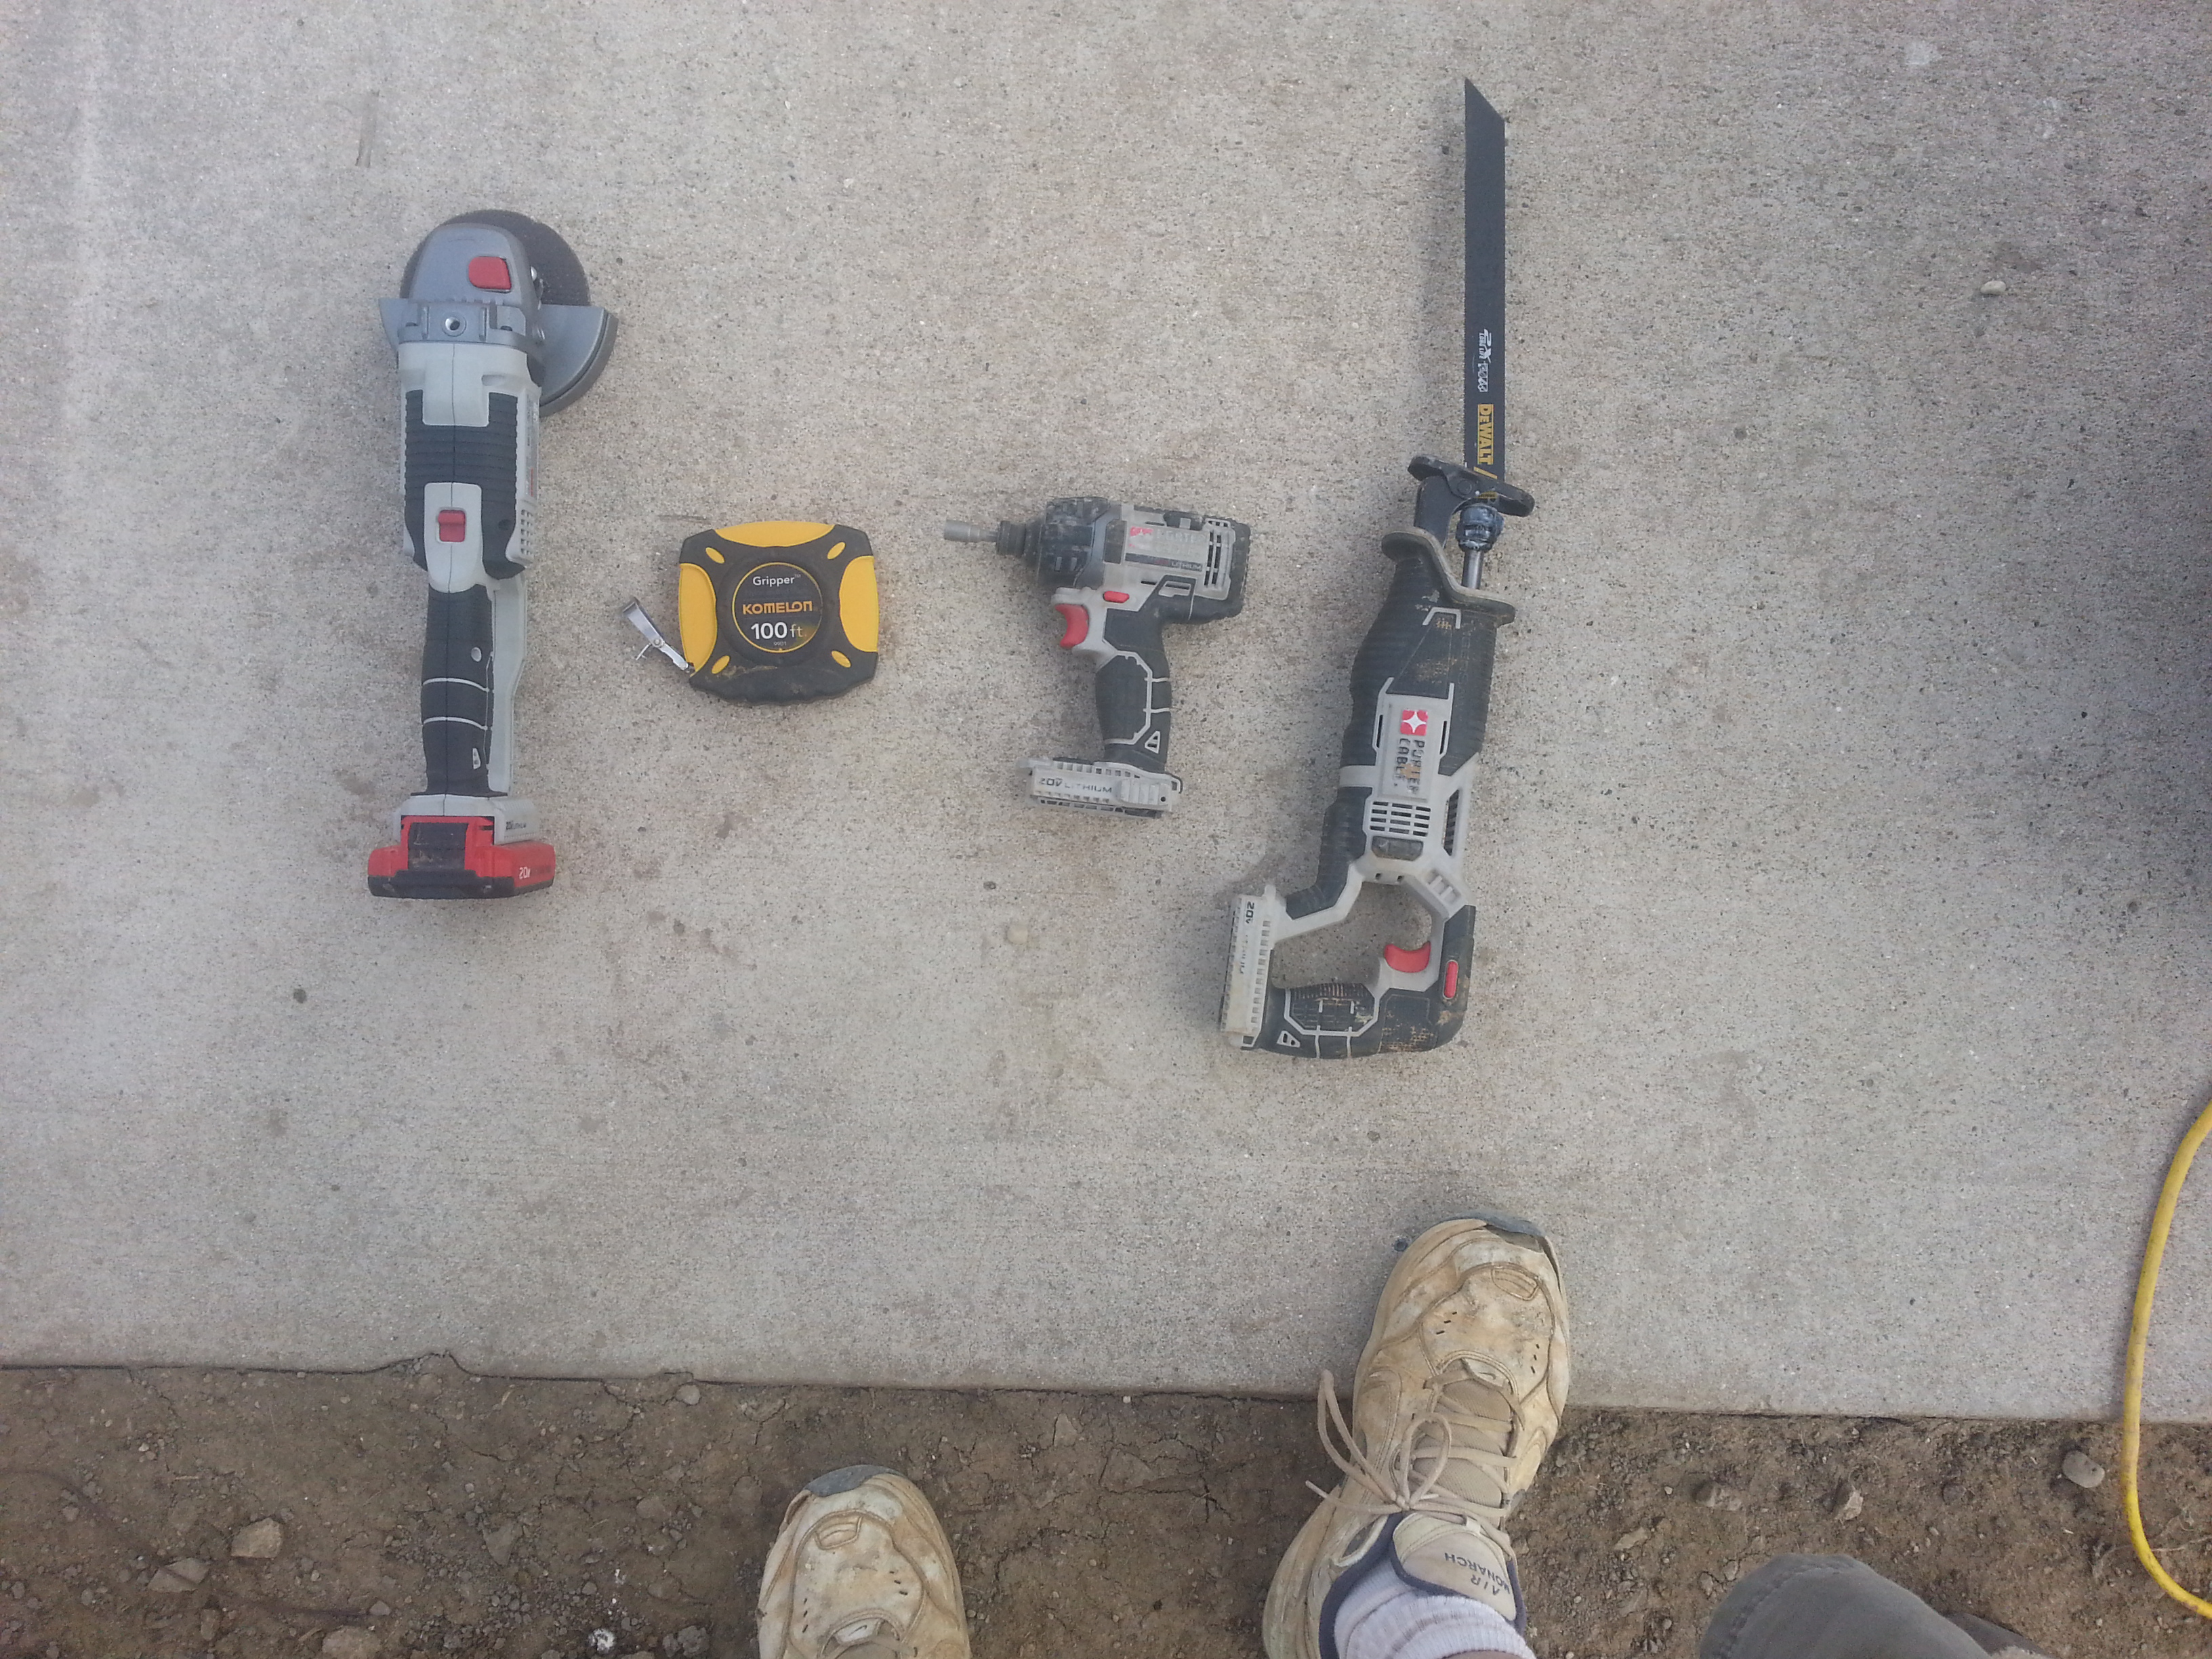
These are the basic tools you will need to set up the greenhouse. You will also need a hammer or a small sledge hammer to pound in the anchors and to adjust any steel that may be crimped slightly.
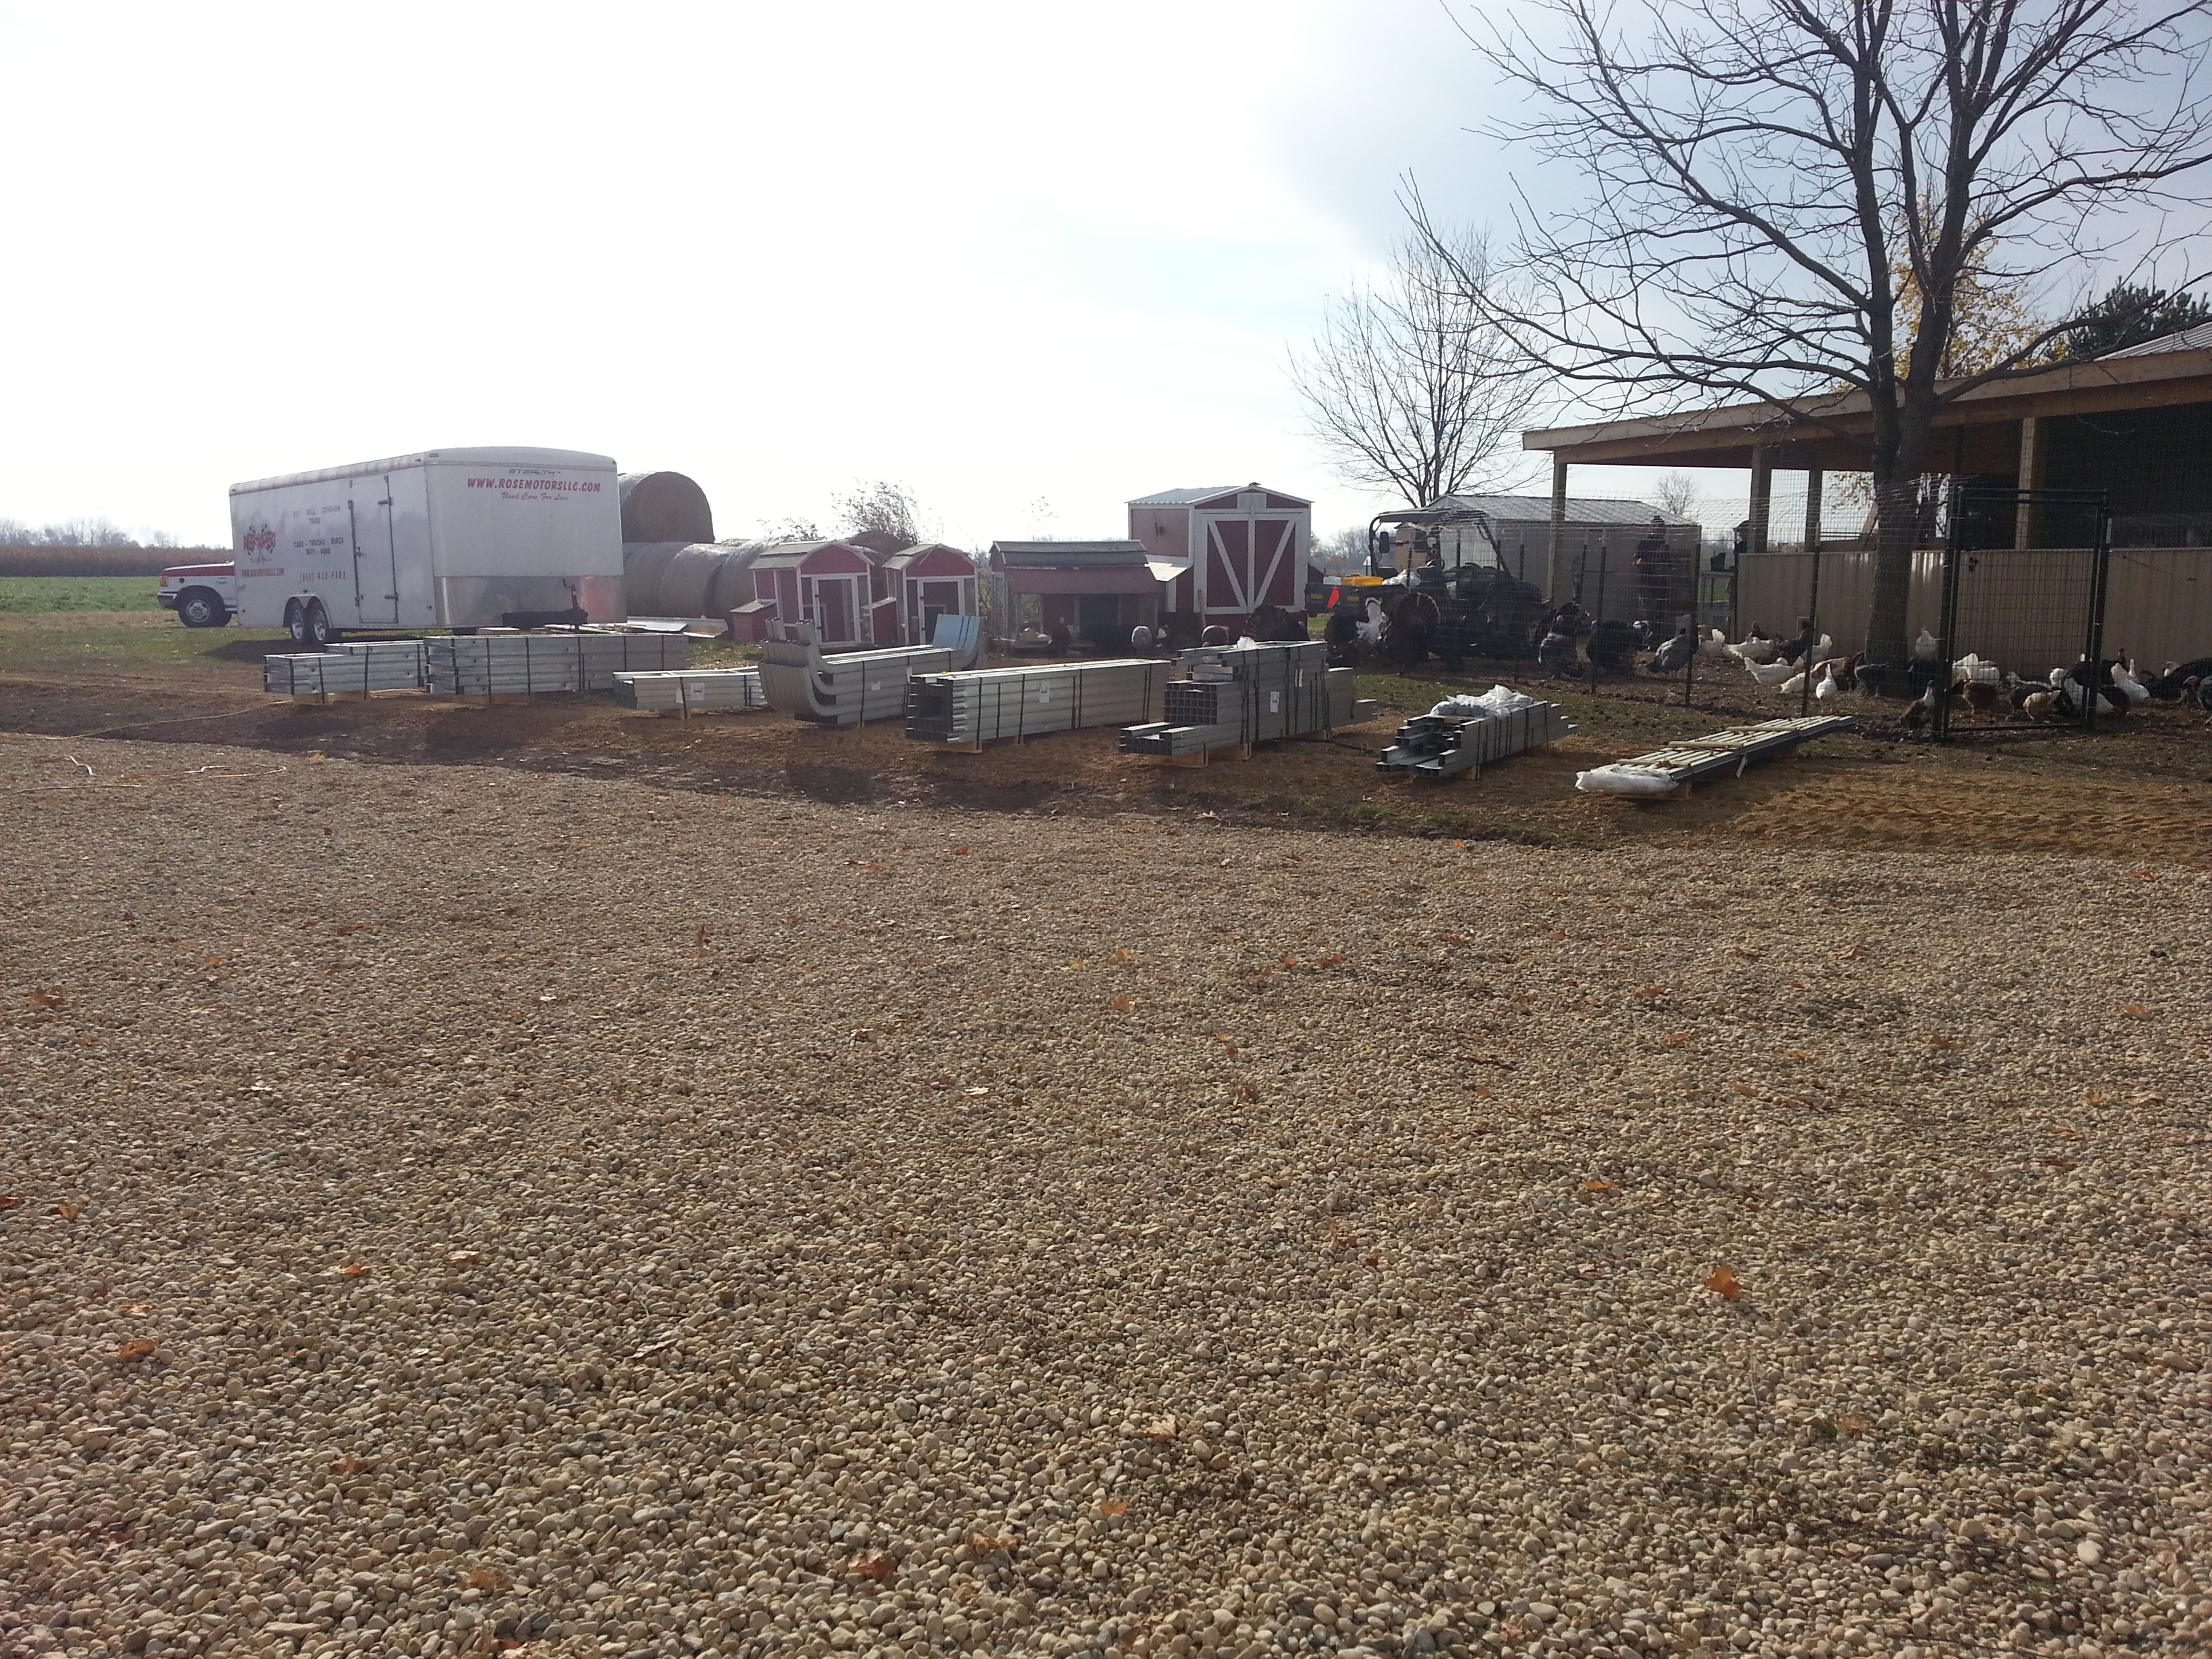
This is how your frame will arrive. In most cases 2-3 pallets will be what arrives. This is a huge 24' x 80' model and it arrived on 8 pallets.
These are the pallet of 7' legs.
The newer pallets we are shipping out now have strait legs and the corners are not attached to allow for lower shipping costs.
This is the pallet of roof peaks. The tops of the arches.
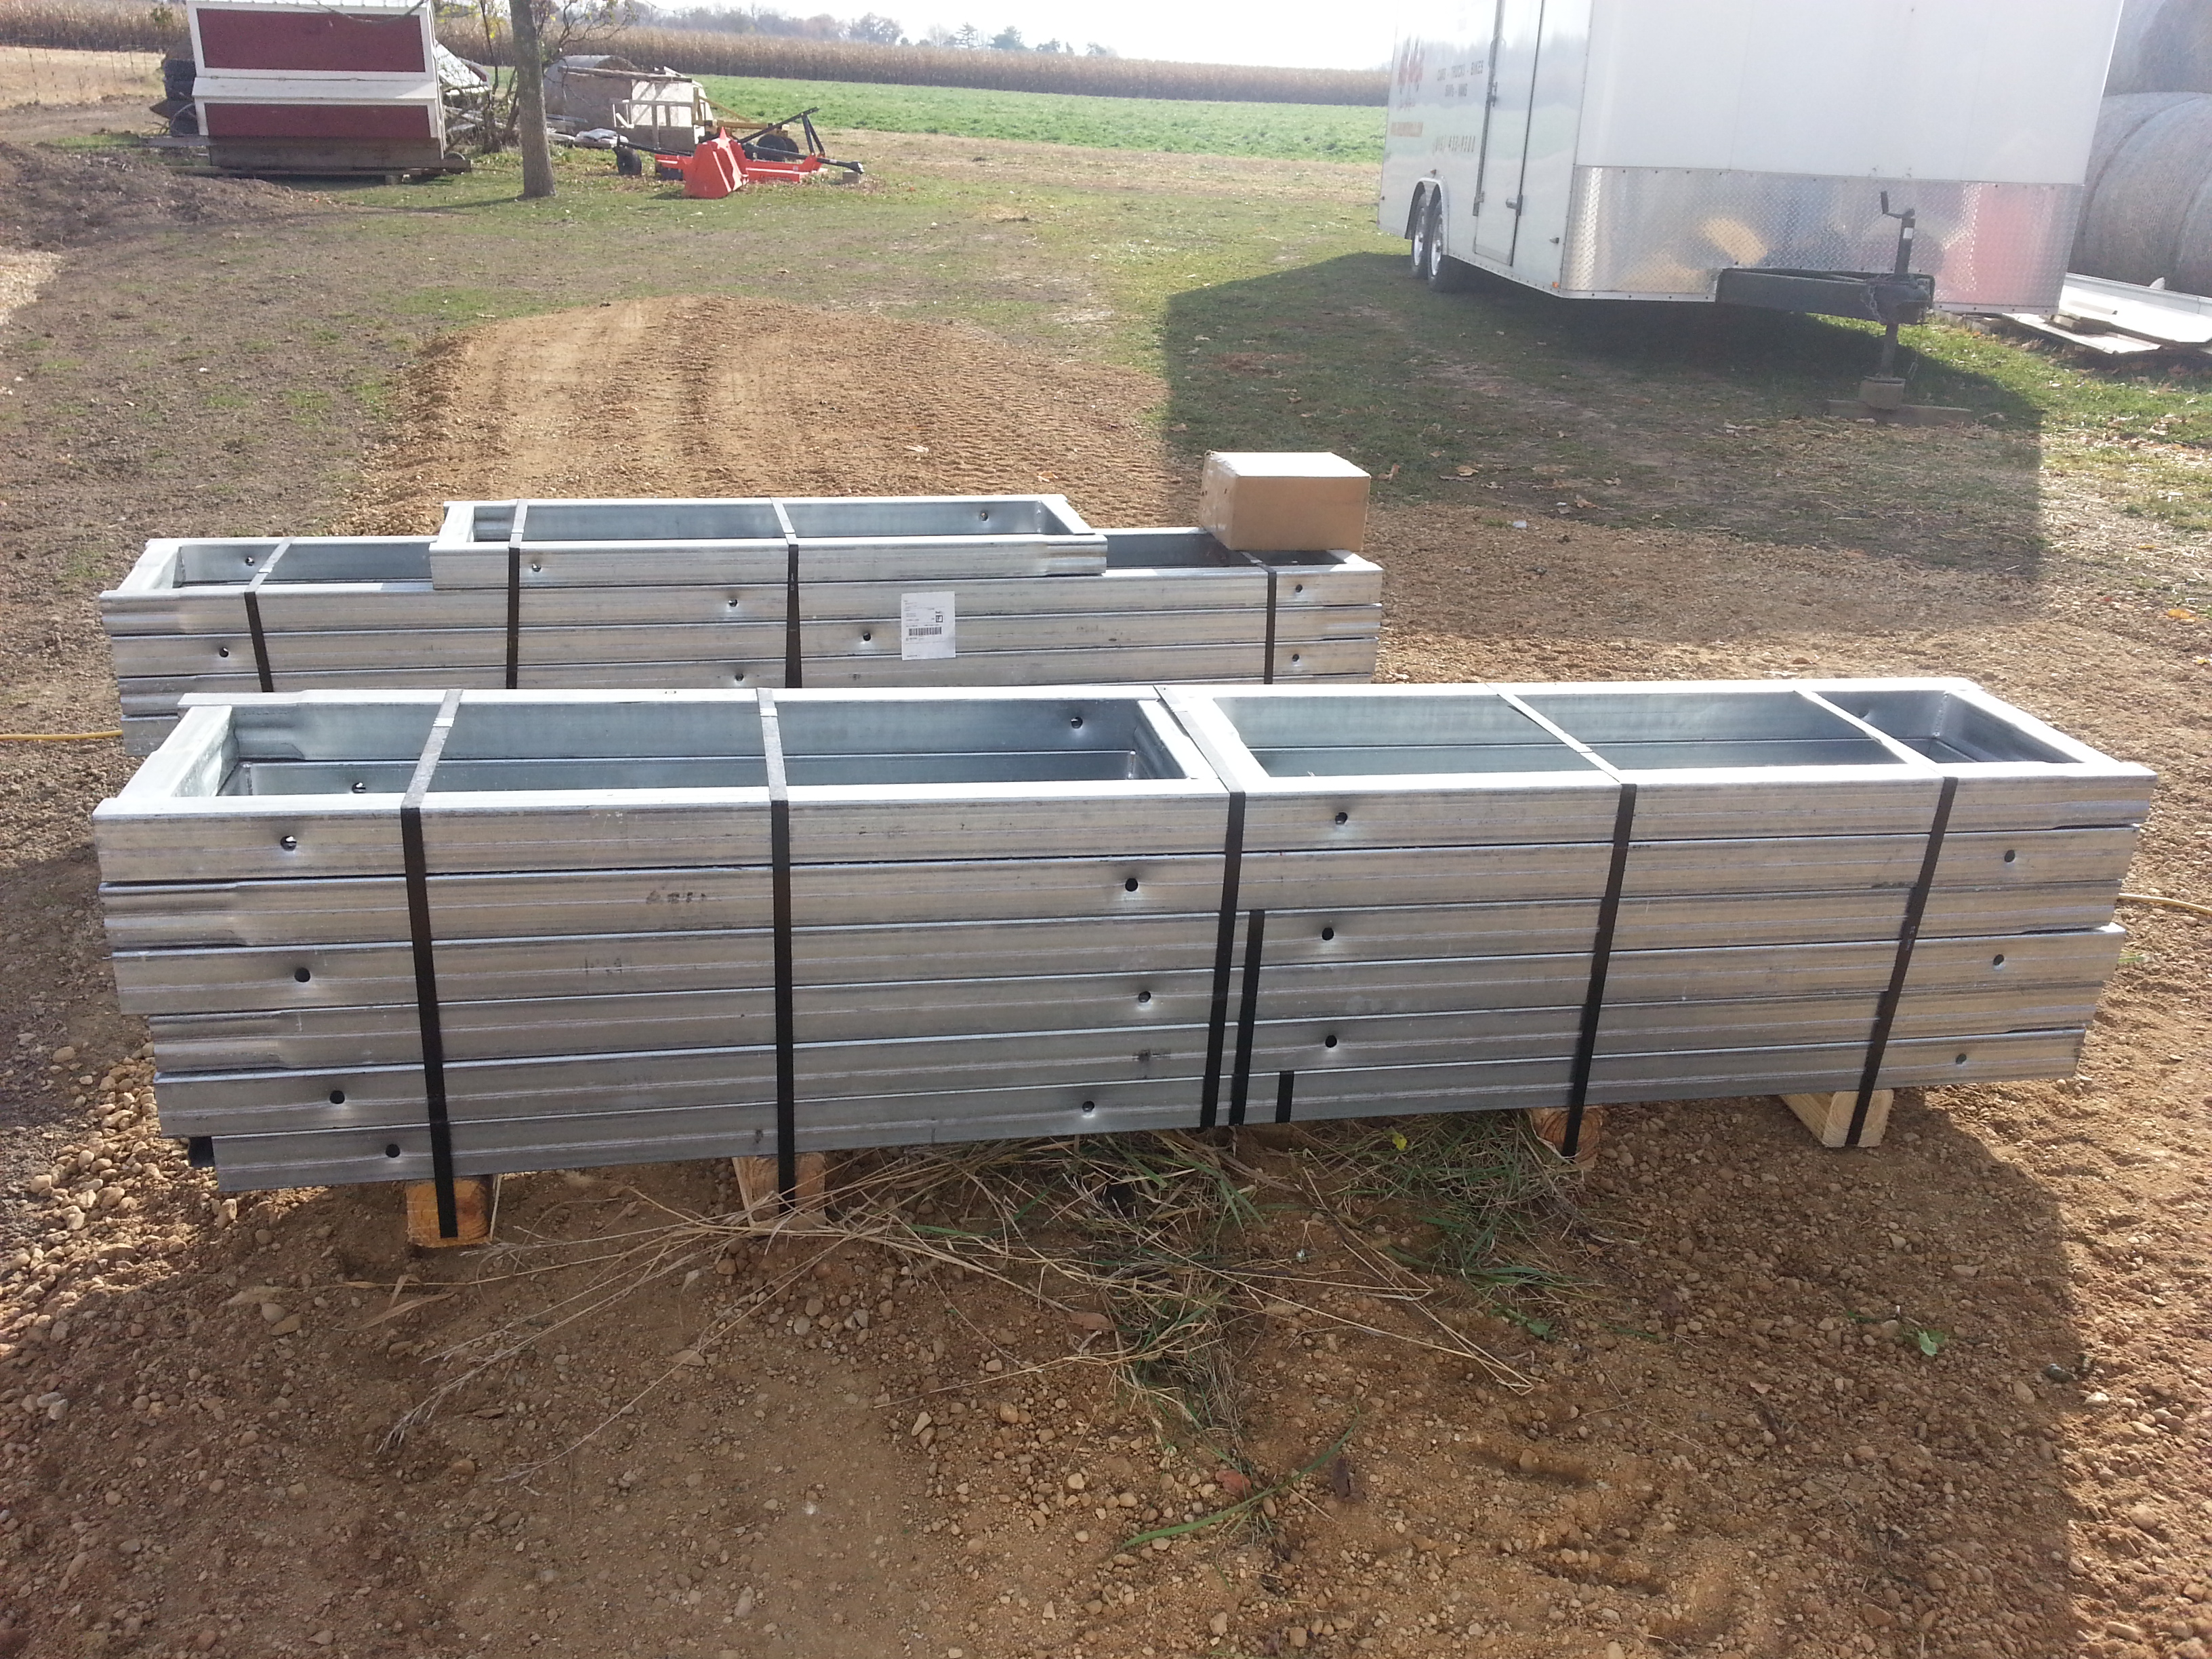
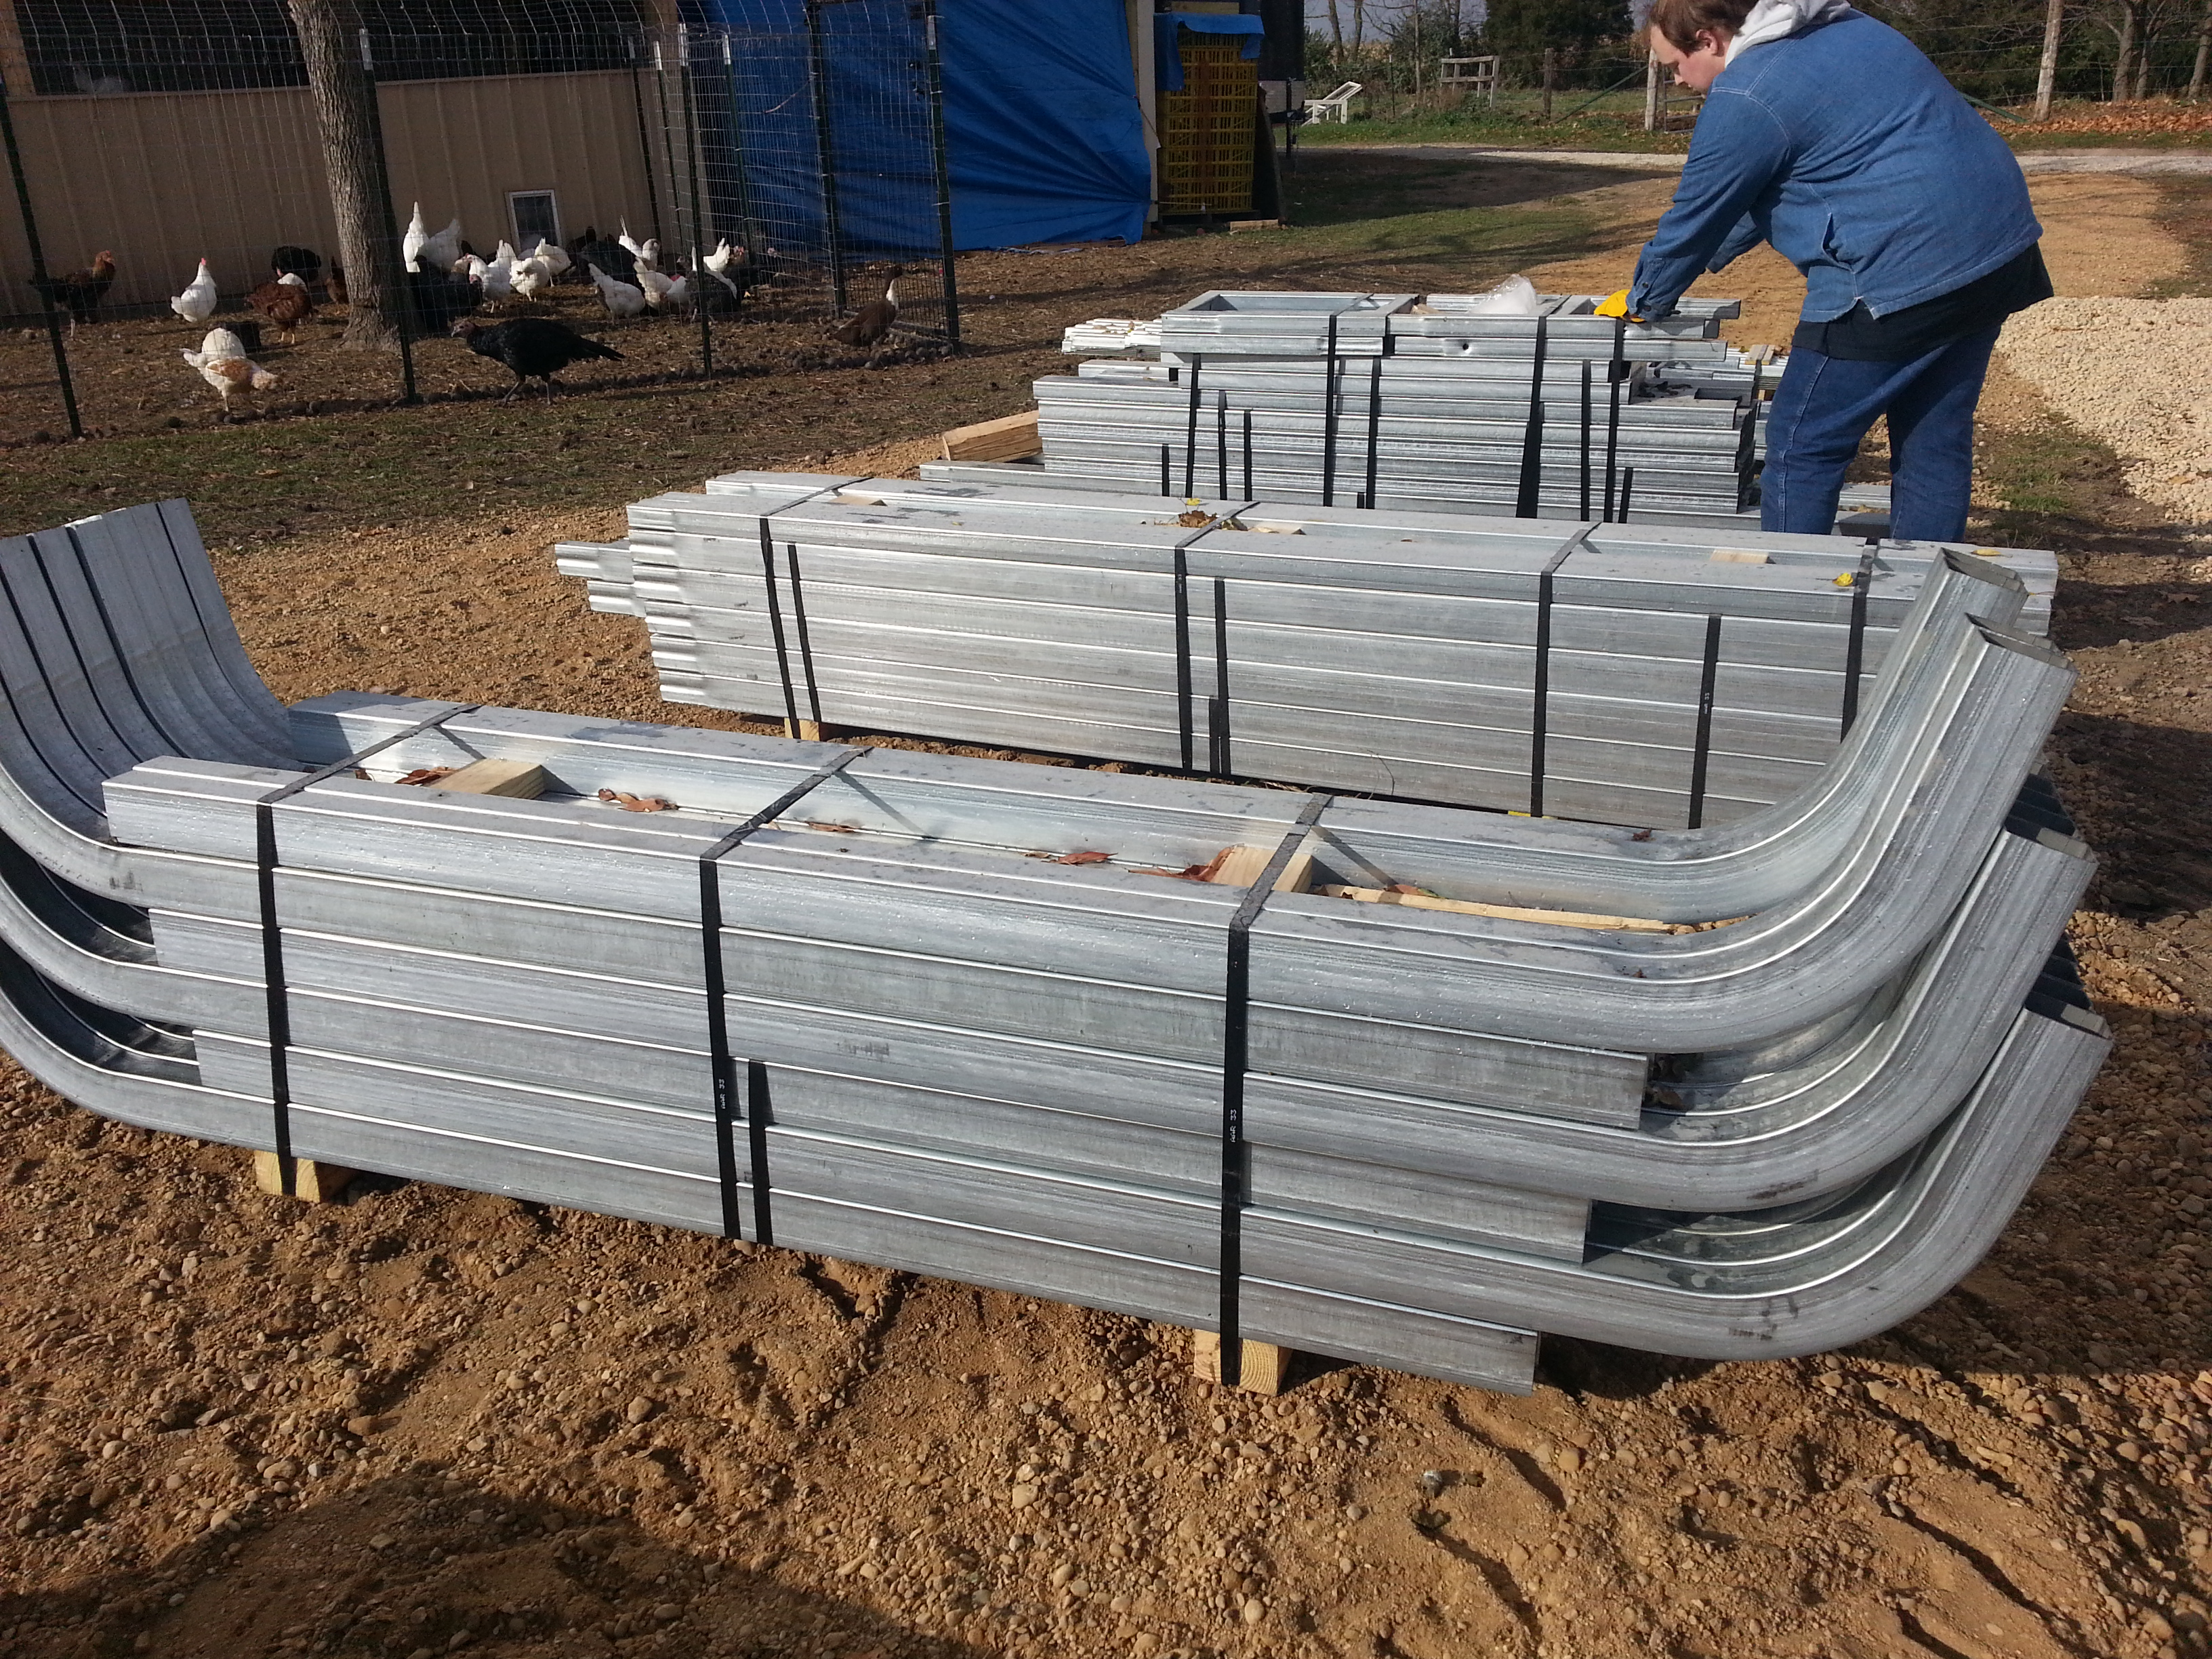
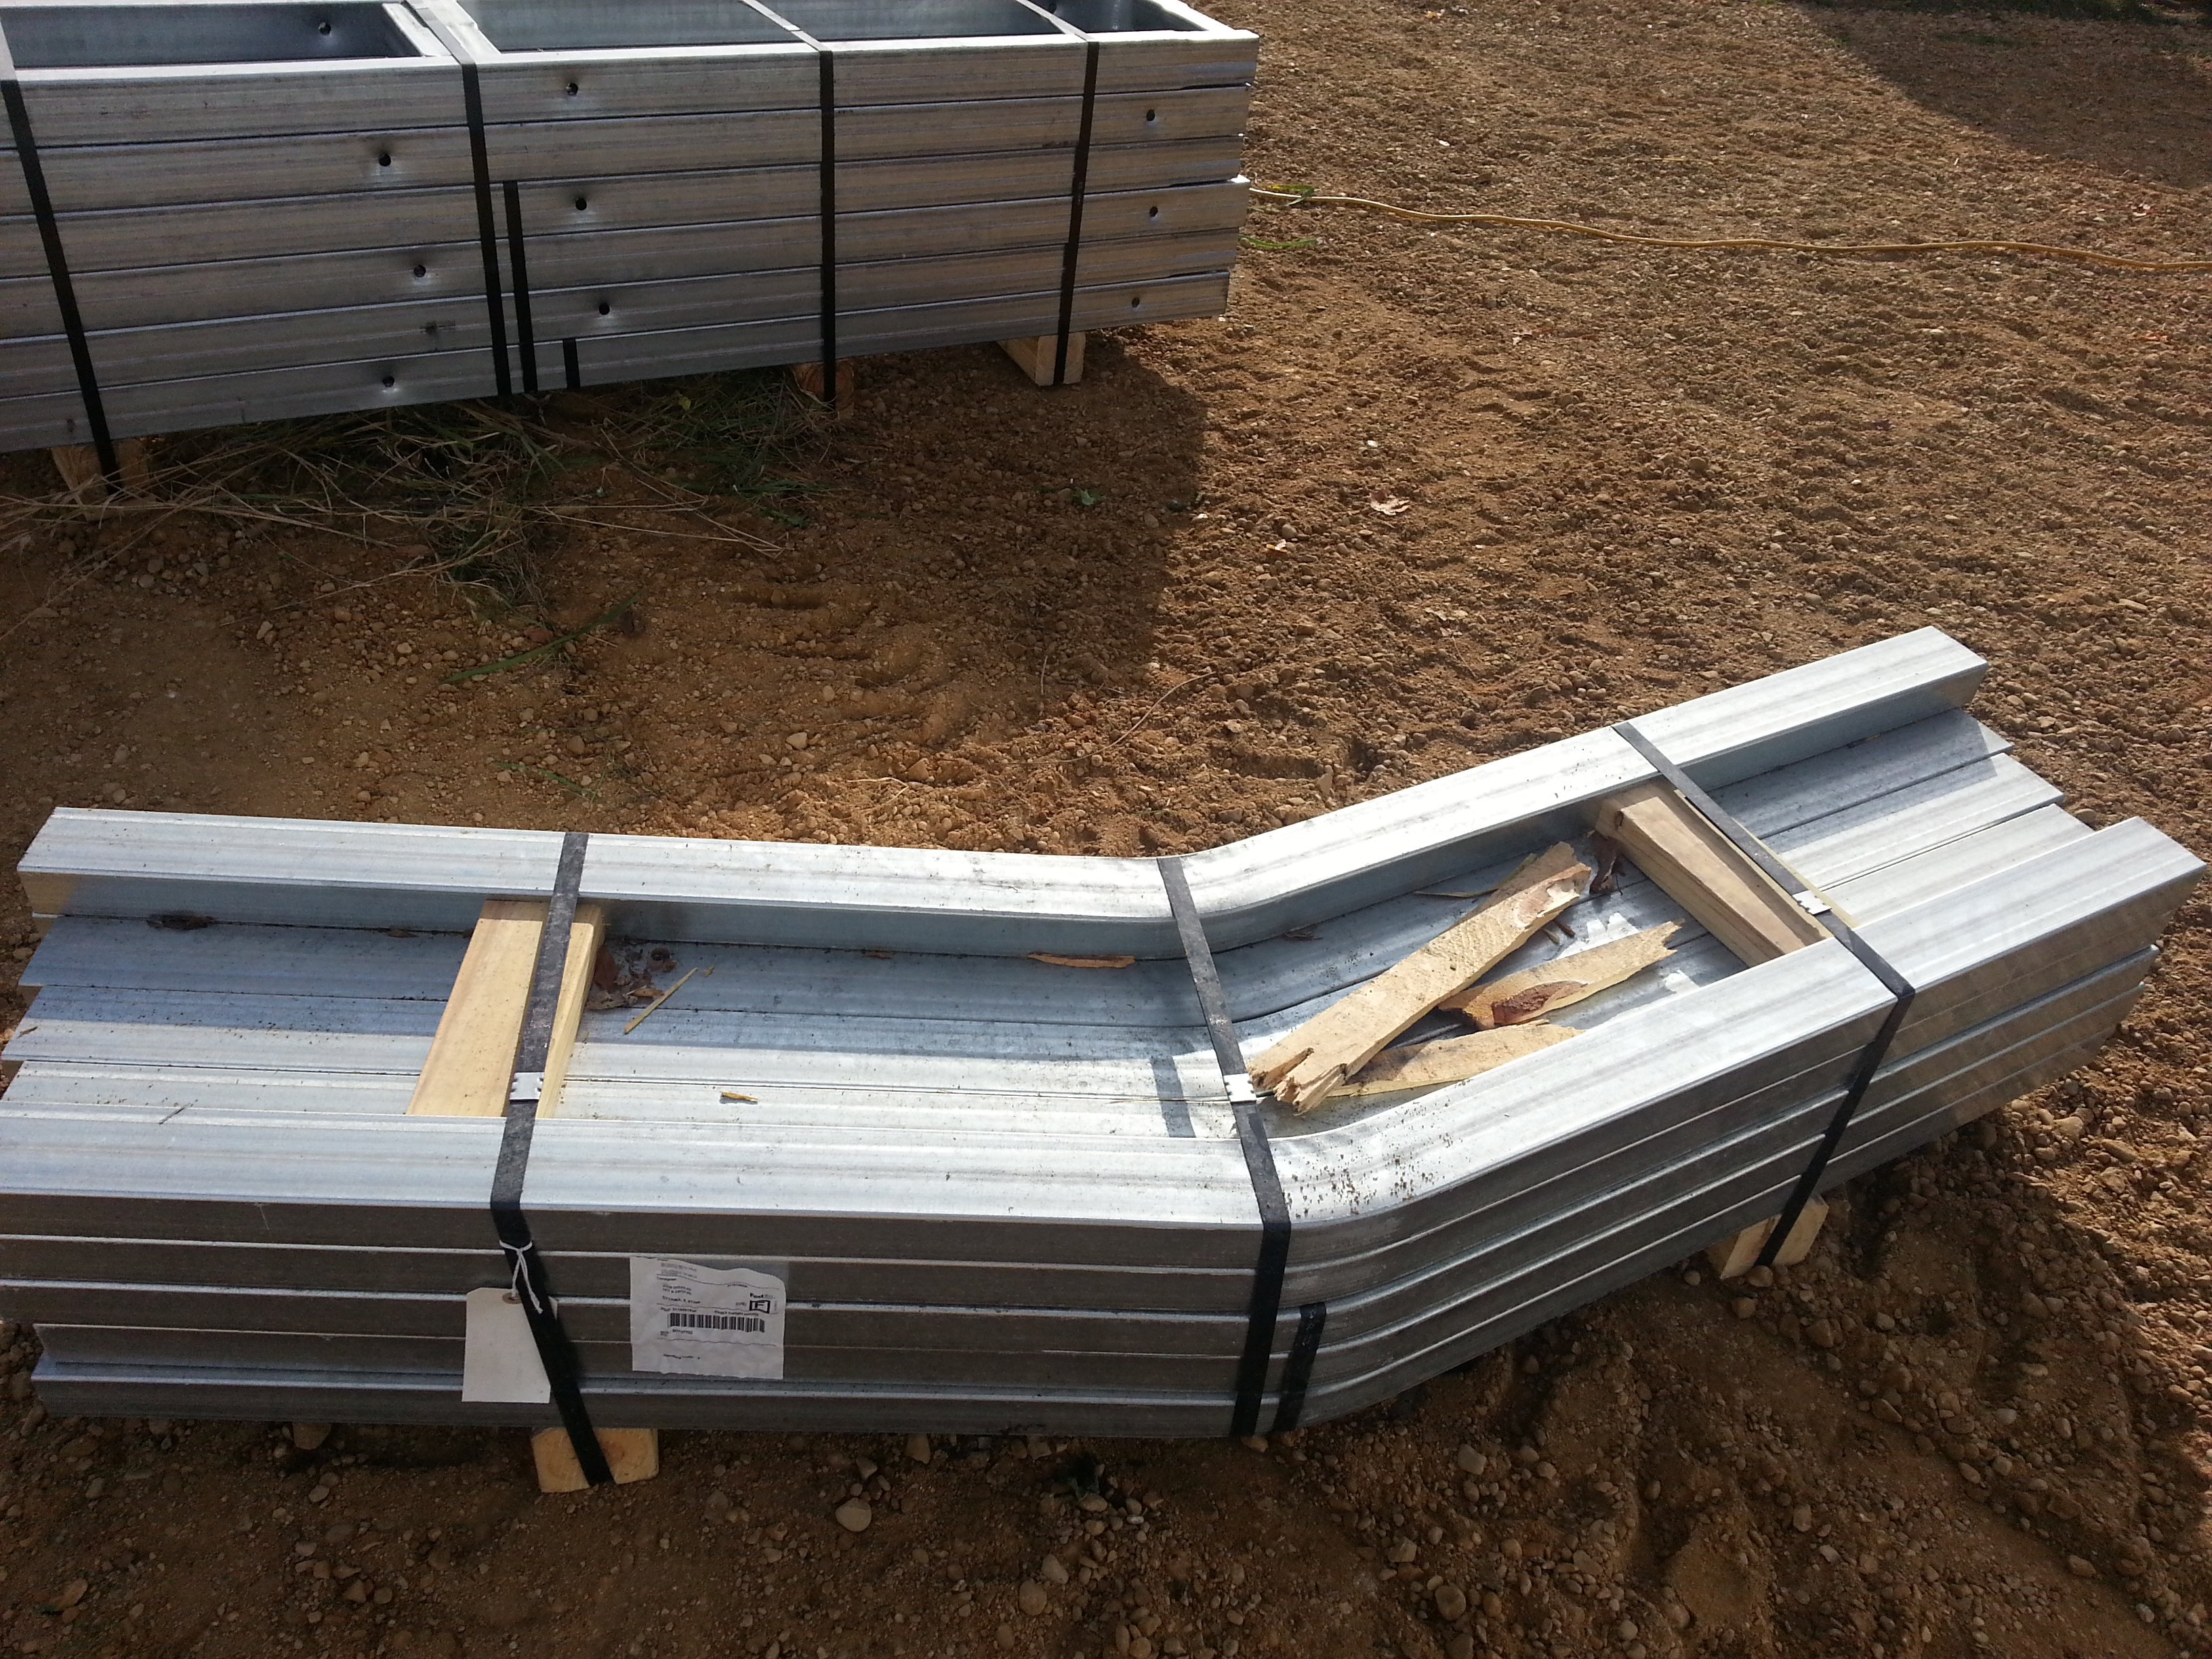
This is the pallet of base rails. You should start with this pallet first.
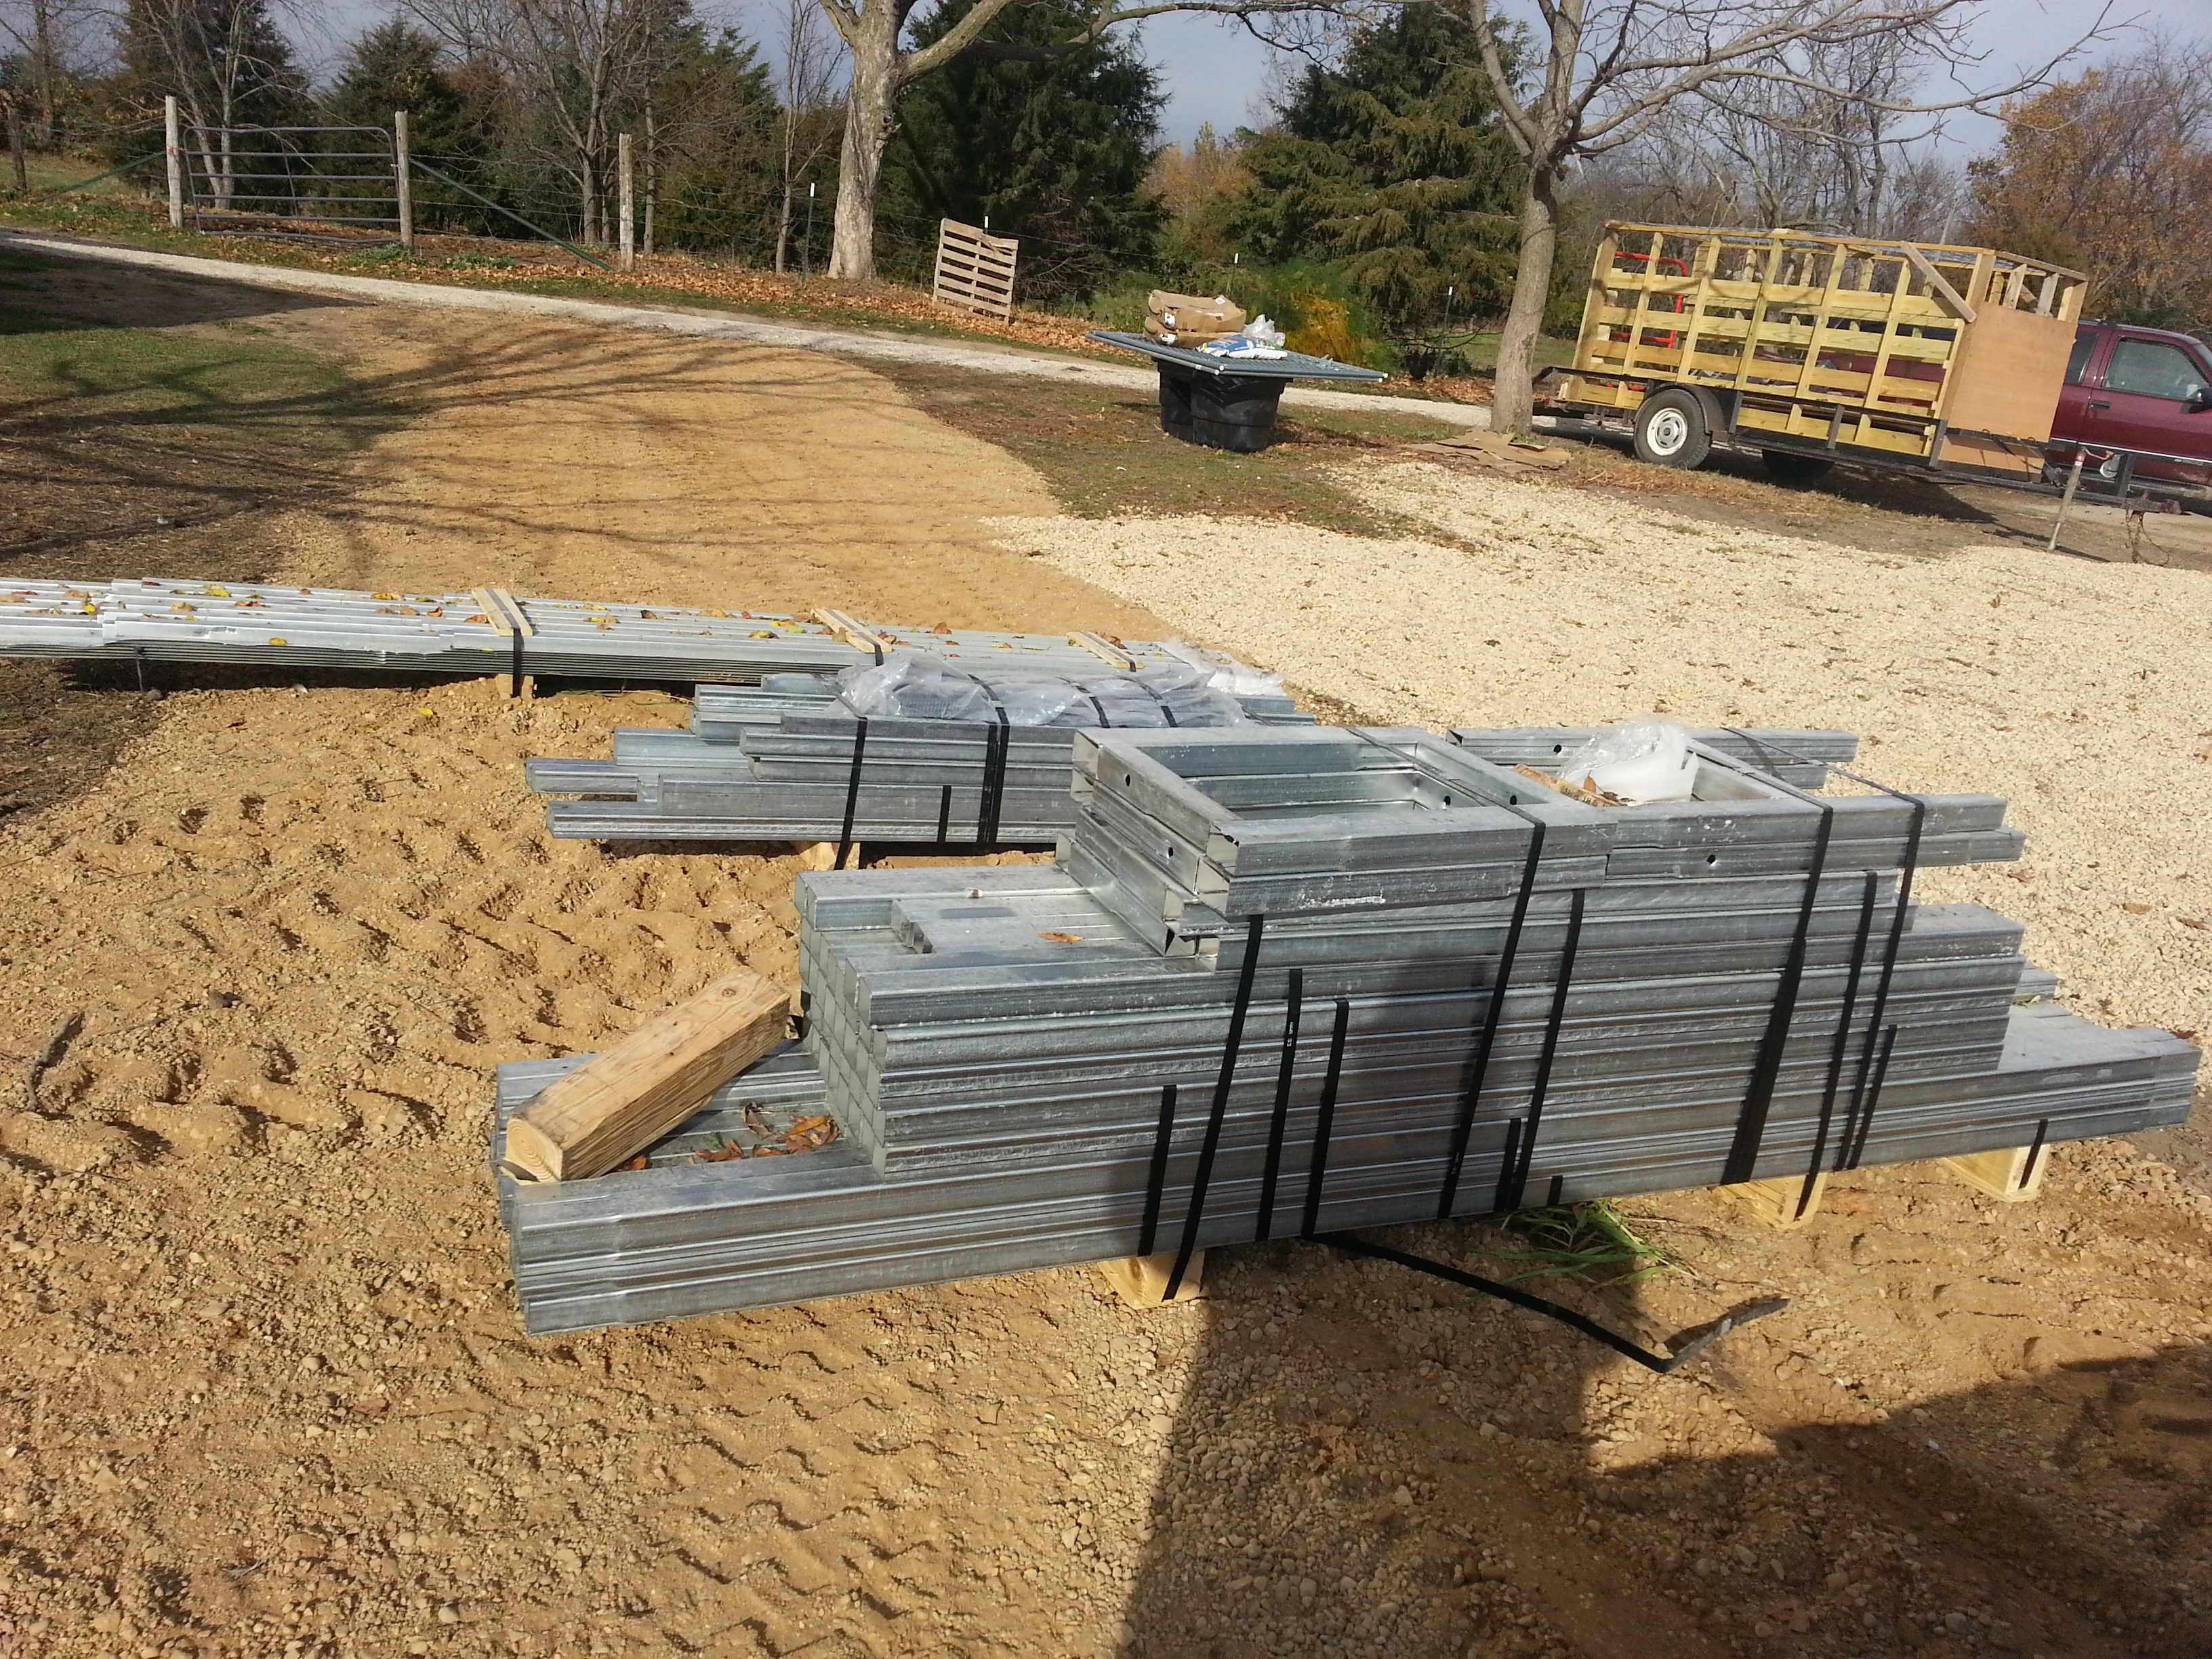
This pallet has the doors stacked on top and because this particular greenhouse had a requirement for additional truss bracing those are the strait pieces below the doors. Most people reading this will not have or need the additional truss bracing but for those that do ....The long ones on the bottom go in the middle and a shorter one goes on each side of that to create a 24' long truss brace.
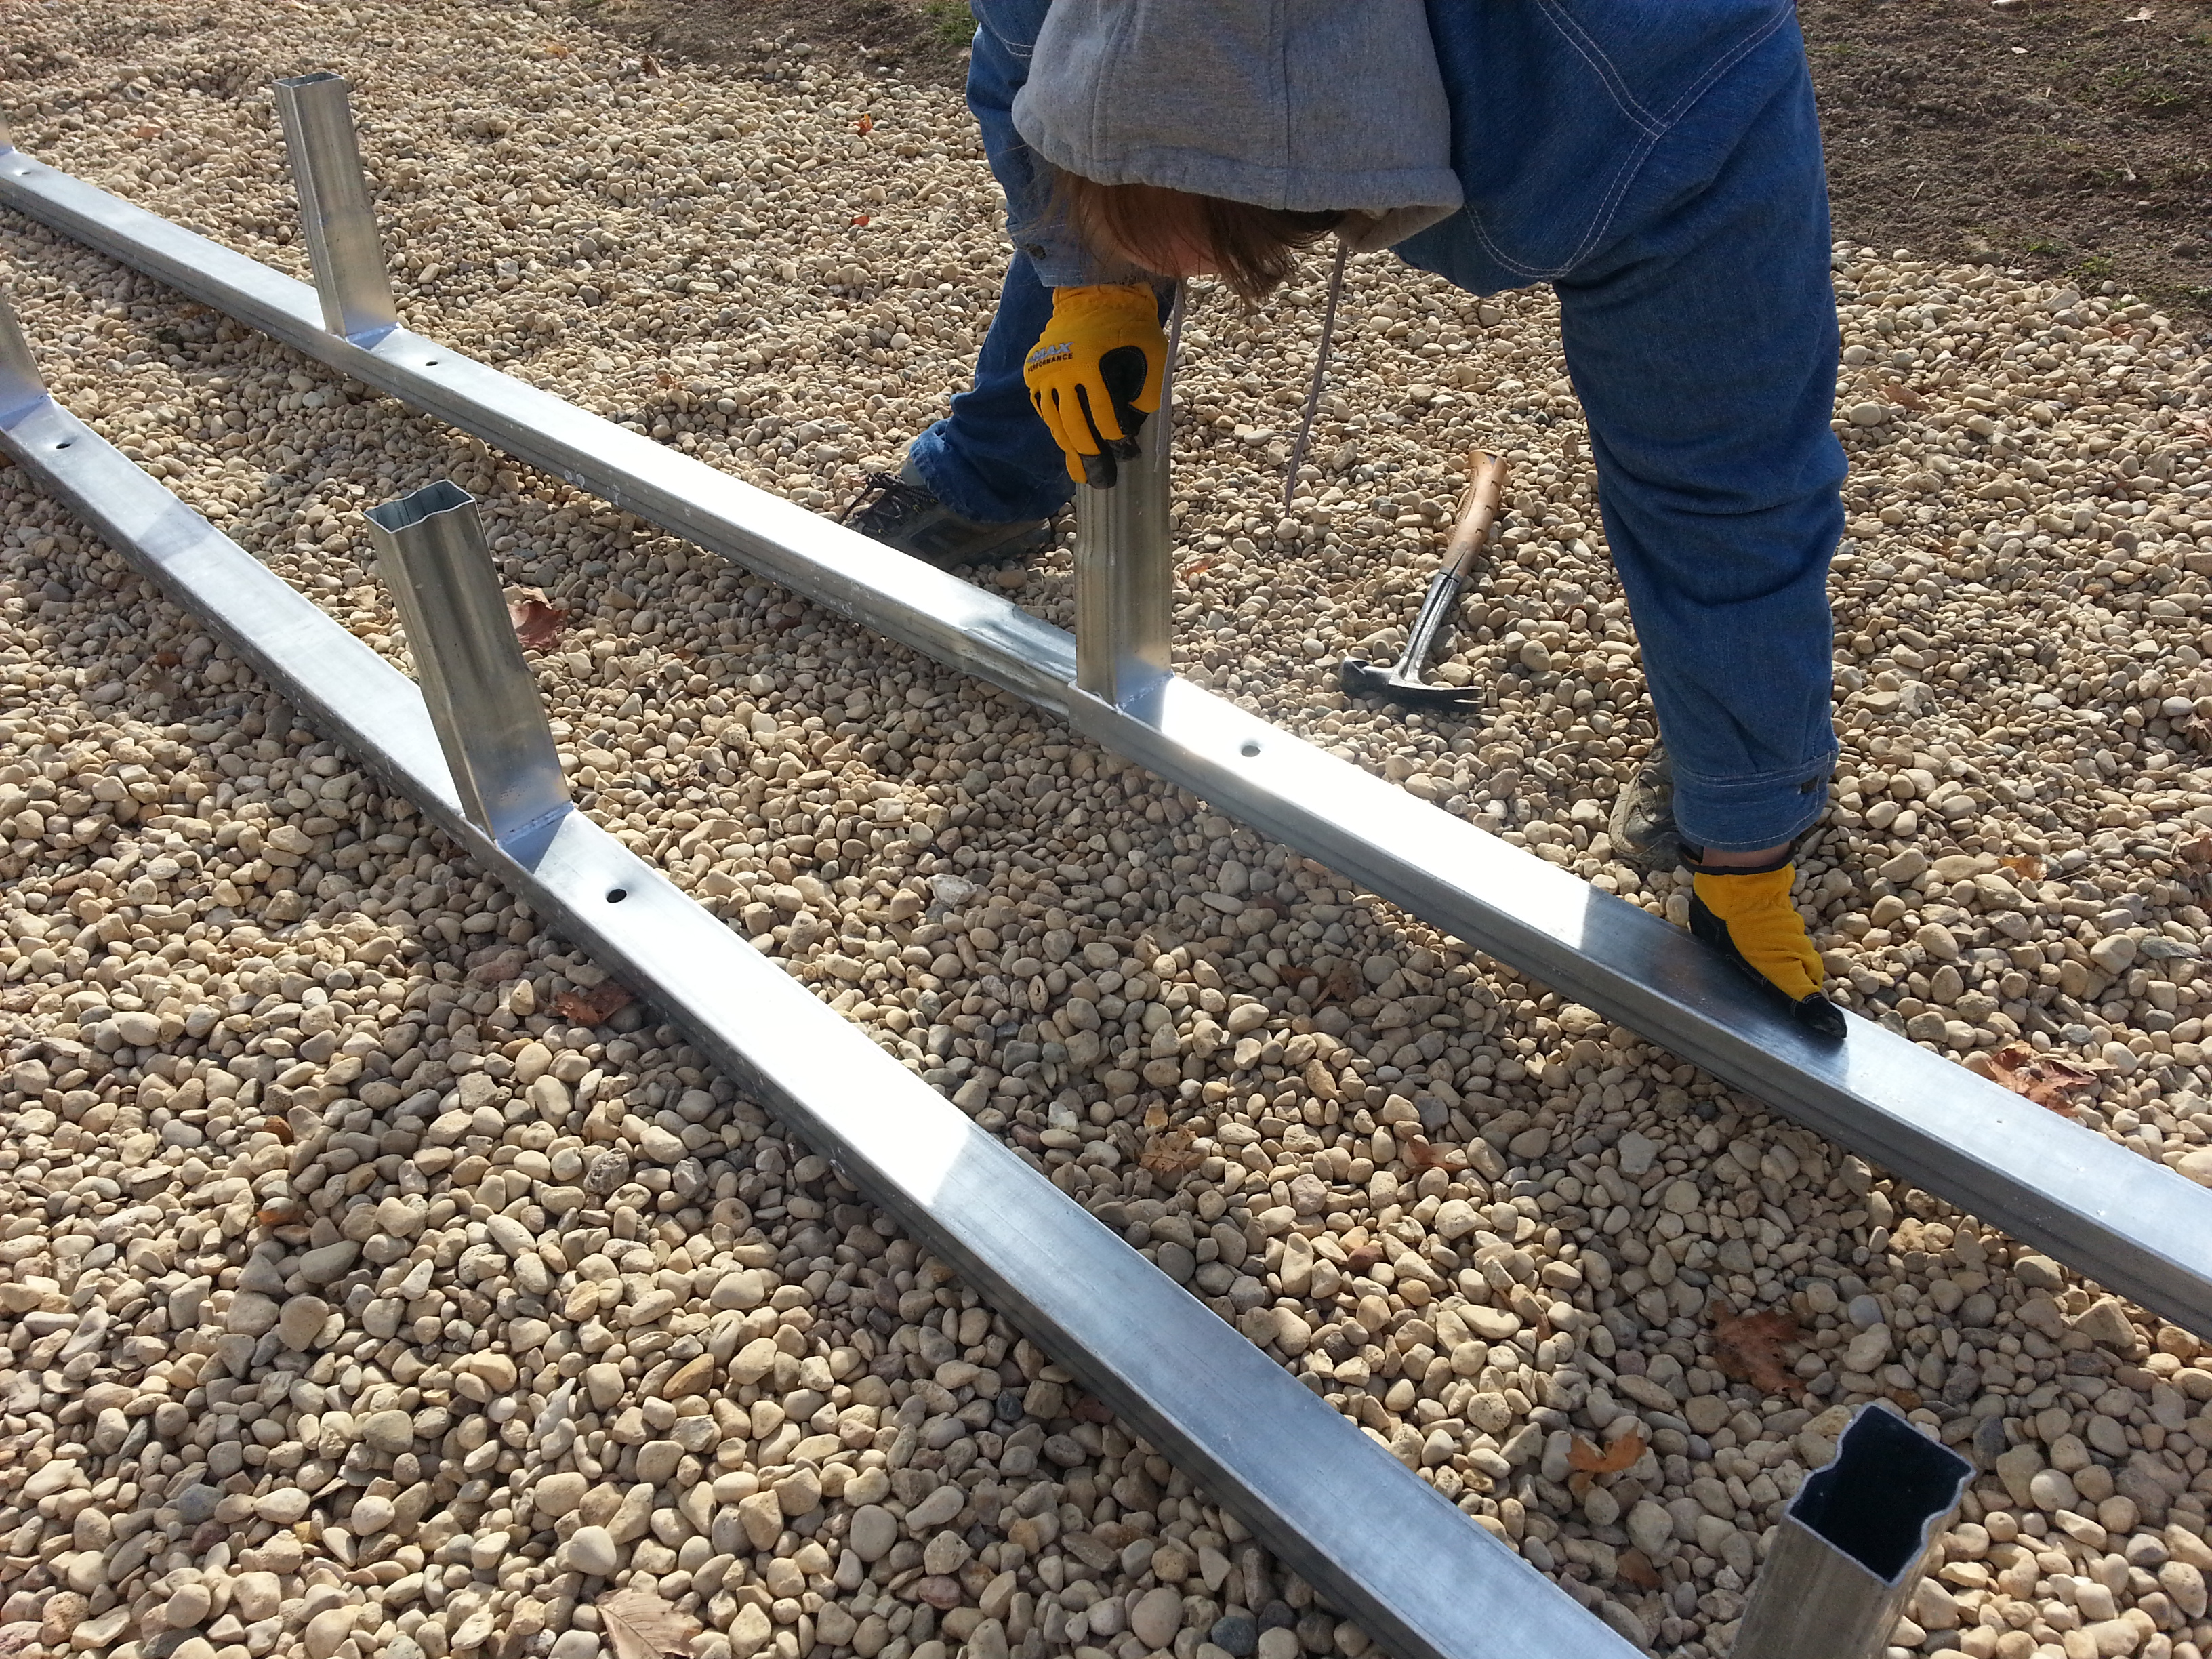
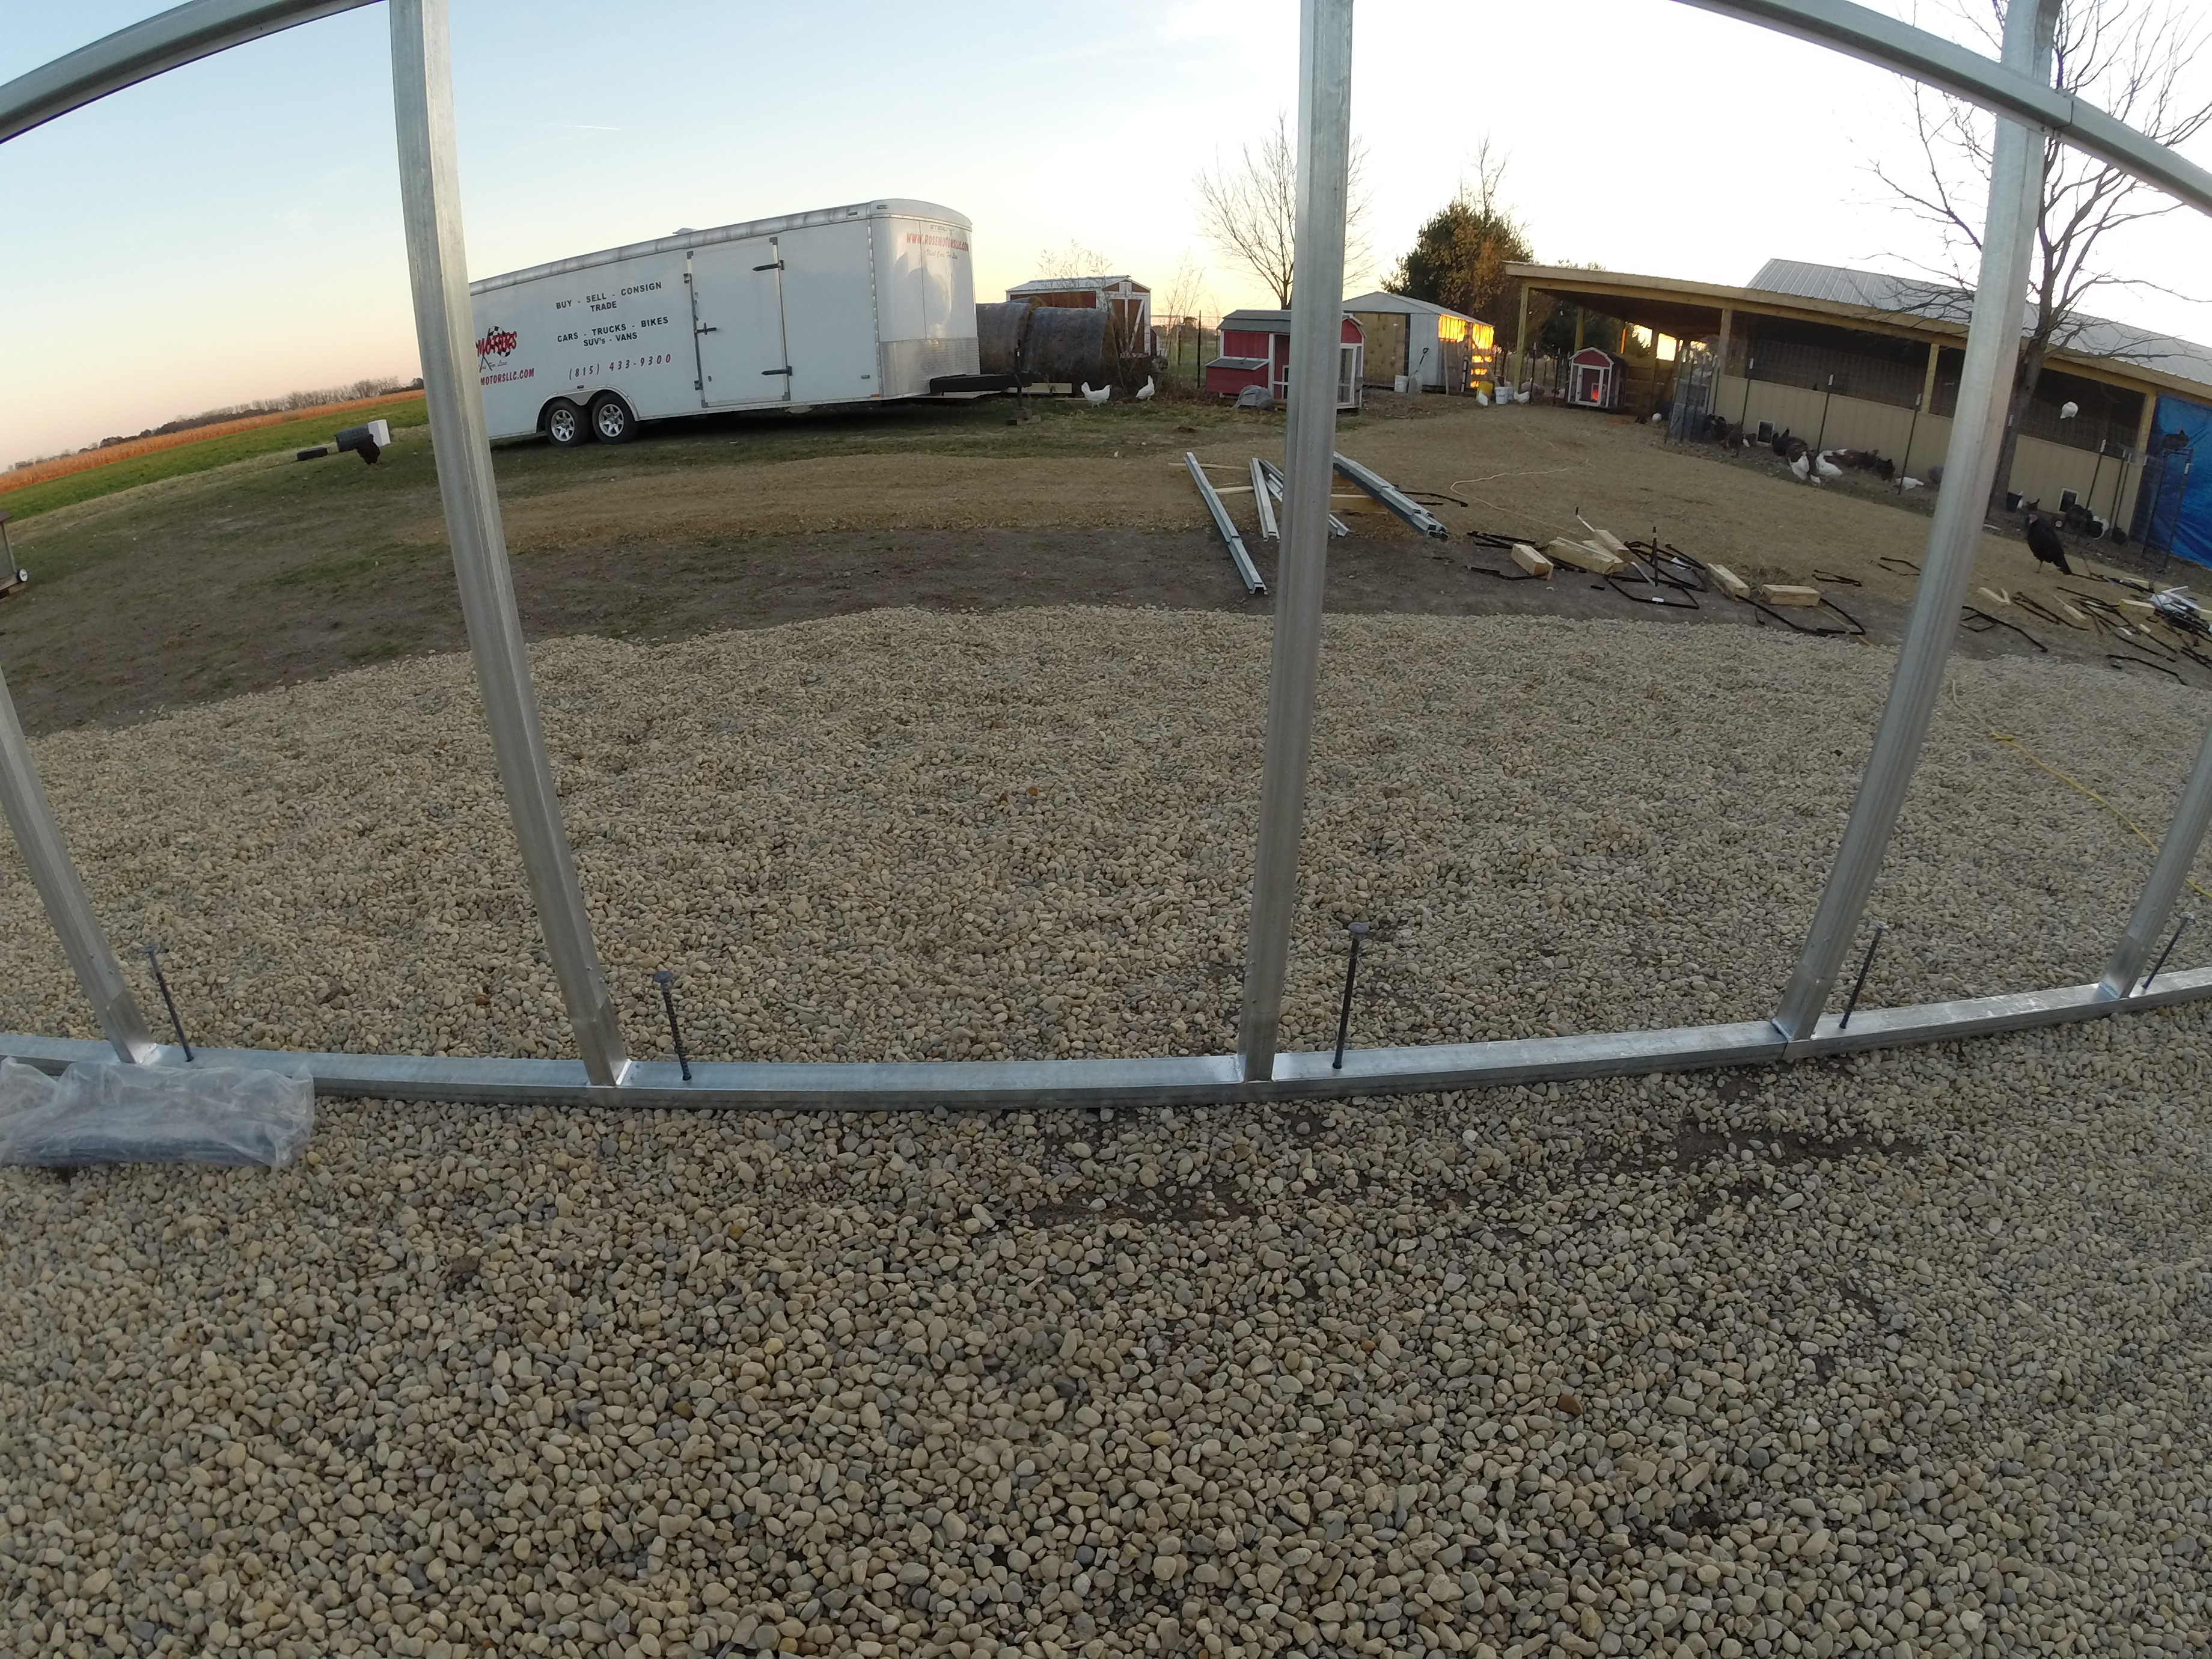
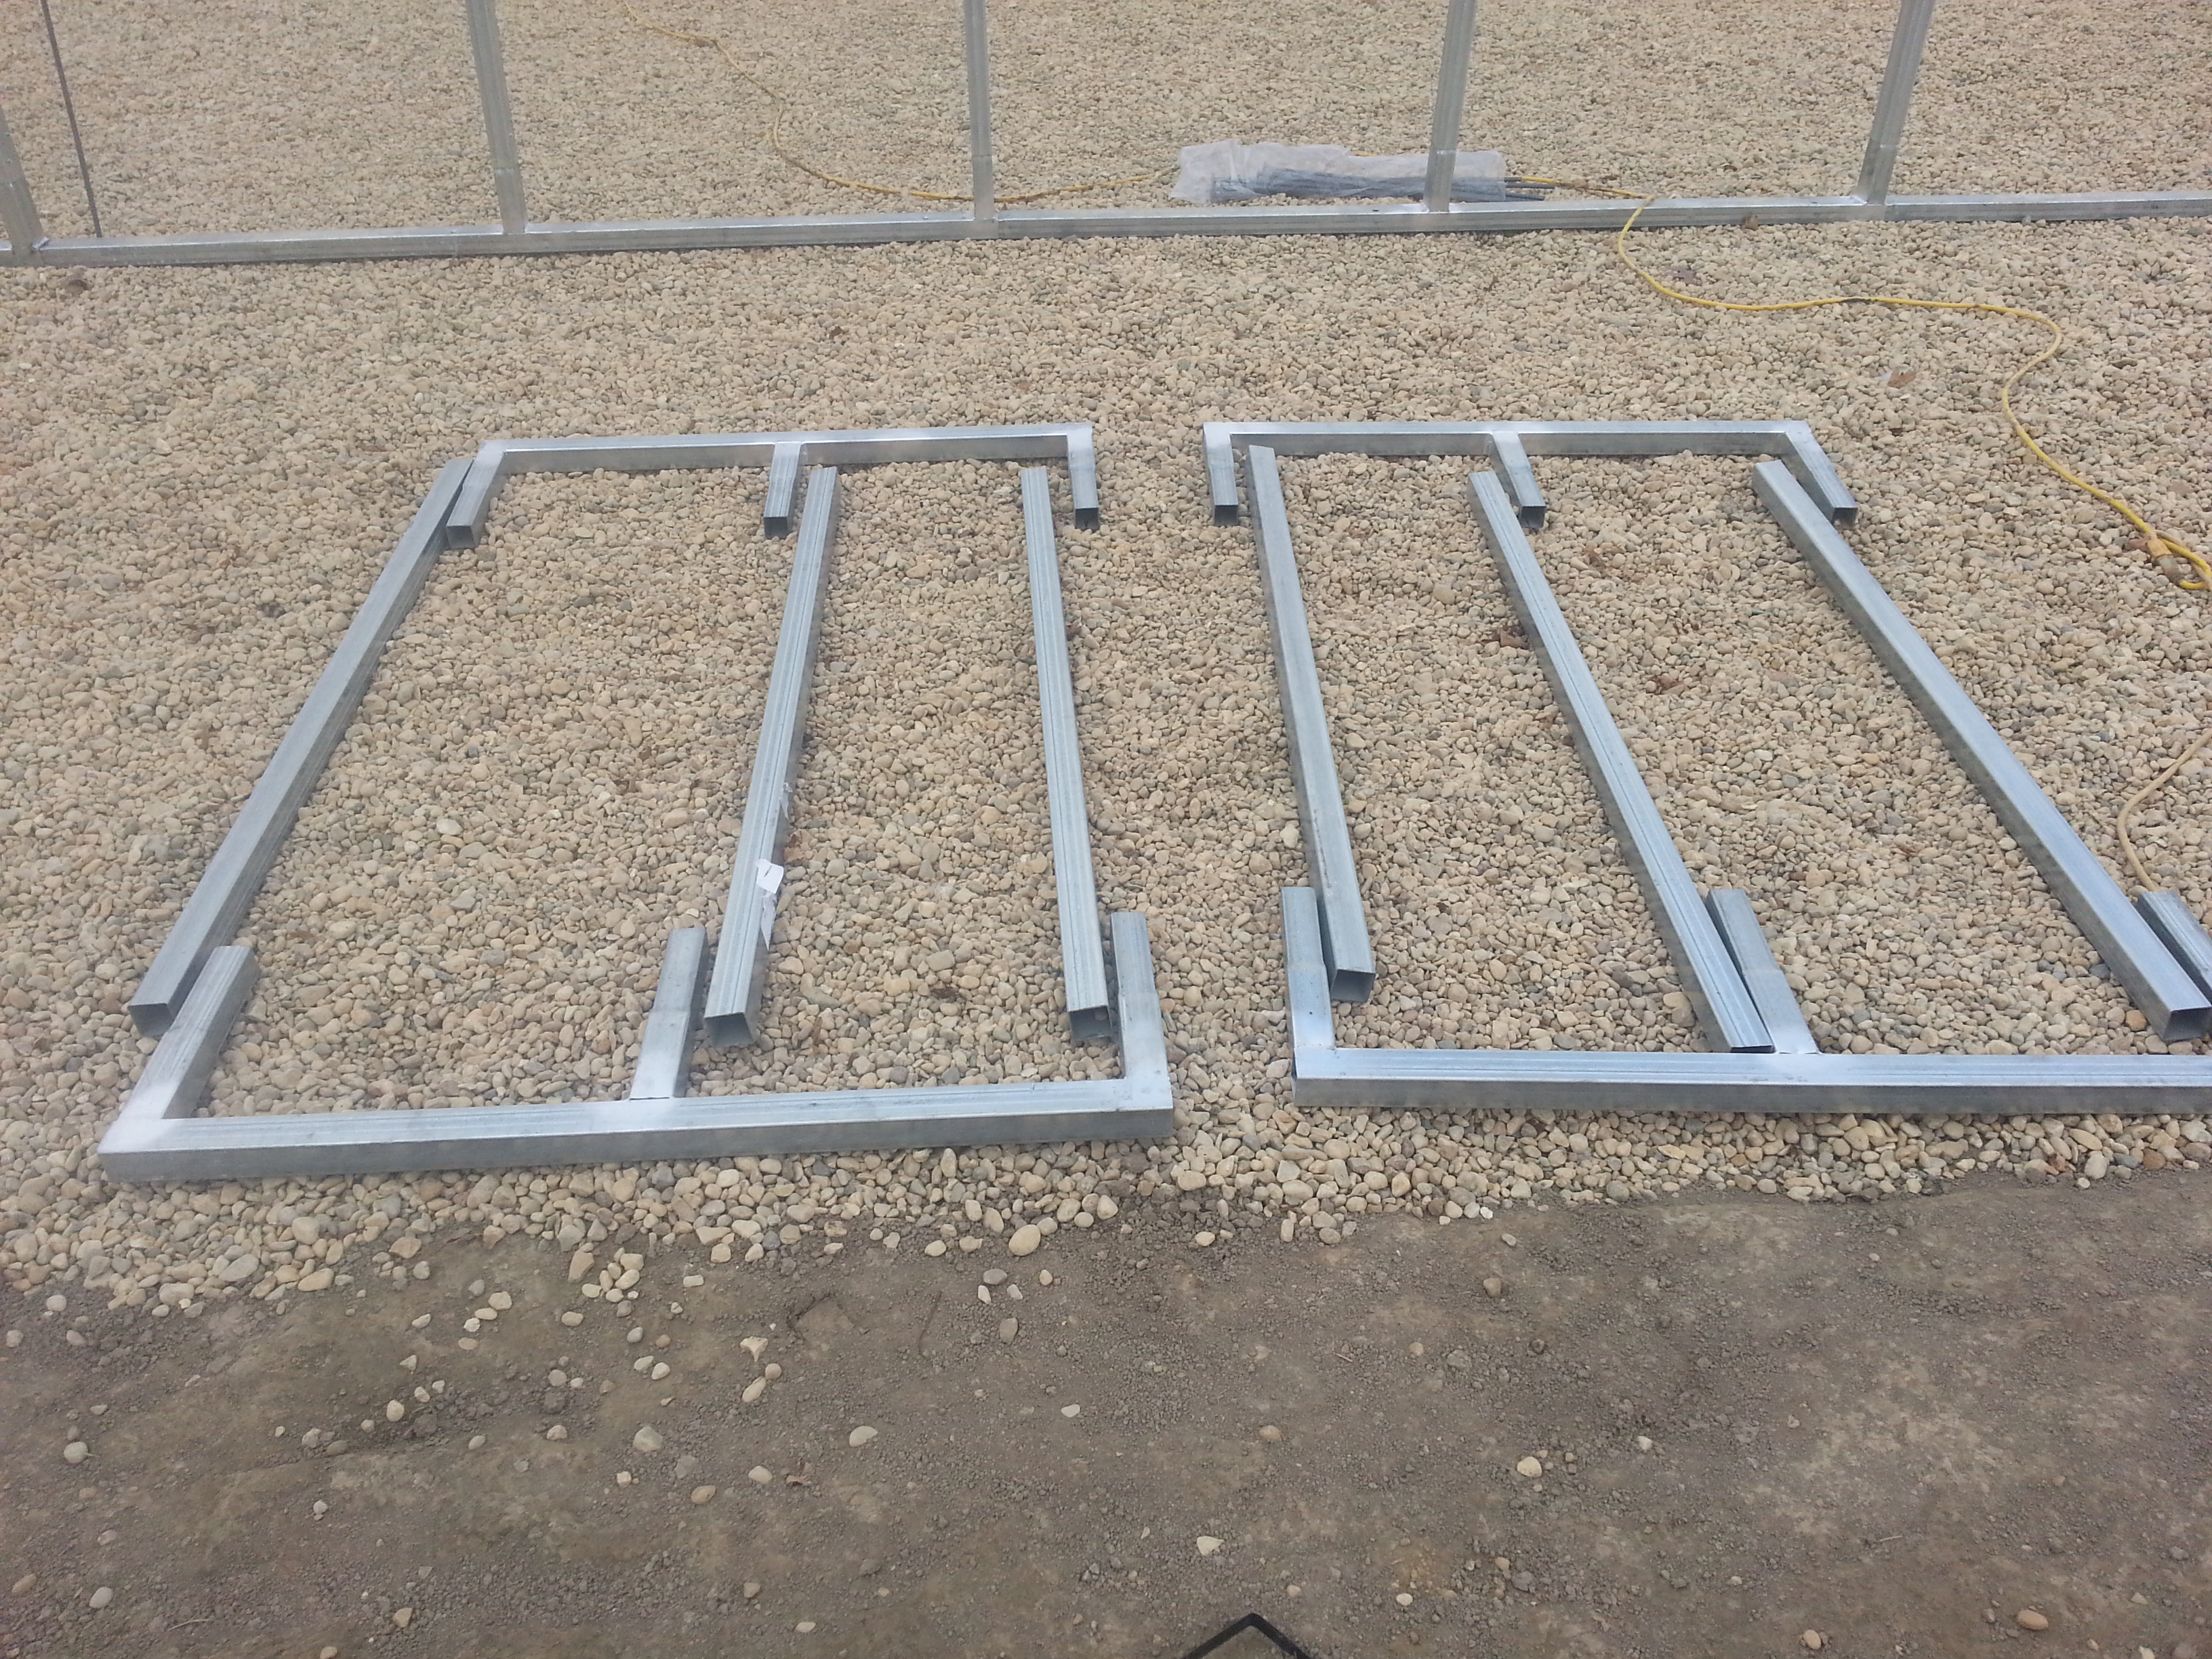
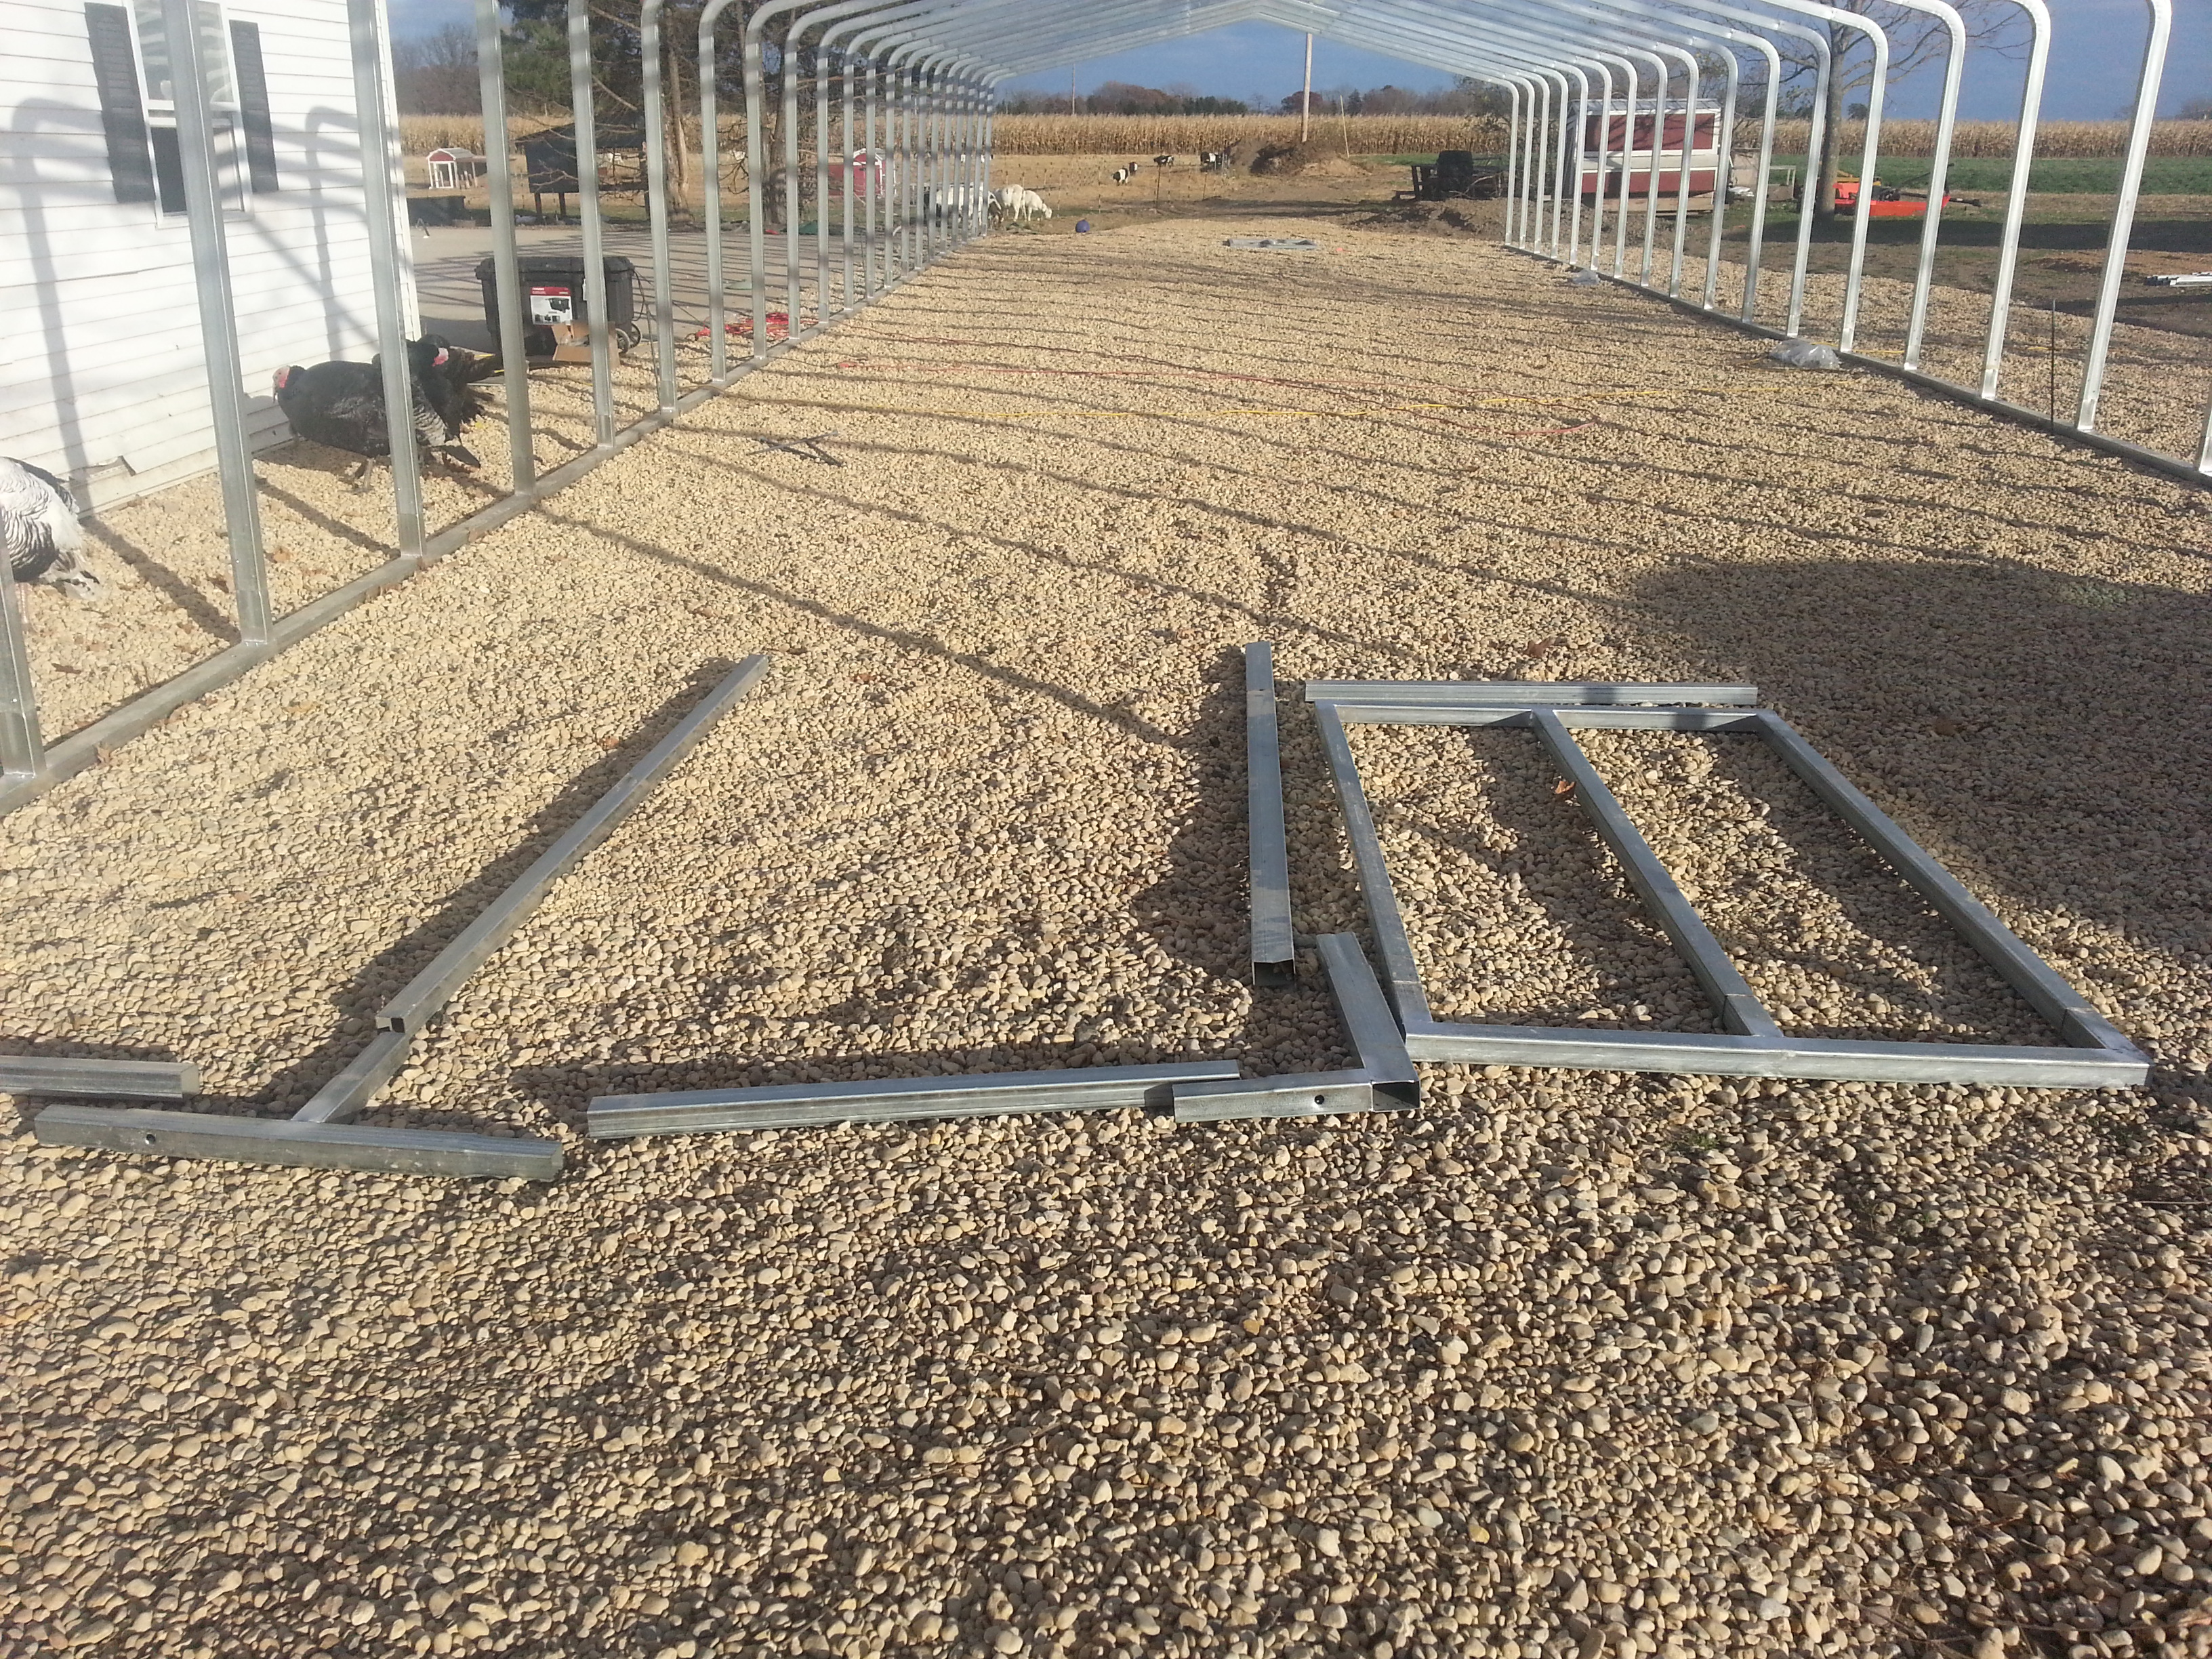
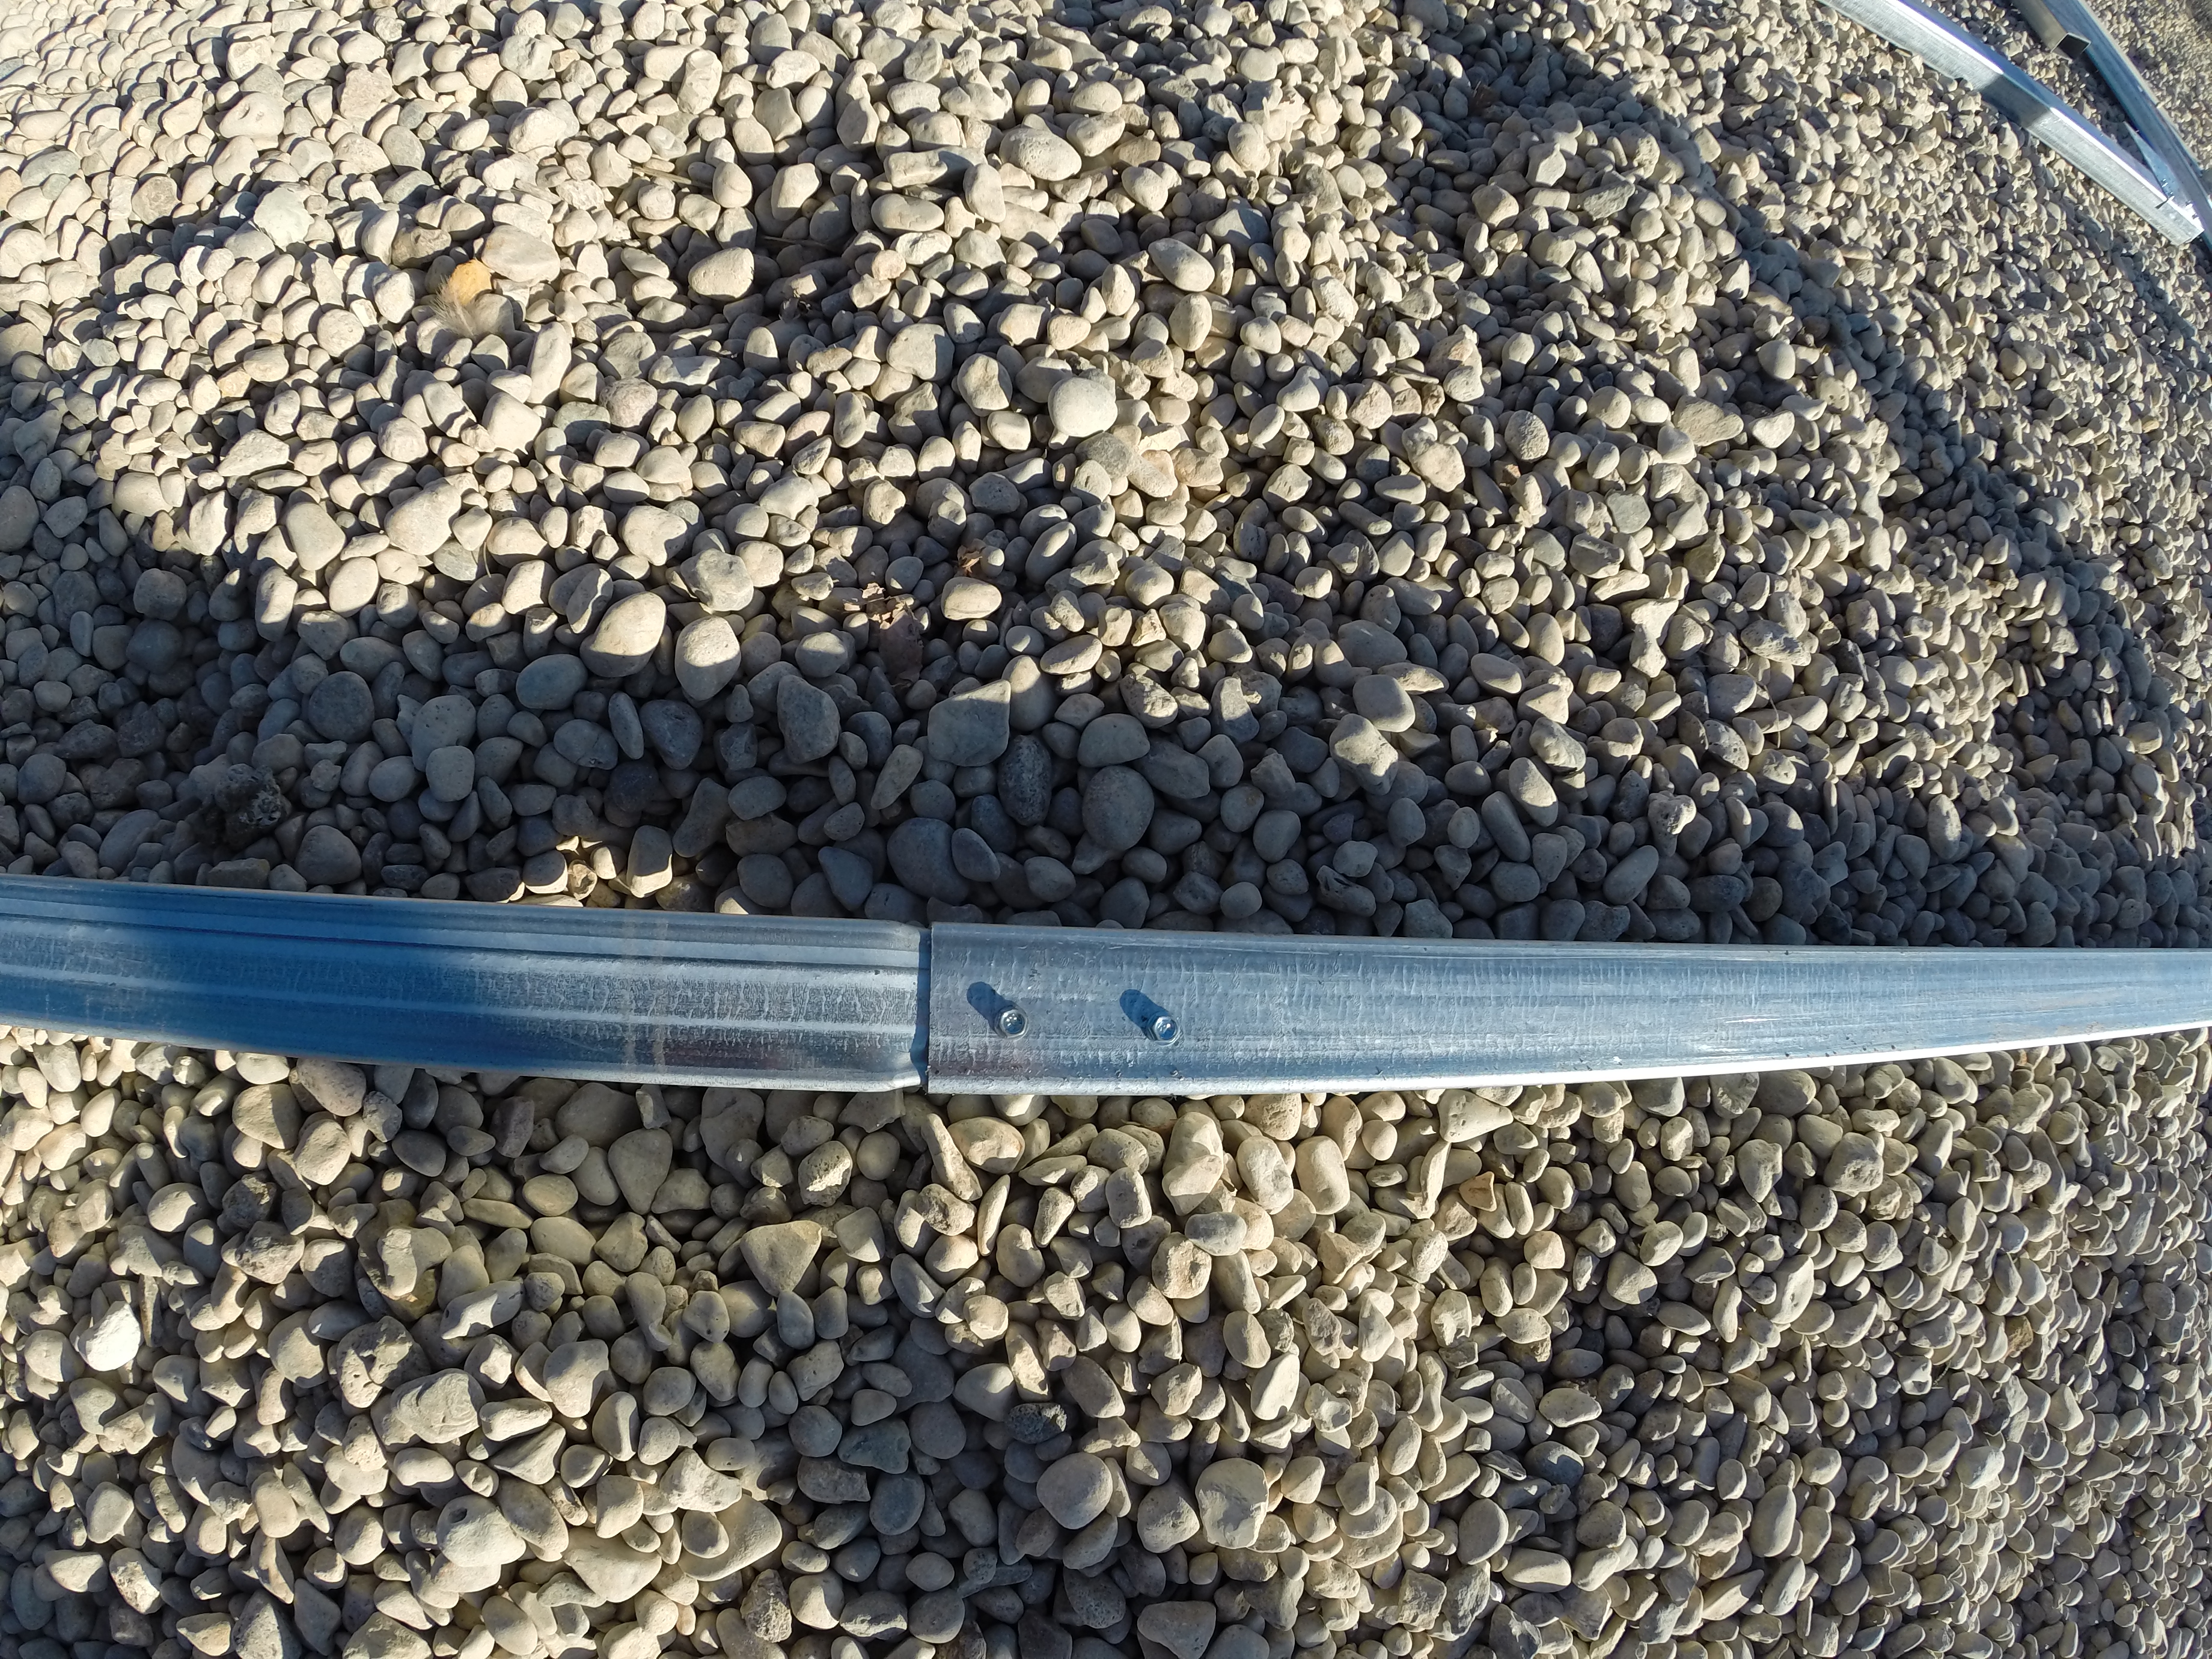
Here we are laying out the base rails. As you can see they just slip together.
If you have any trouble with them slipping together you may need to check and see if one side has a slight bend or crimp in the steel. If so, hit it with the hammer until it is strait and slides on easily.
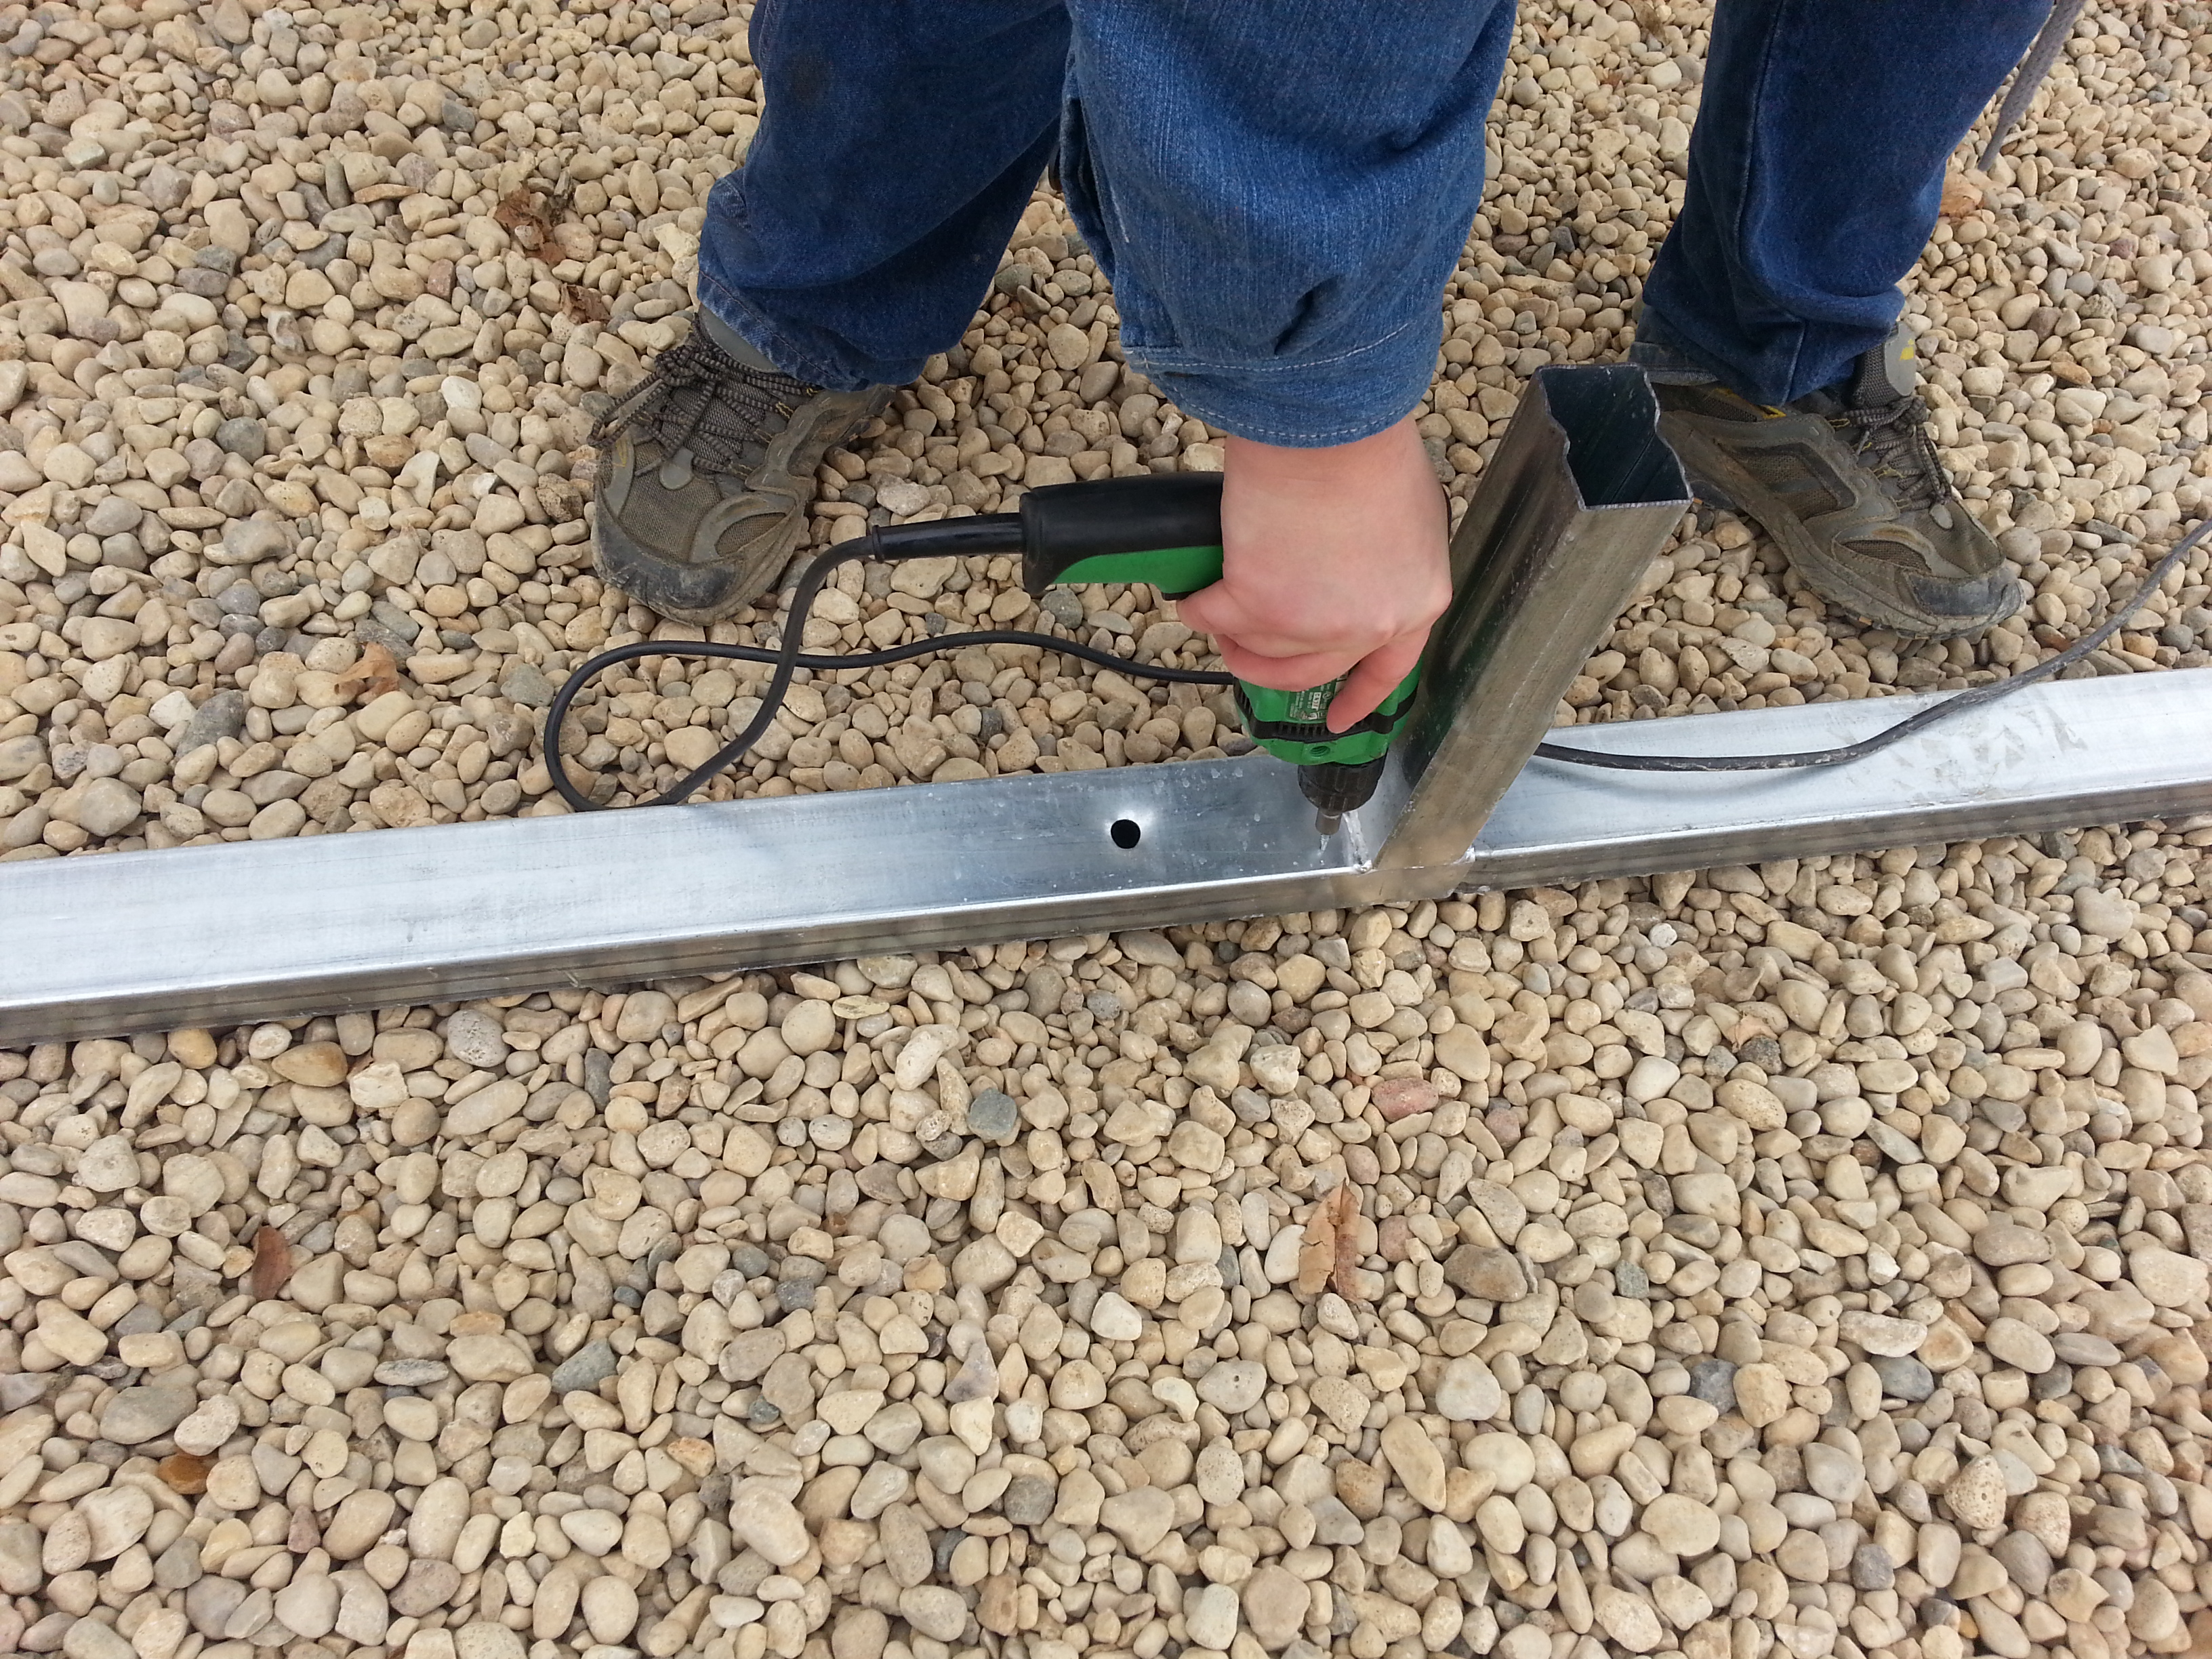
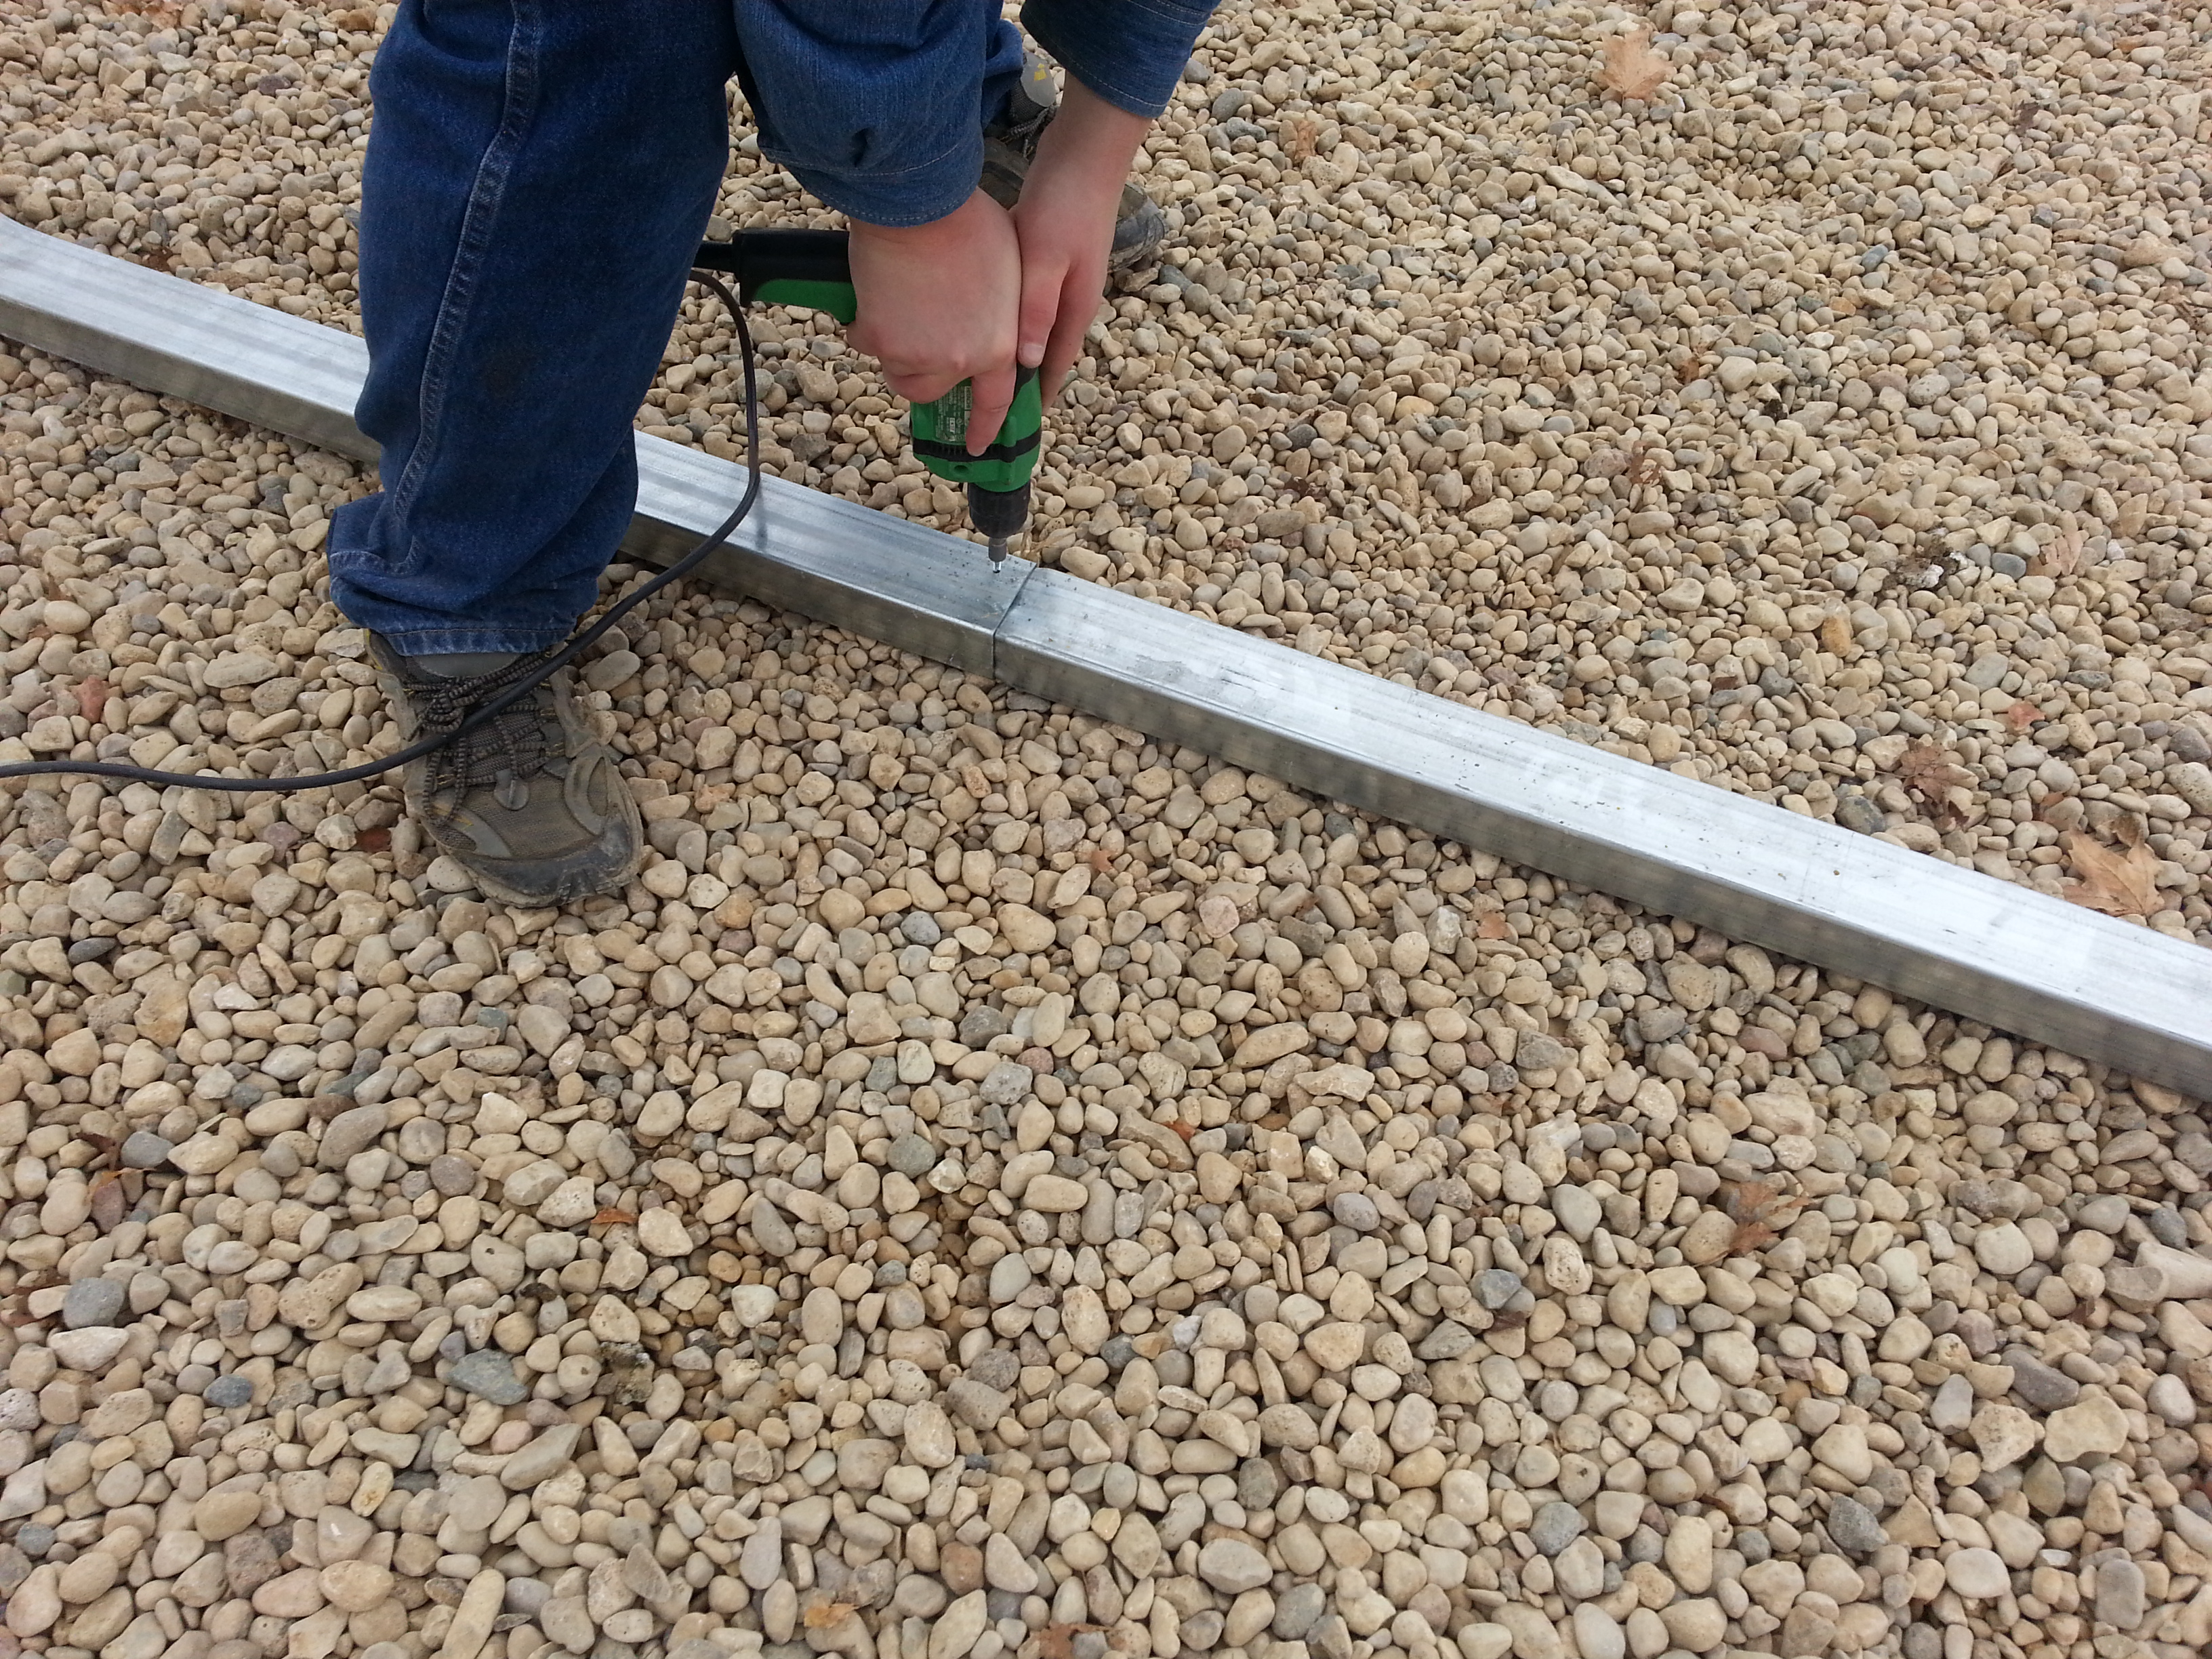
After you slip them together shoot 2 self tapping screws into the connection to hold it in place.

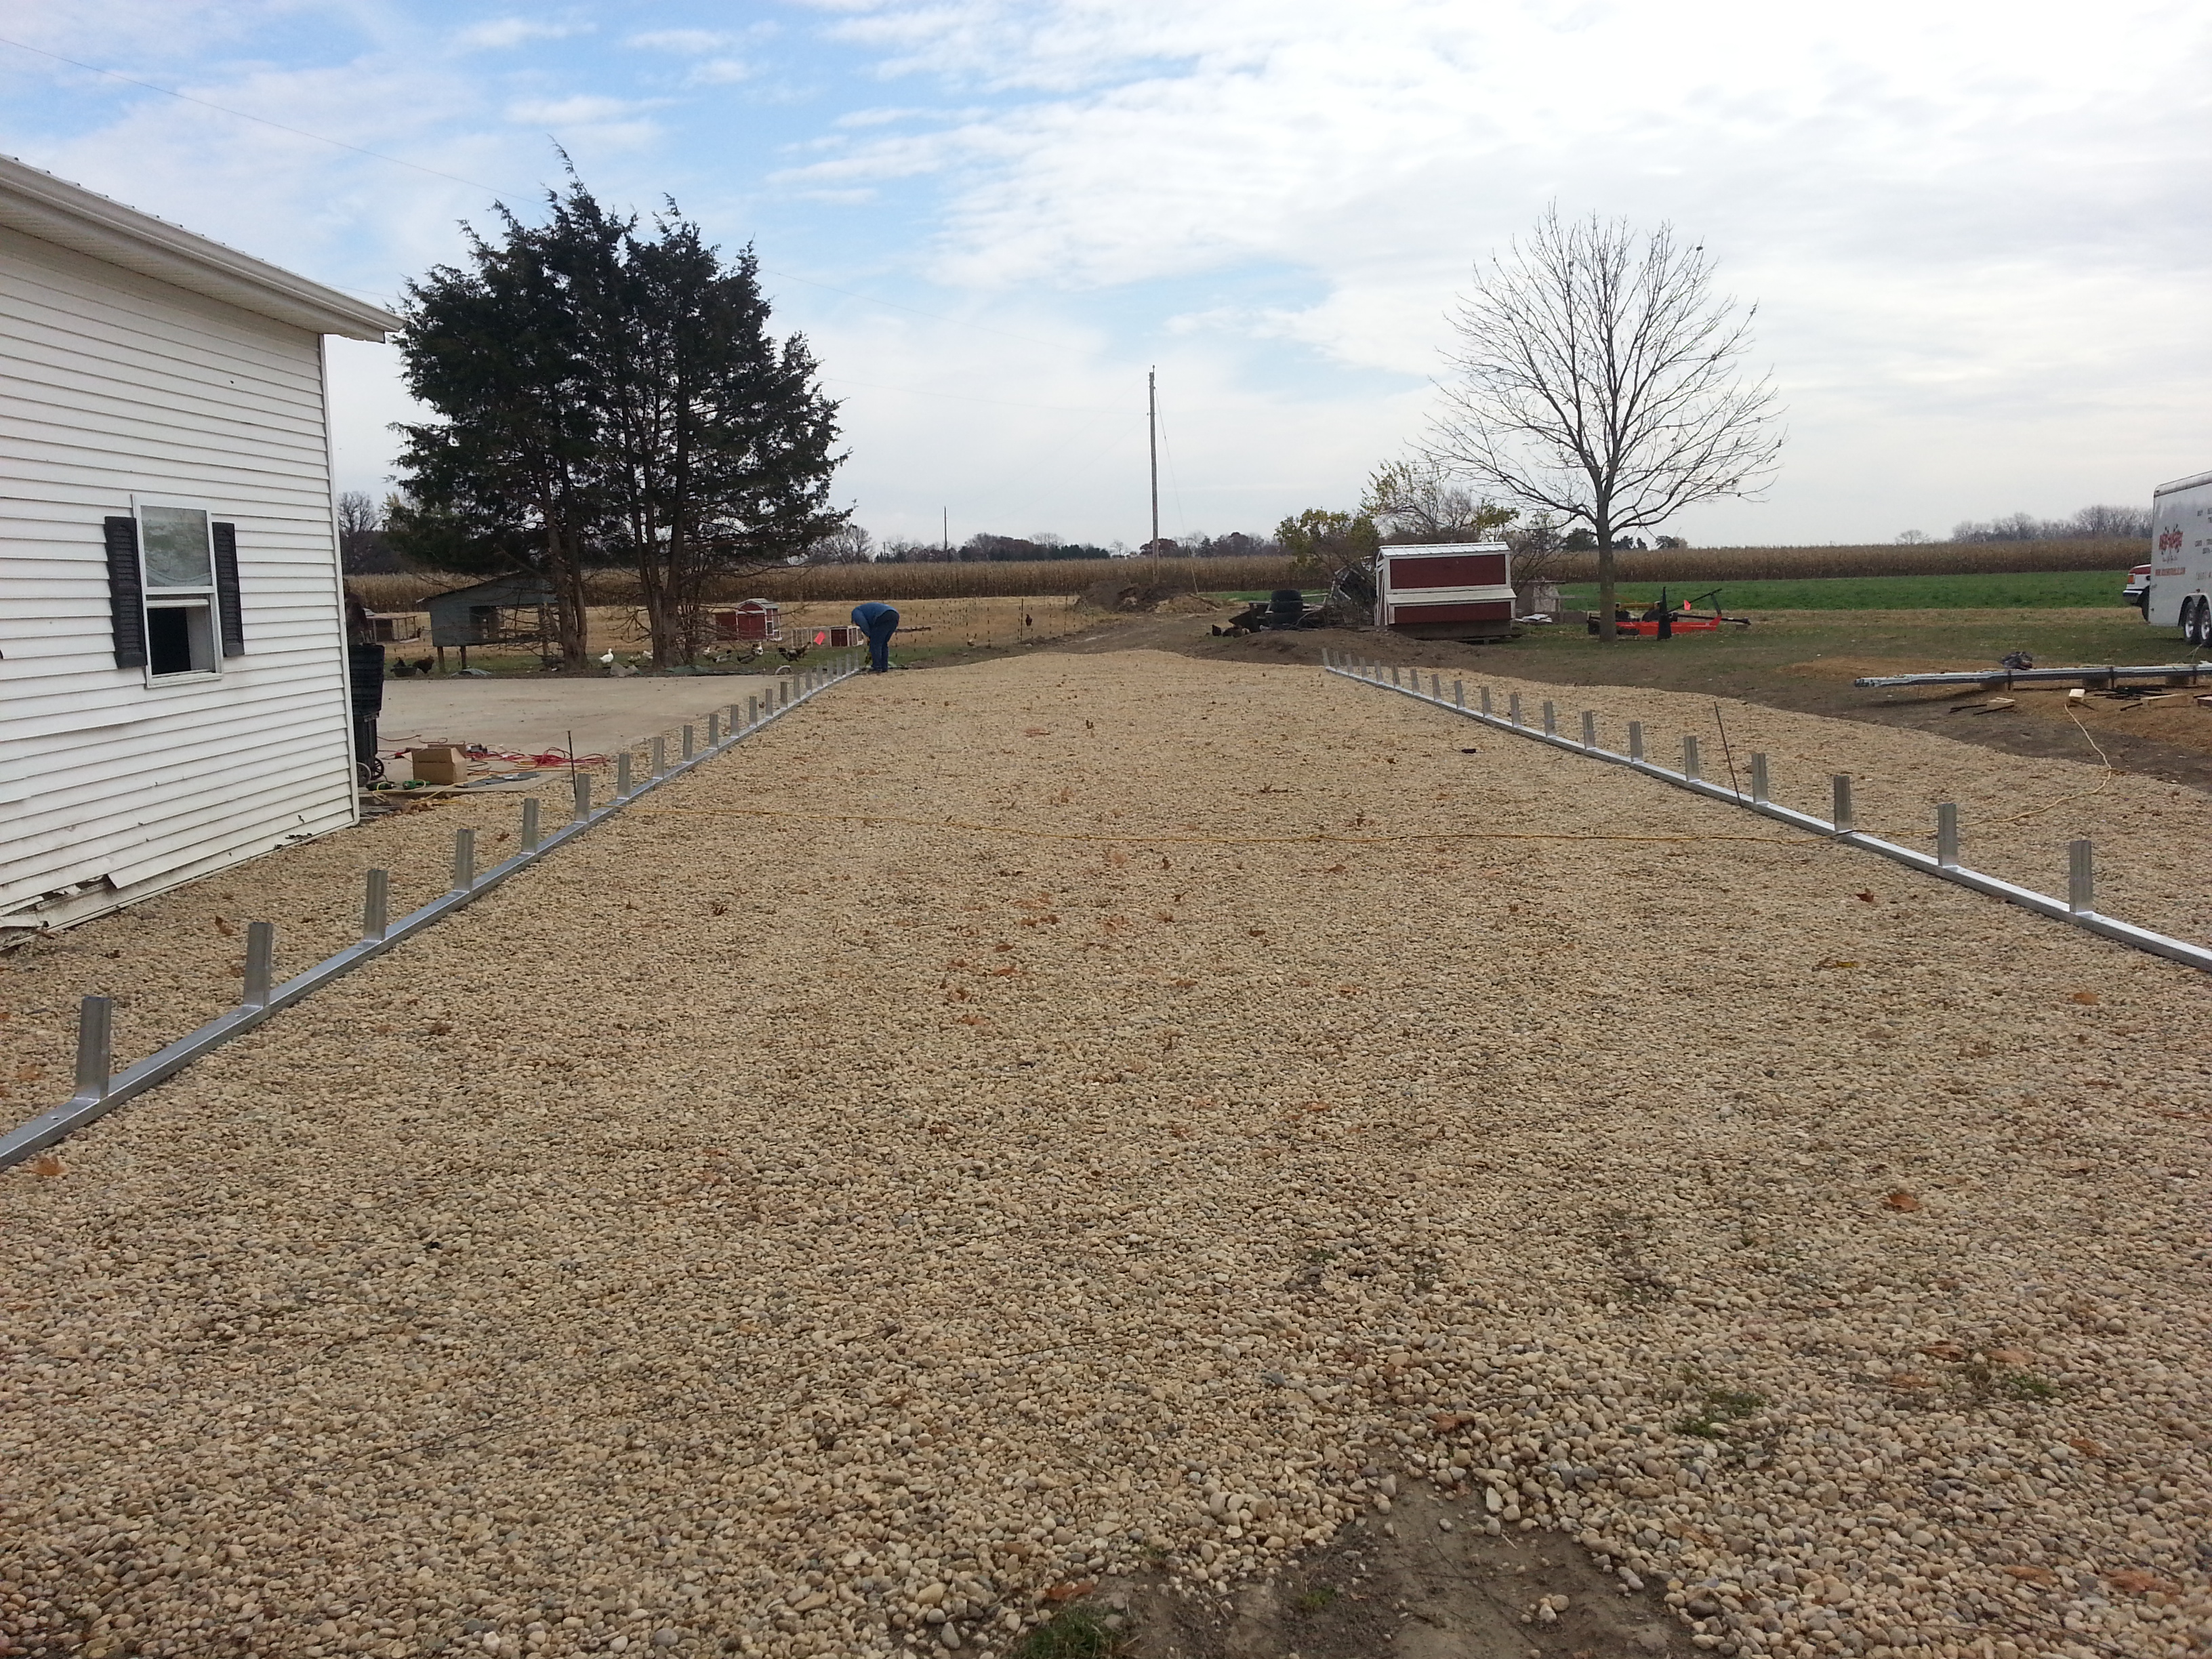
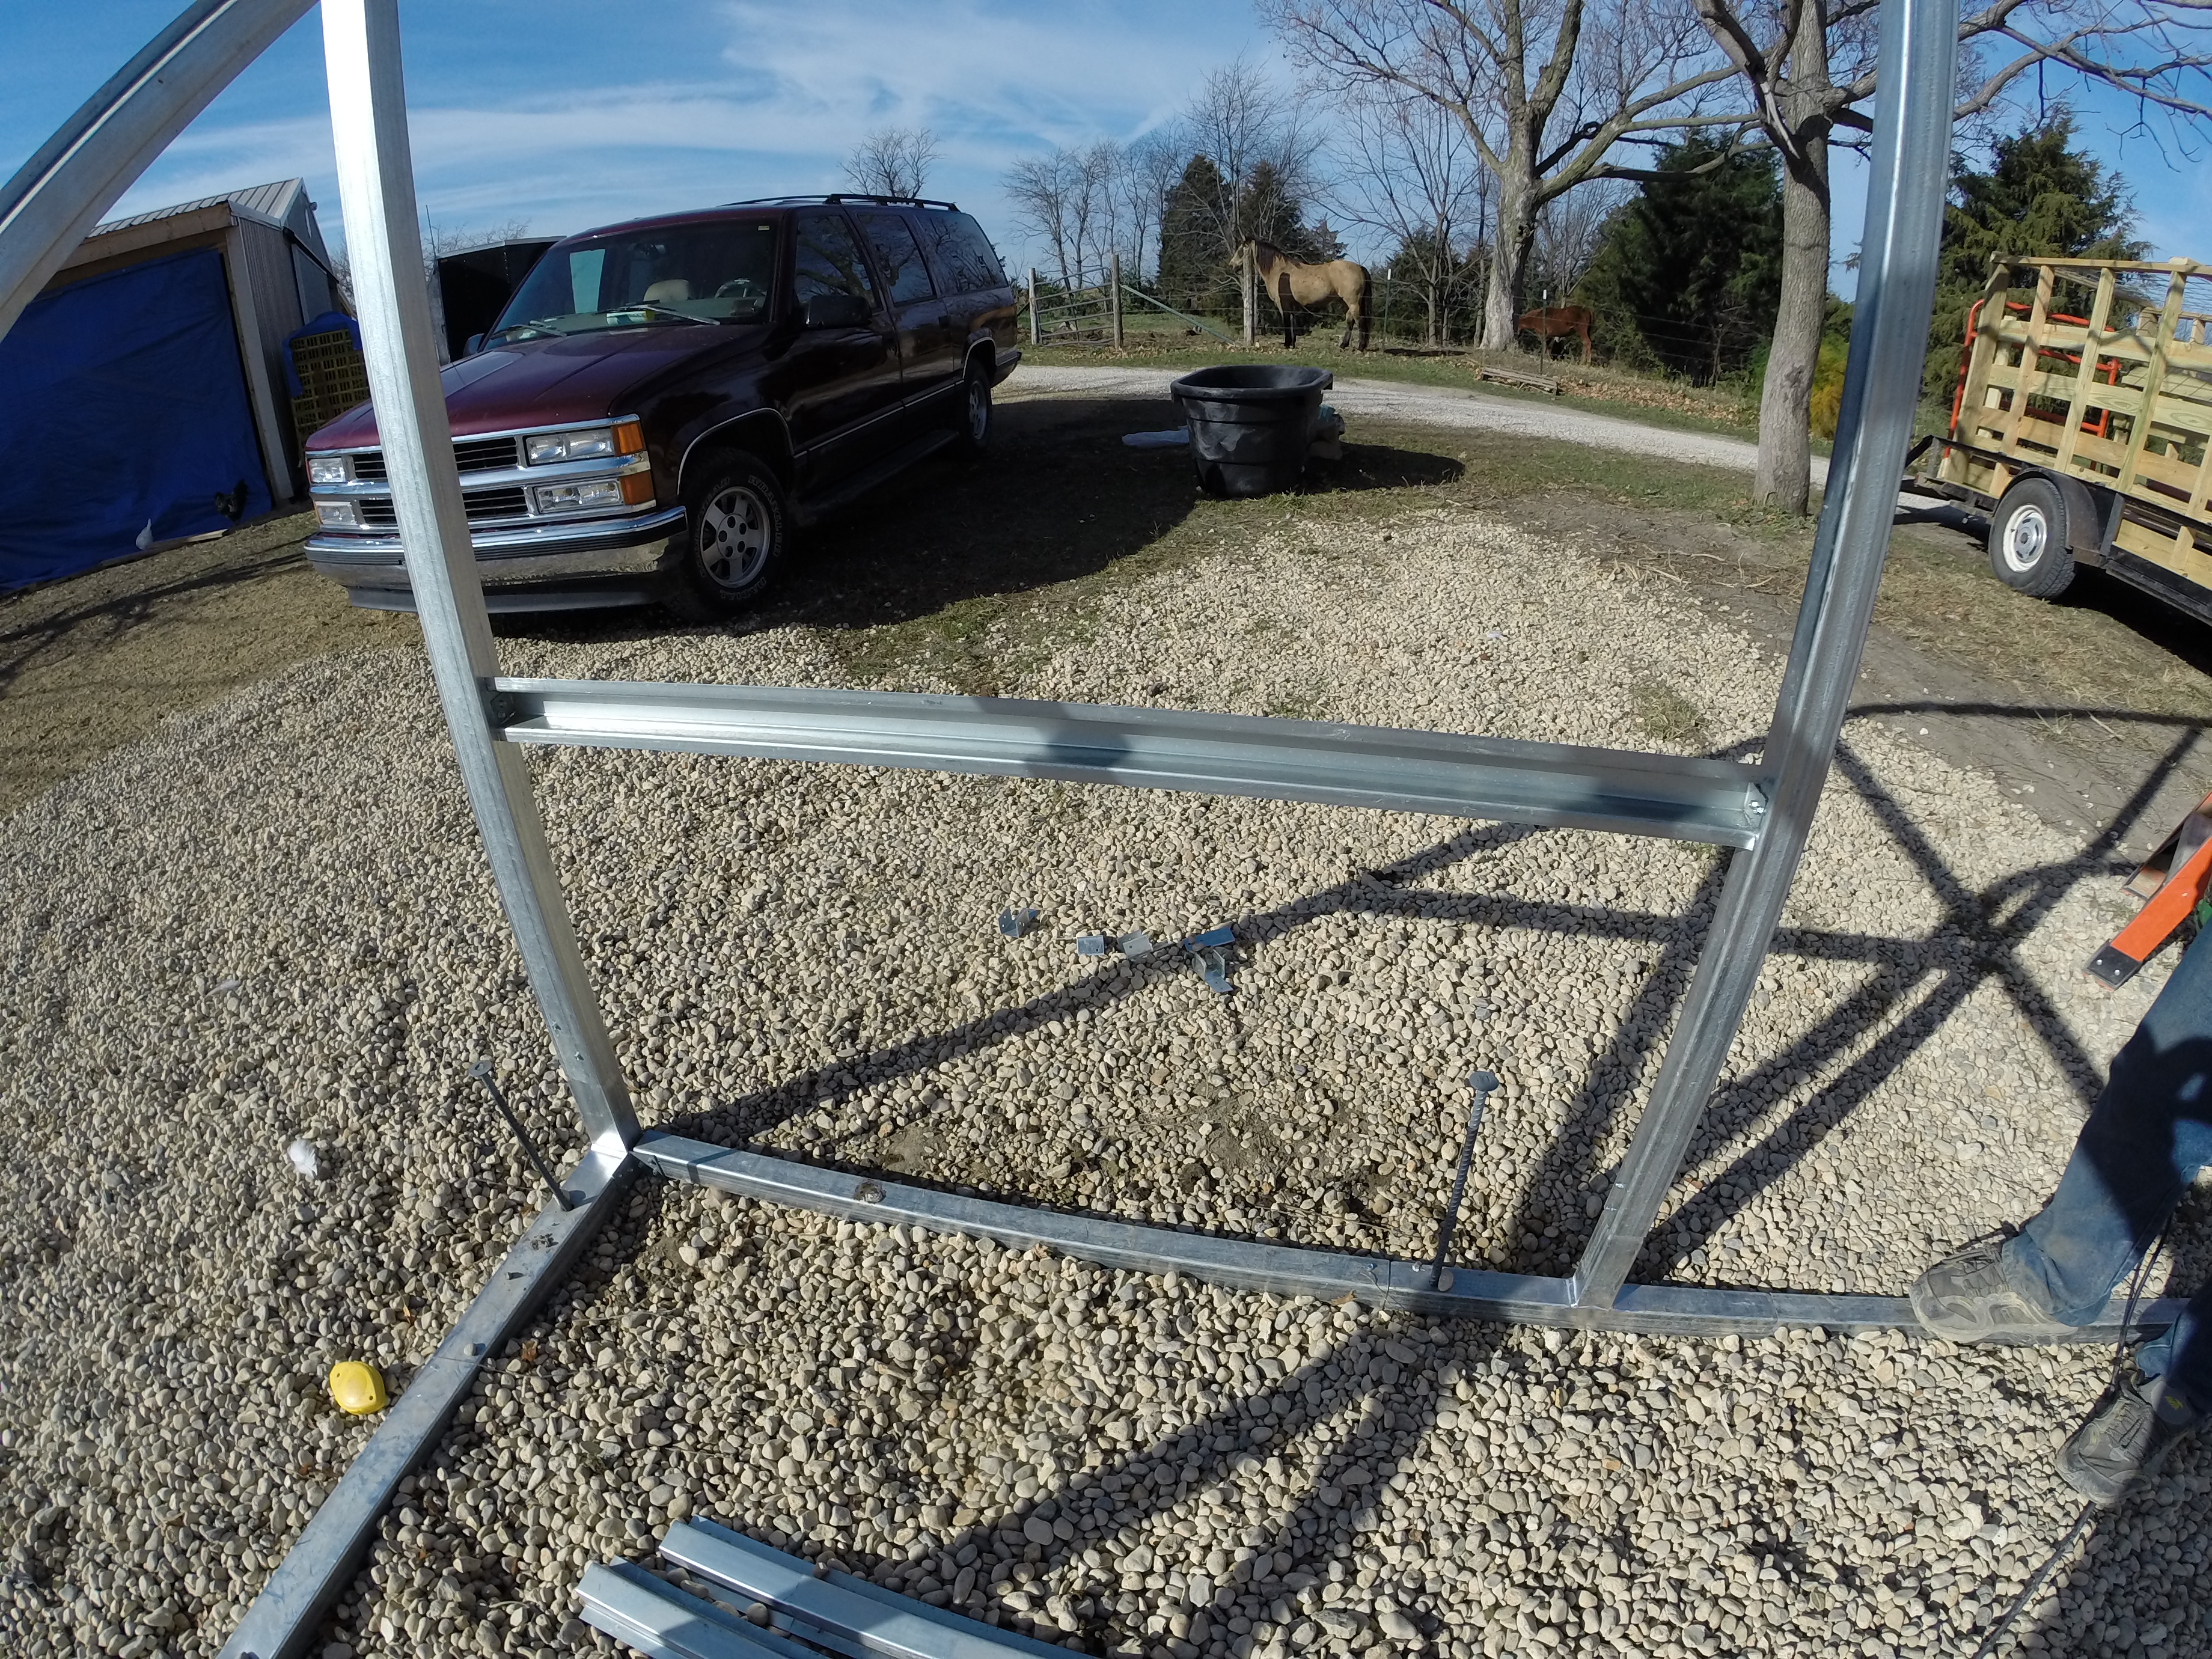
Here you will see that we laid out the 2 base rails side by side. We do this to make sure all the arches are the same distance apart. This should be 46" on center.
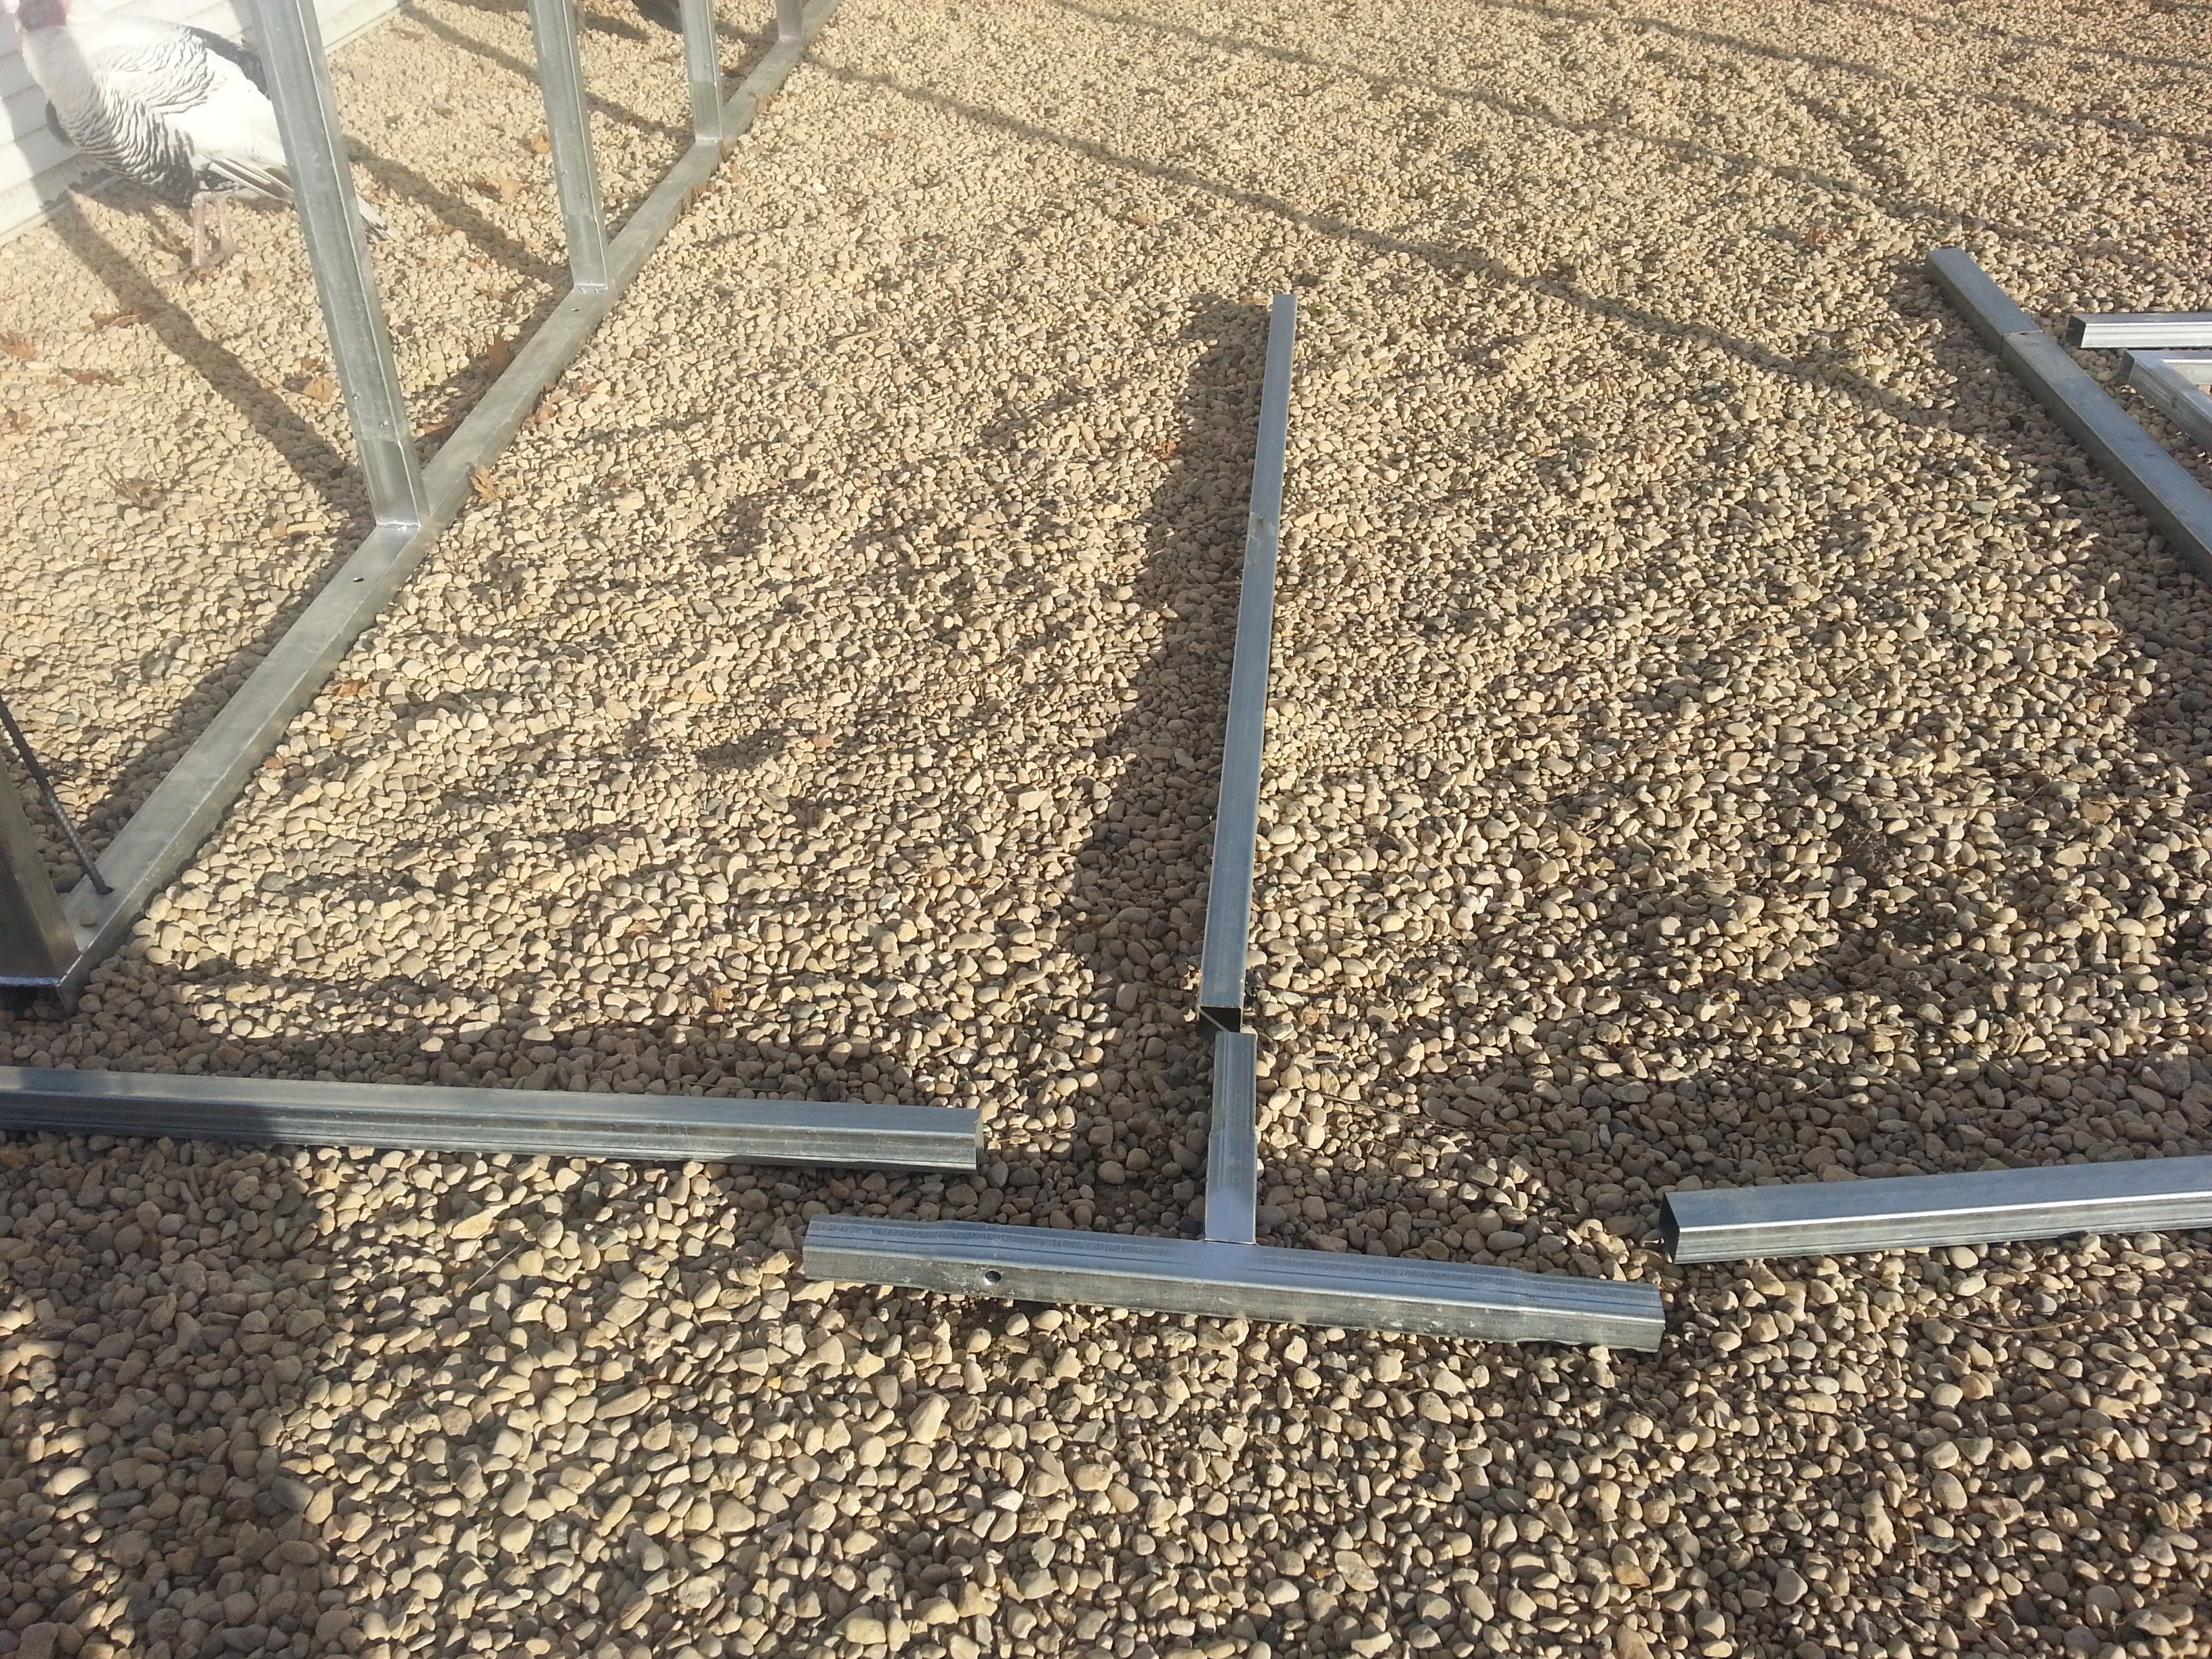
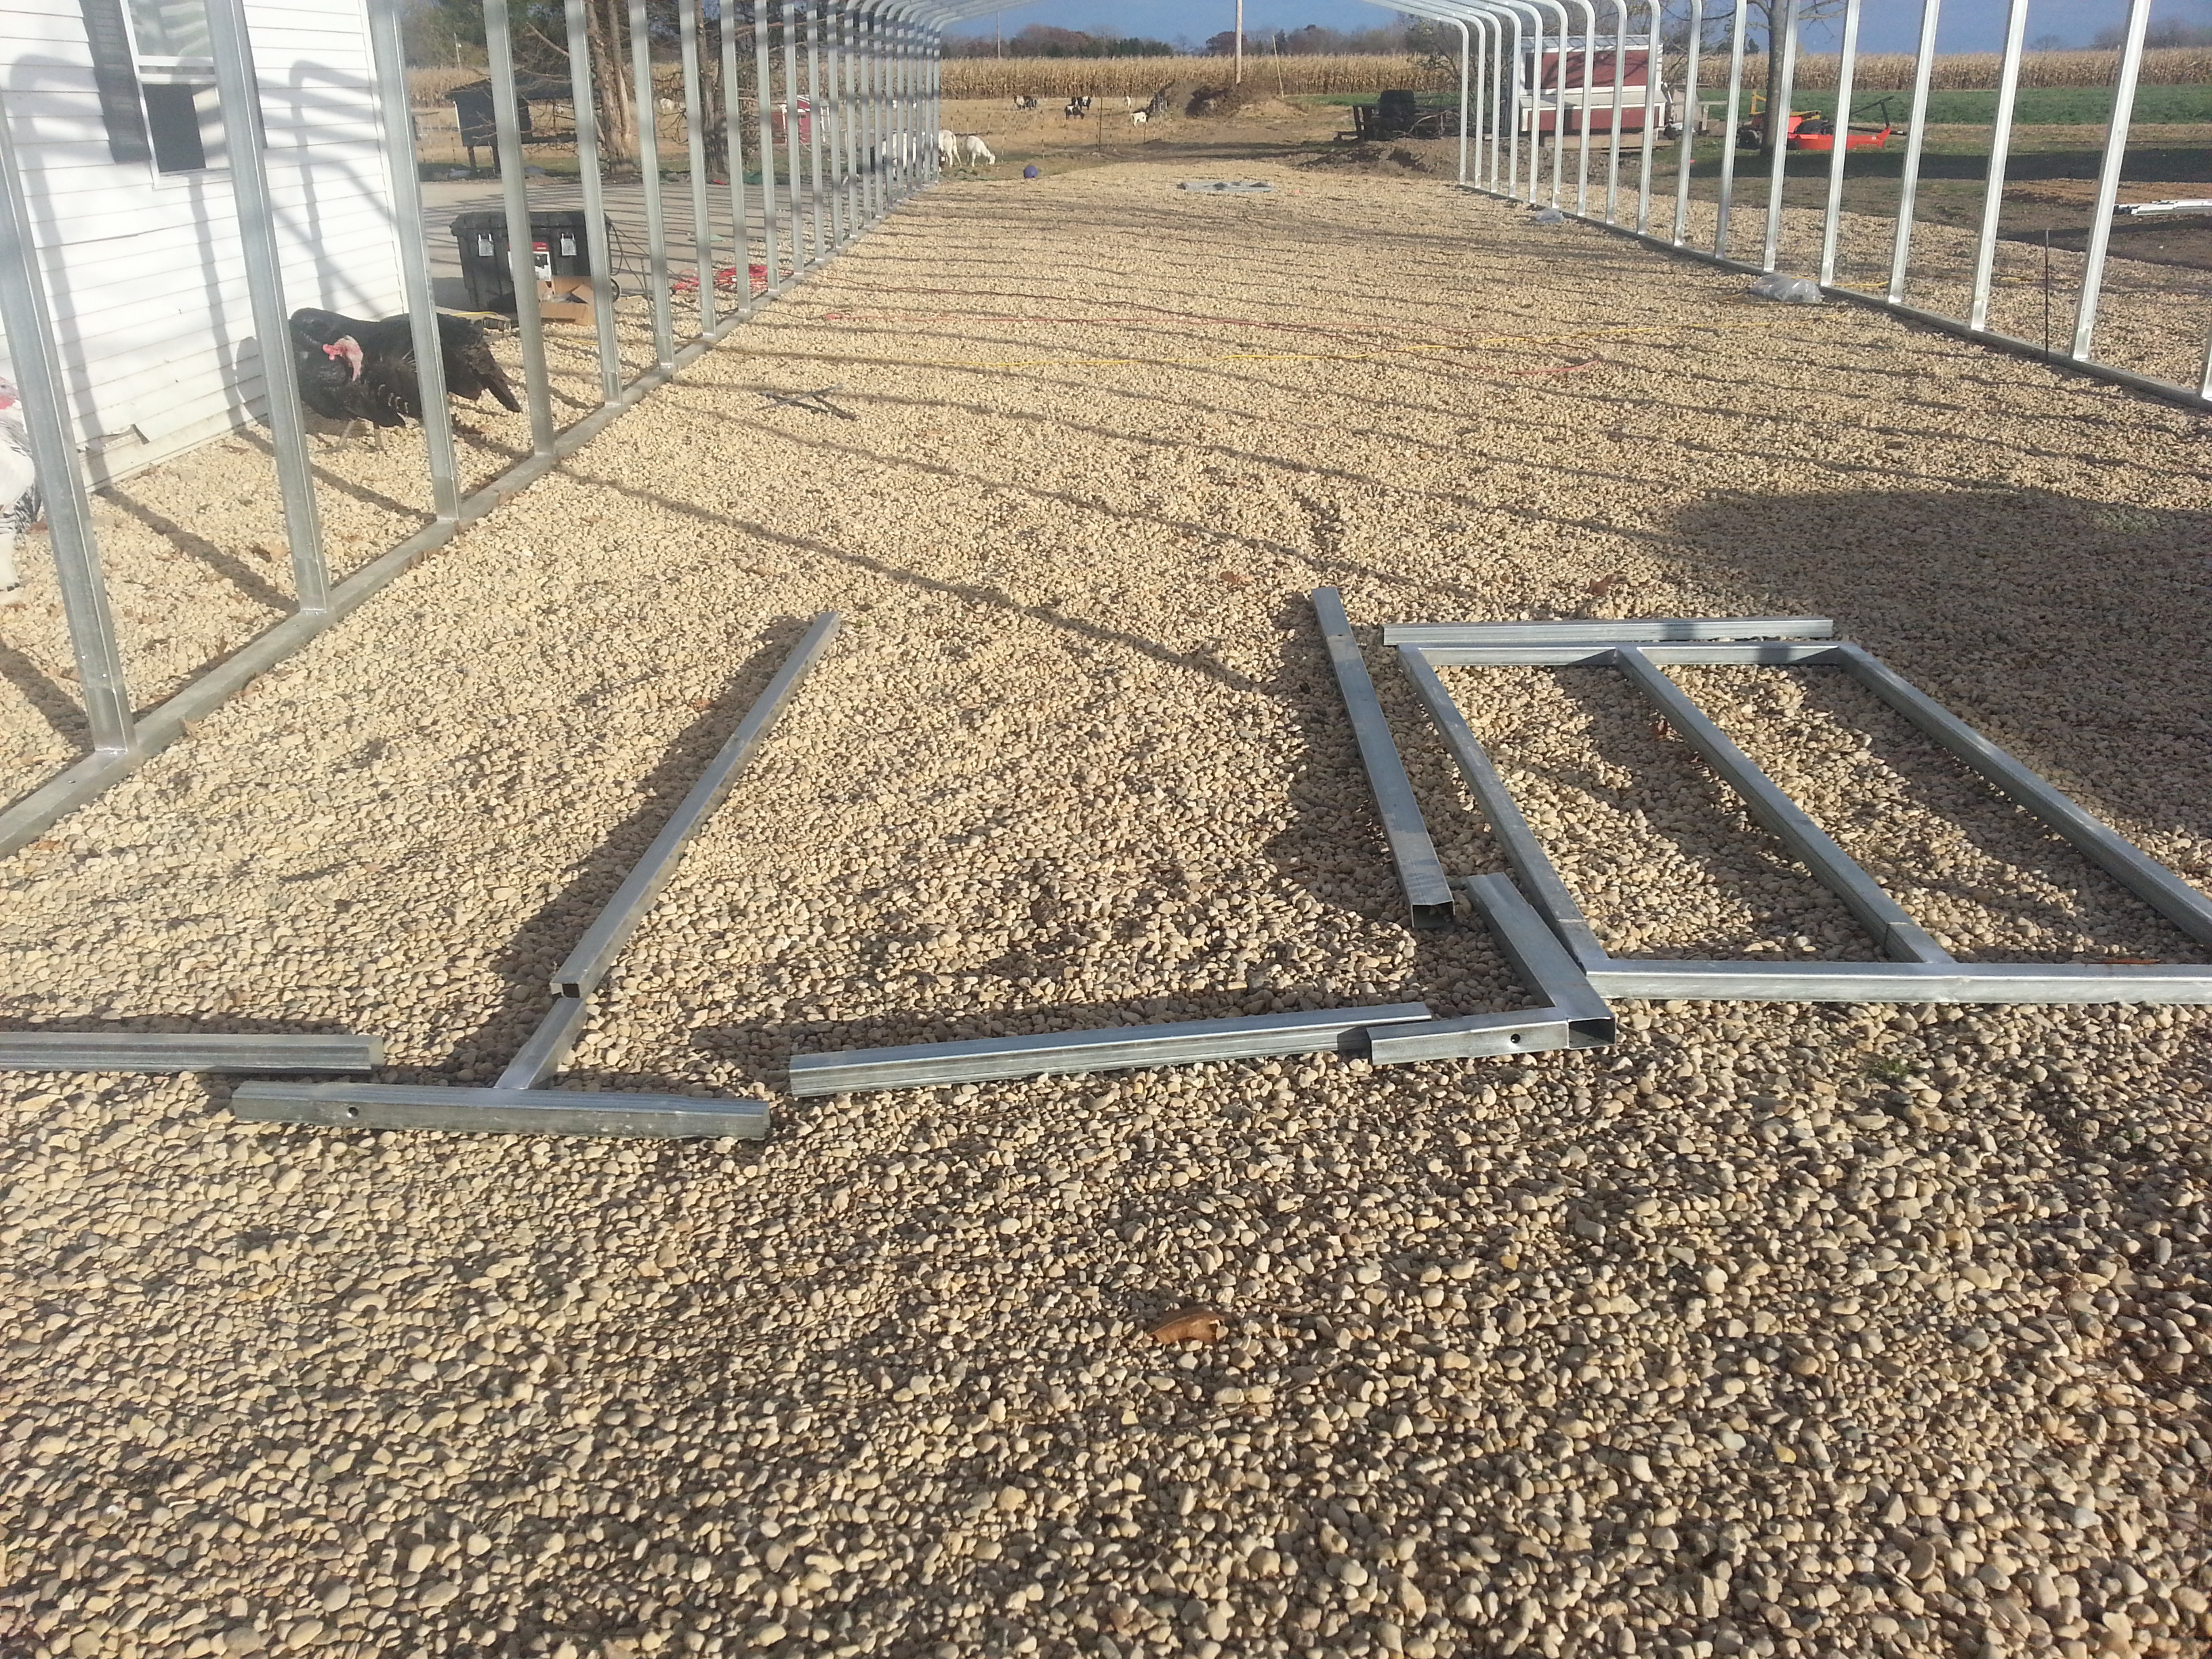
After we have verified every arch is the same distance apart on both rails we then moved the rails apart to where they will approximately go.
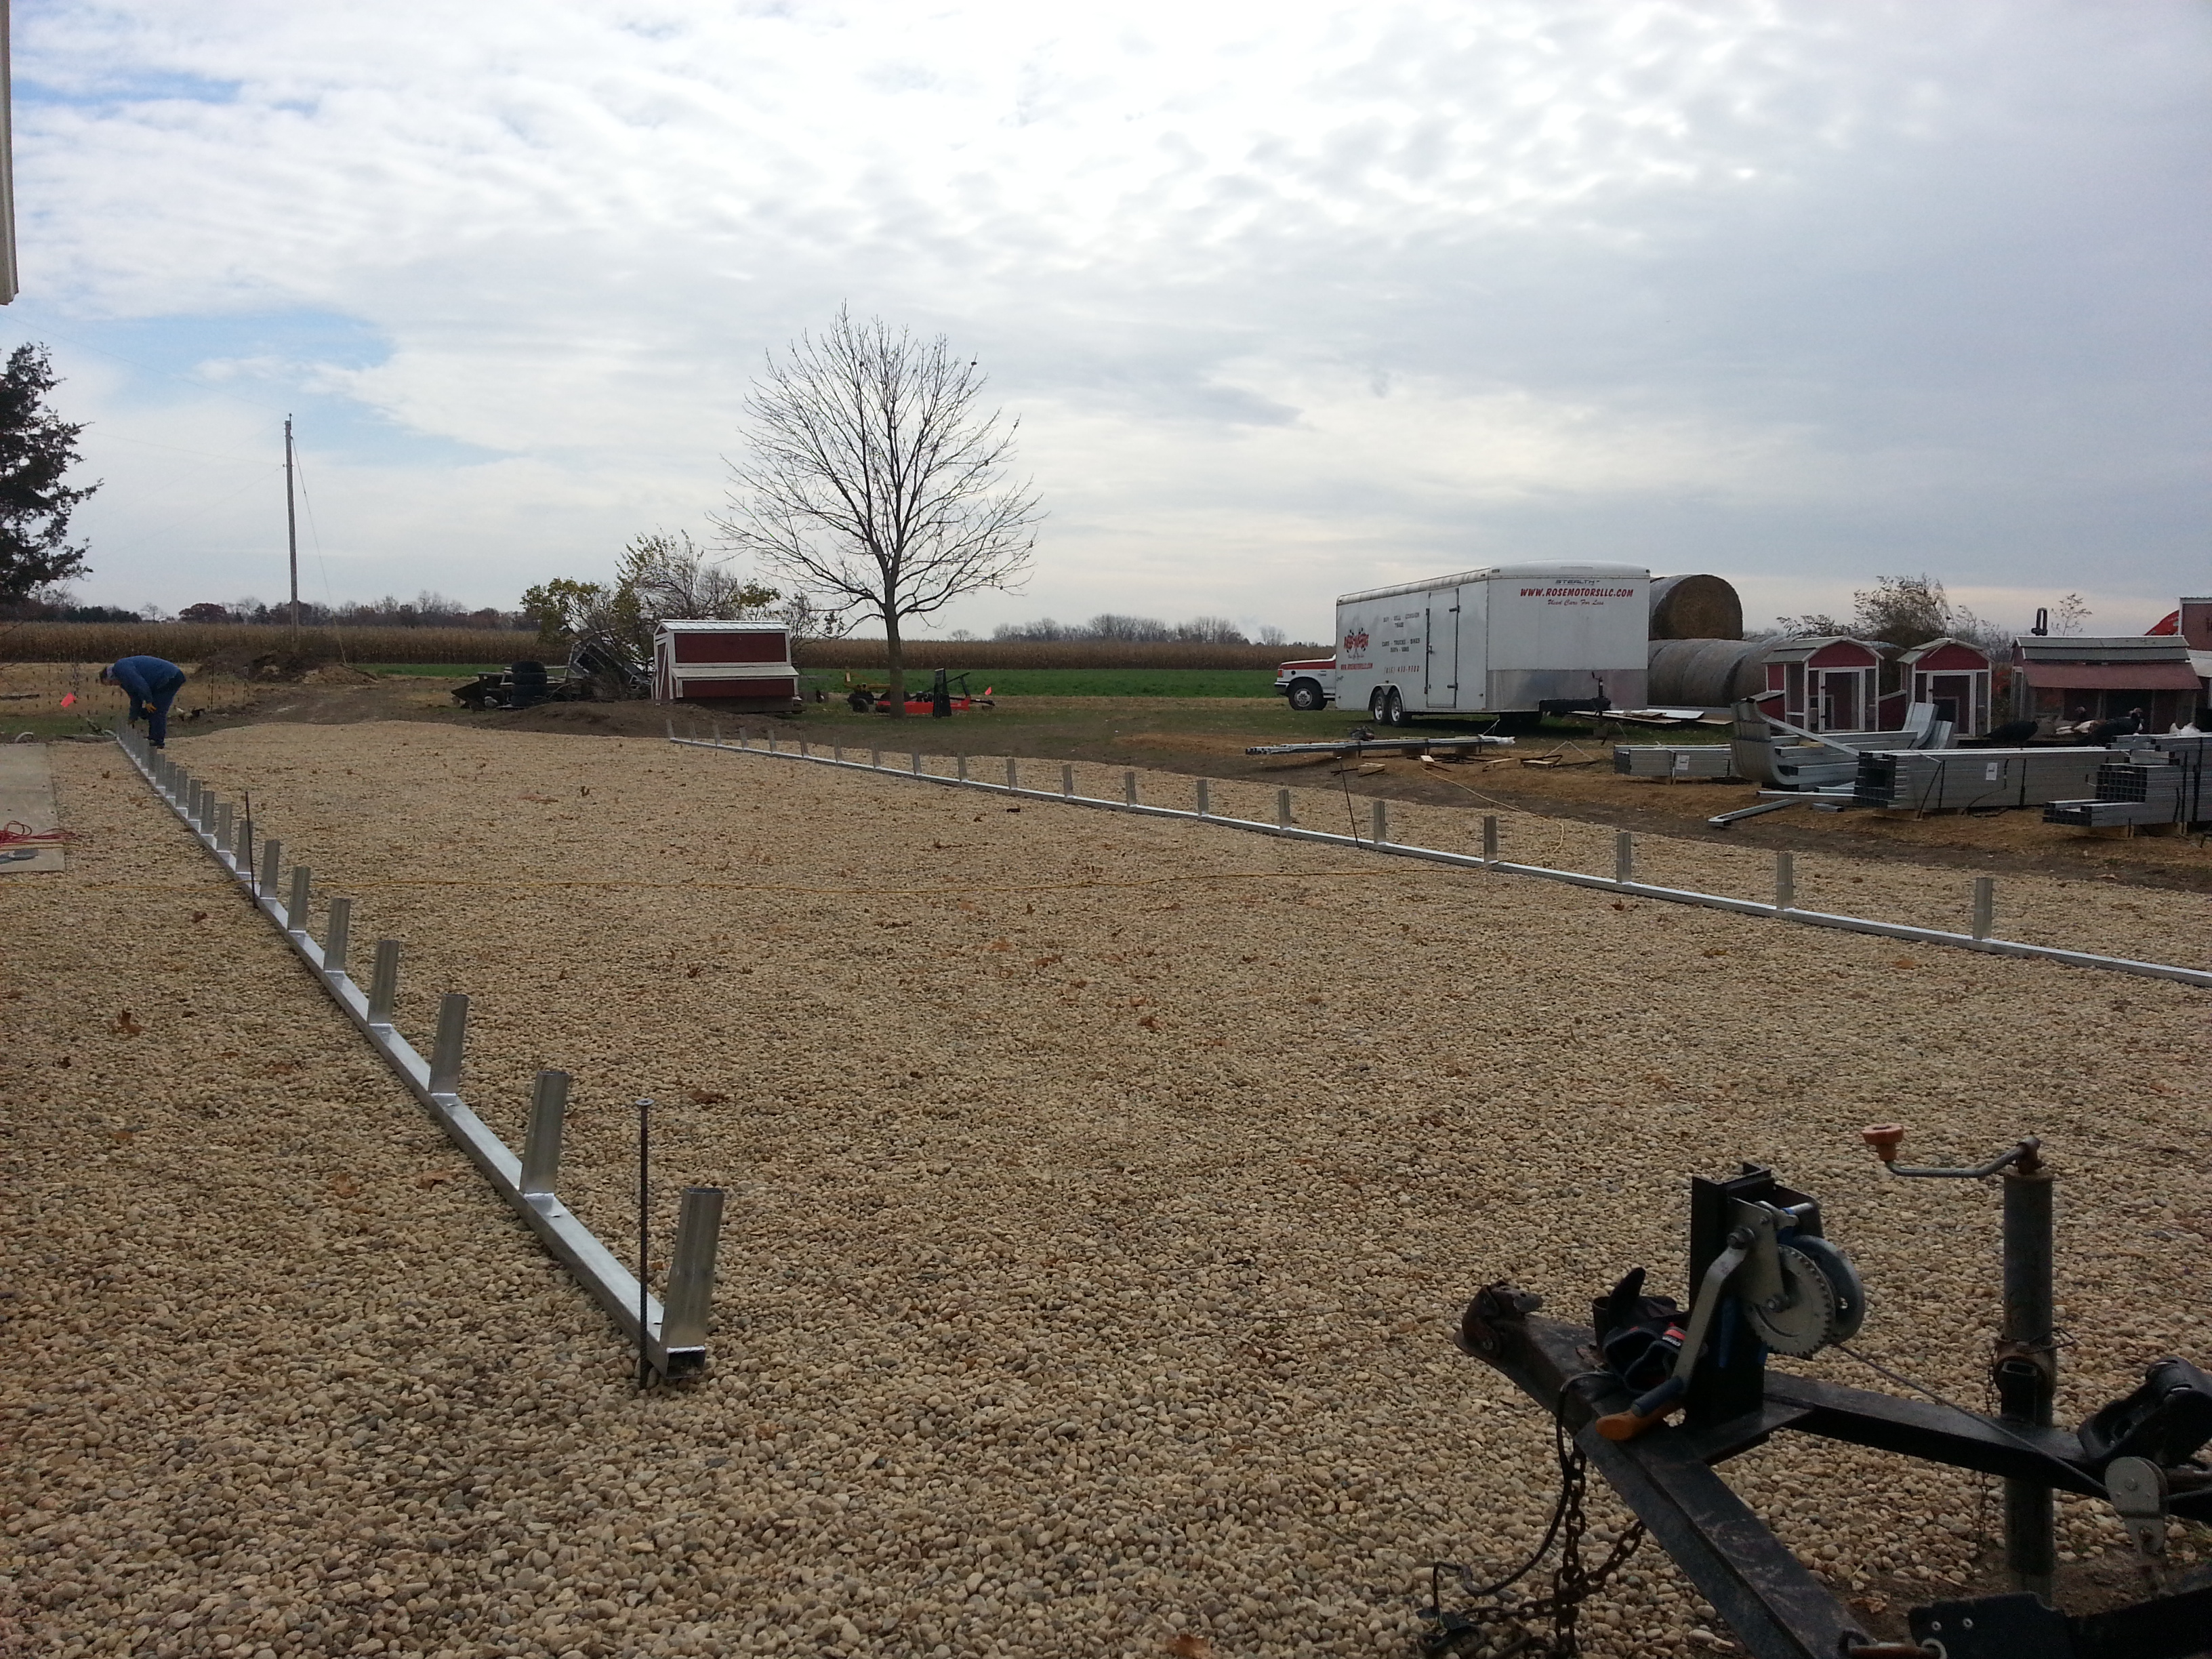
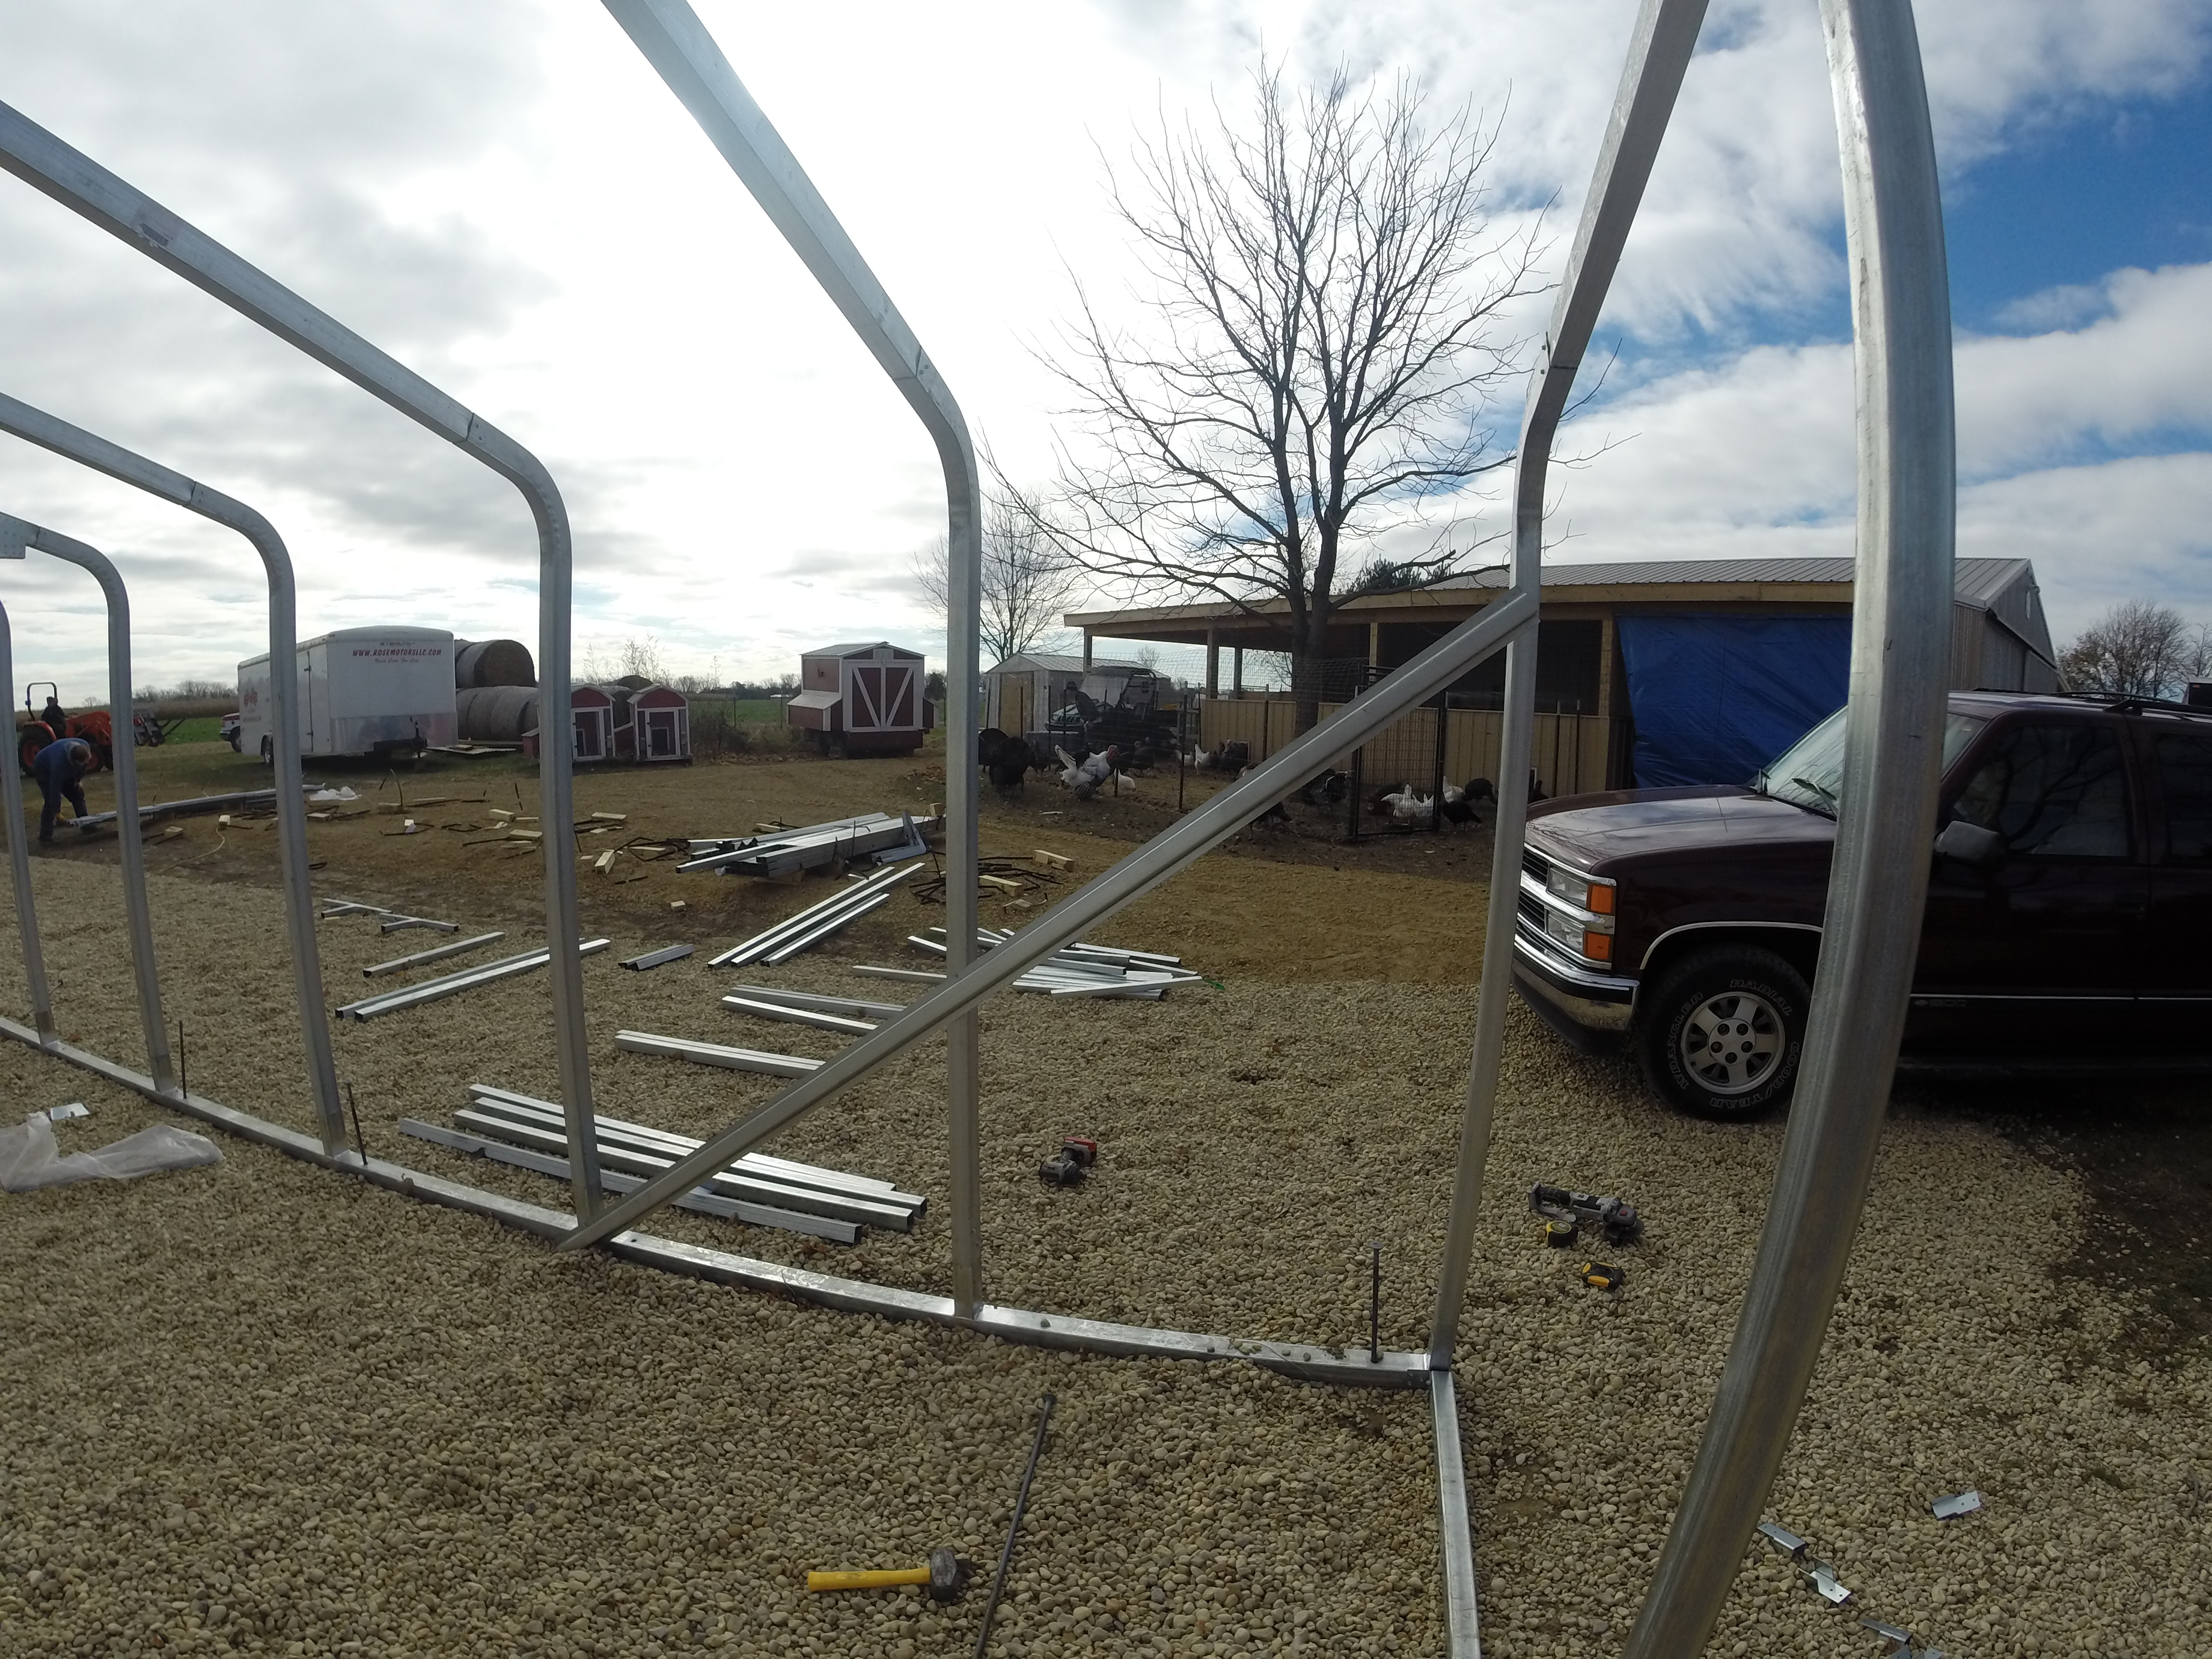
I have always found it easiest to get one side nice and strait. Then pin it in place with the anchors. I do not pin the other side into place until I have the arches up and have squared the building by measuring the diagonals. I only drive the anchors about 1/2 way in the ground right now in case I need to move it later for some unexpected reason. You can always hammer the anchors the rest of the way into the ground later after everything is in place and square.
Here is a shot of the anchors hammered about 1/2 way in.
We have had several customers decide to move the greenhouse after installation. The anchors we were using did not allow for any place to grab on to pull them out if later if needed. So now to allow for removal at a later date if needed we simply ship strait rebar and recommend hammering it over when it is about 6 inches from the top. This will hold it down just as well but also allow you a place to hook on to and pull it out later if needed.
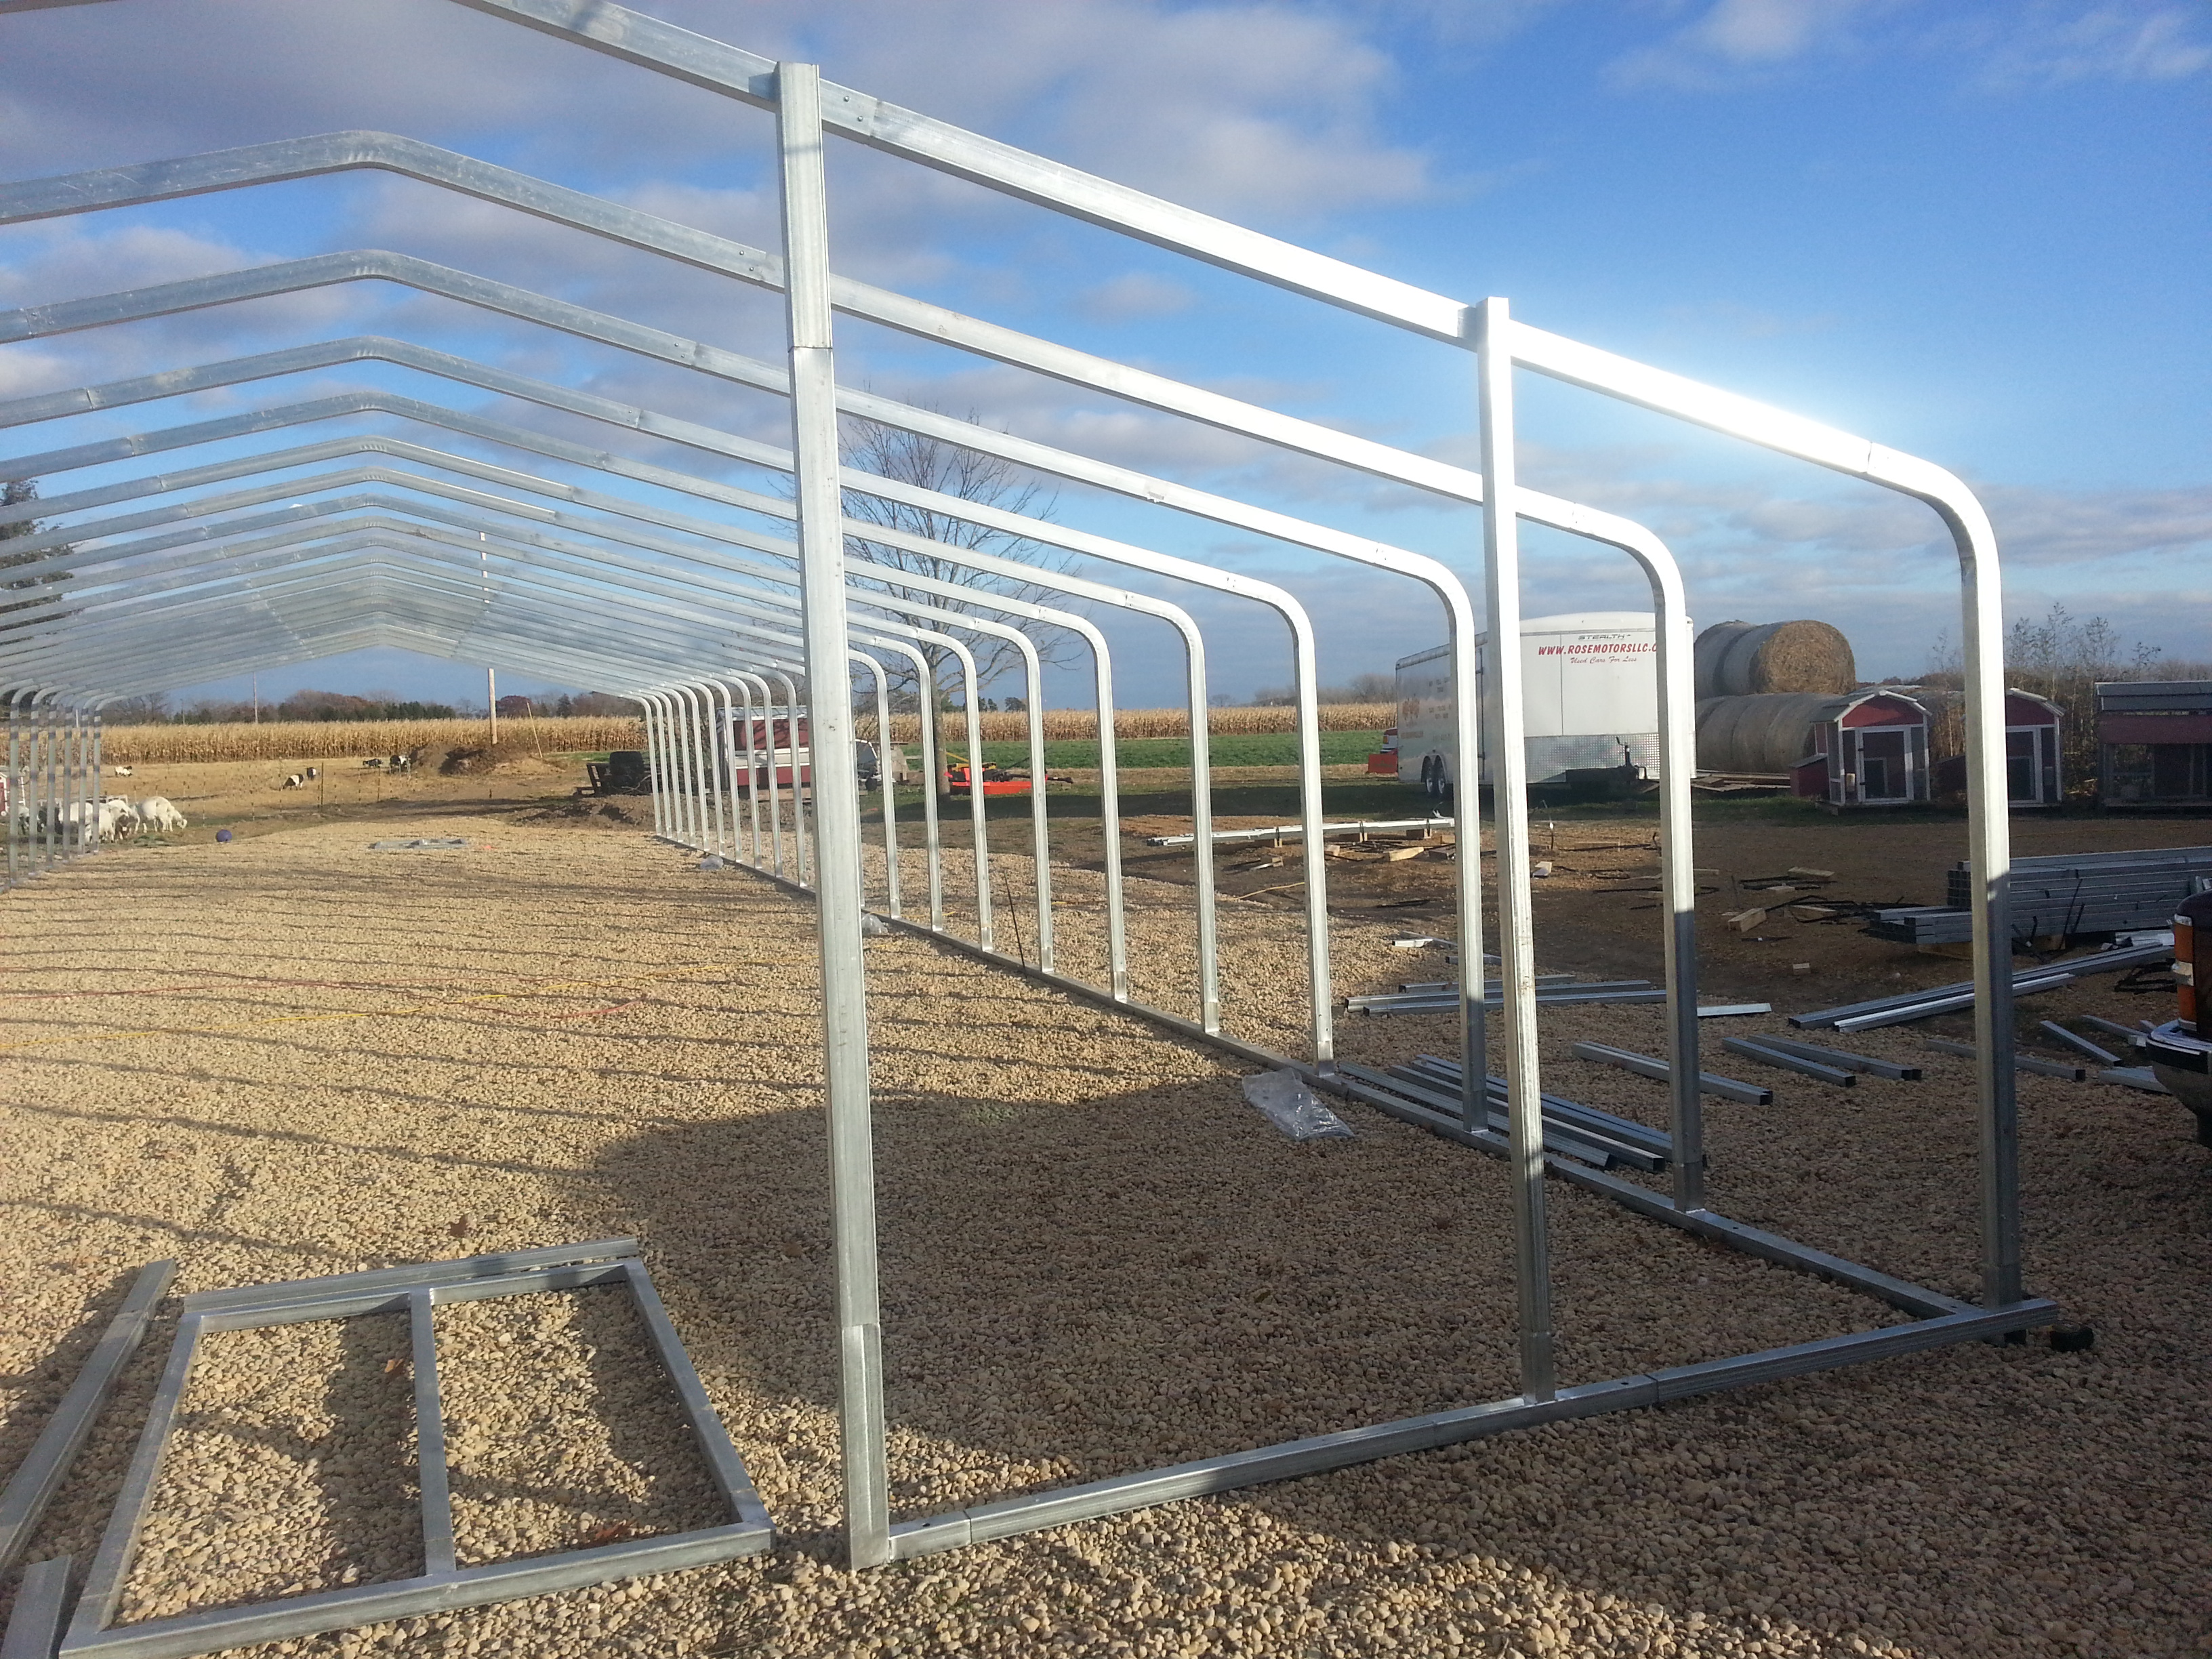
Here we have laid out the basic arch pieces so you can see how they go
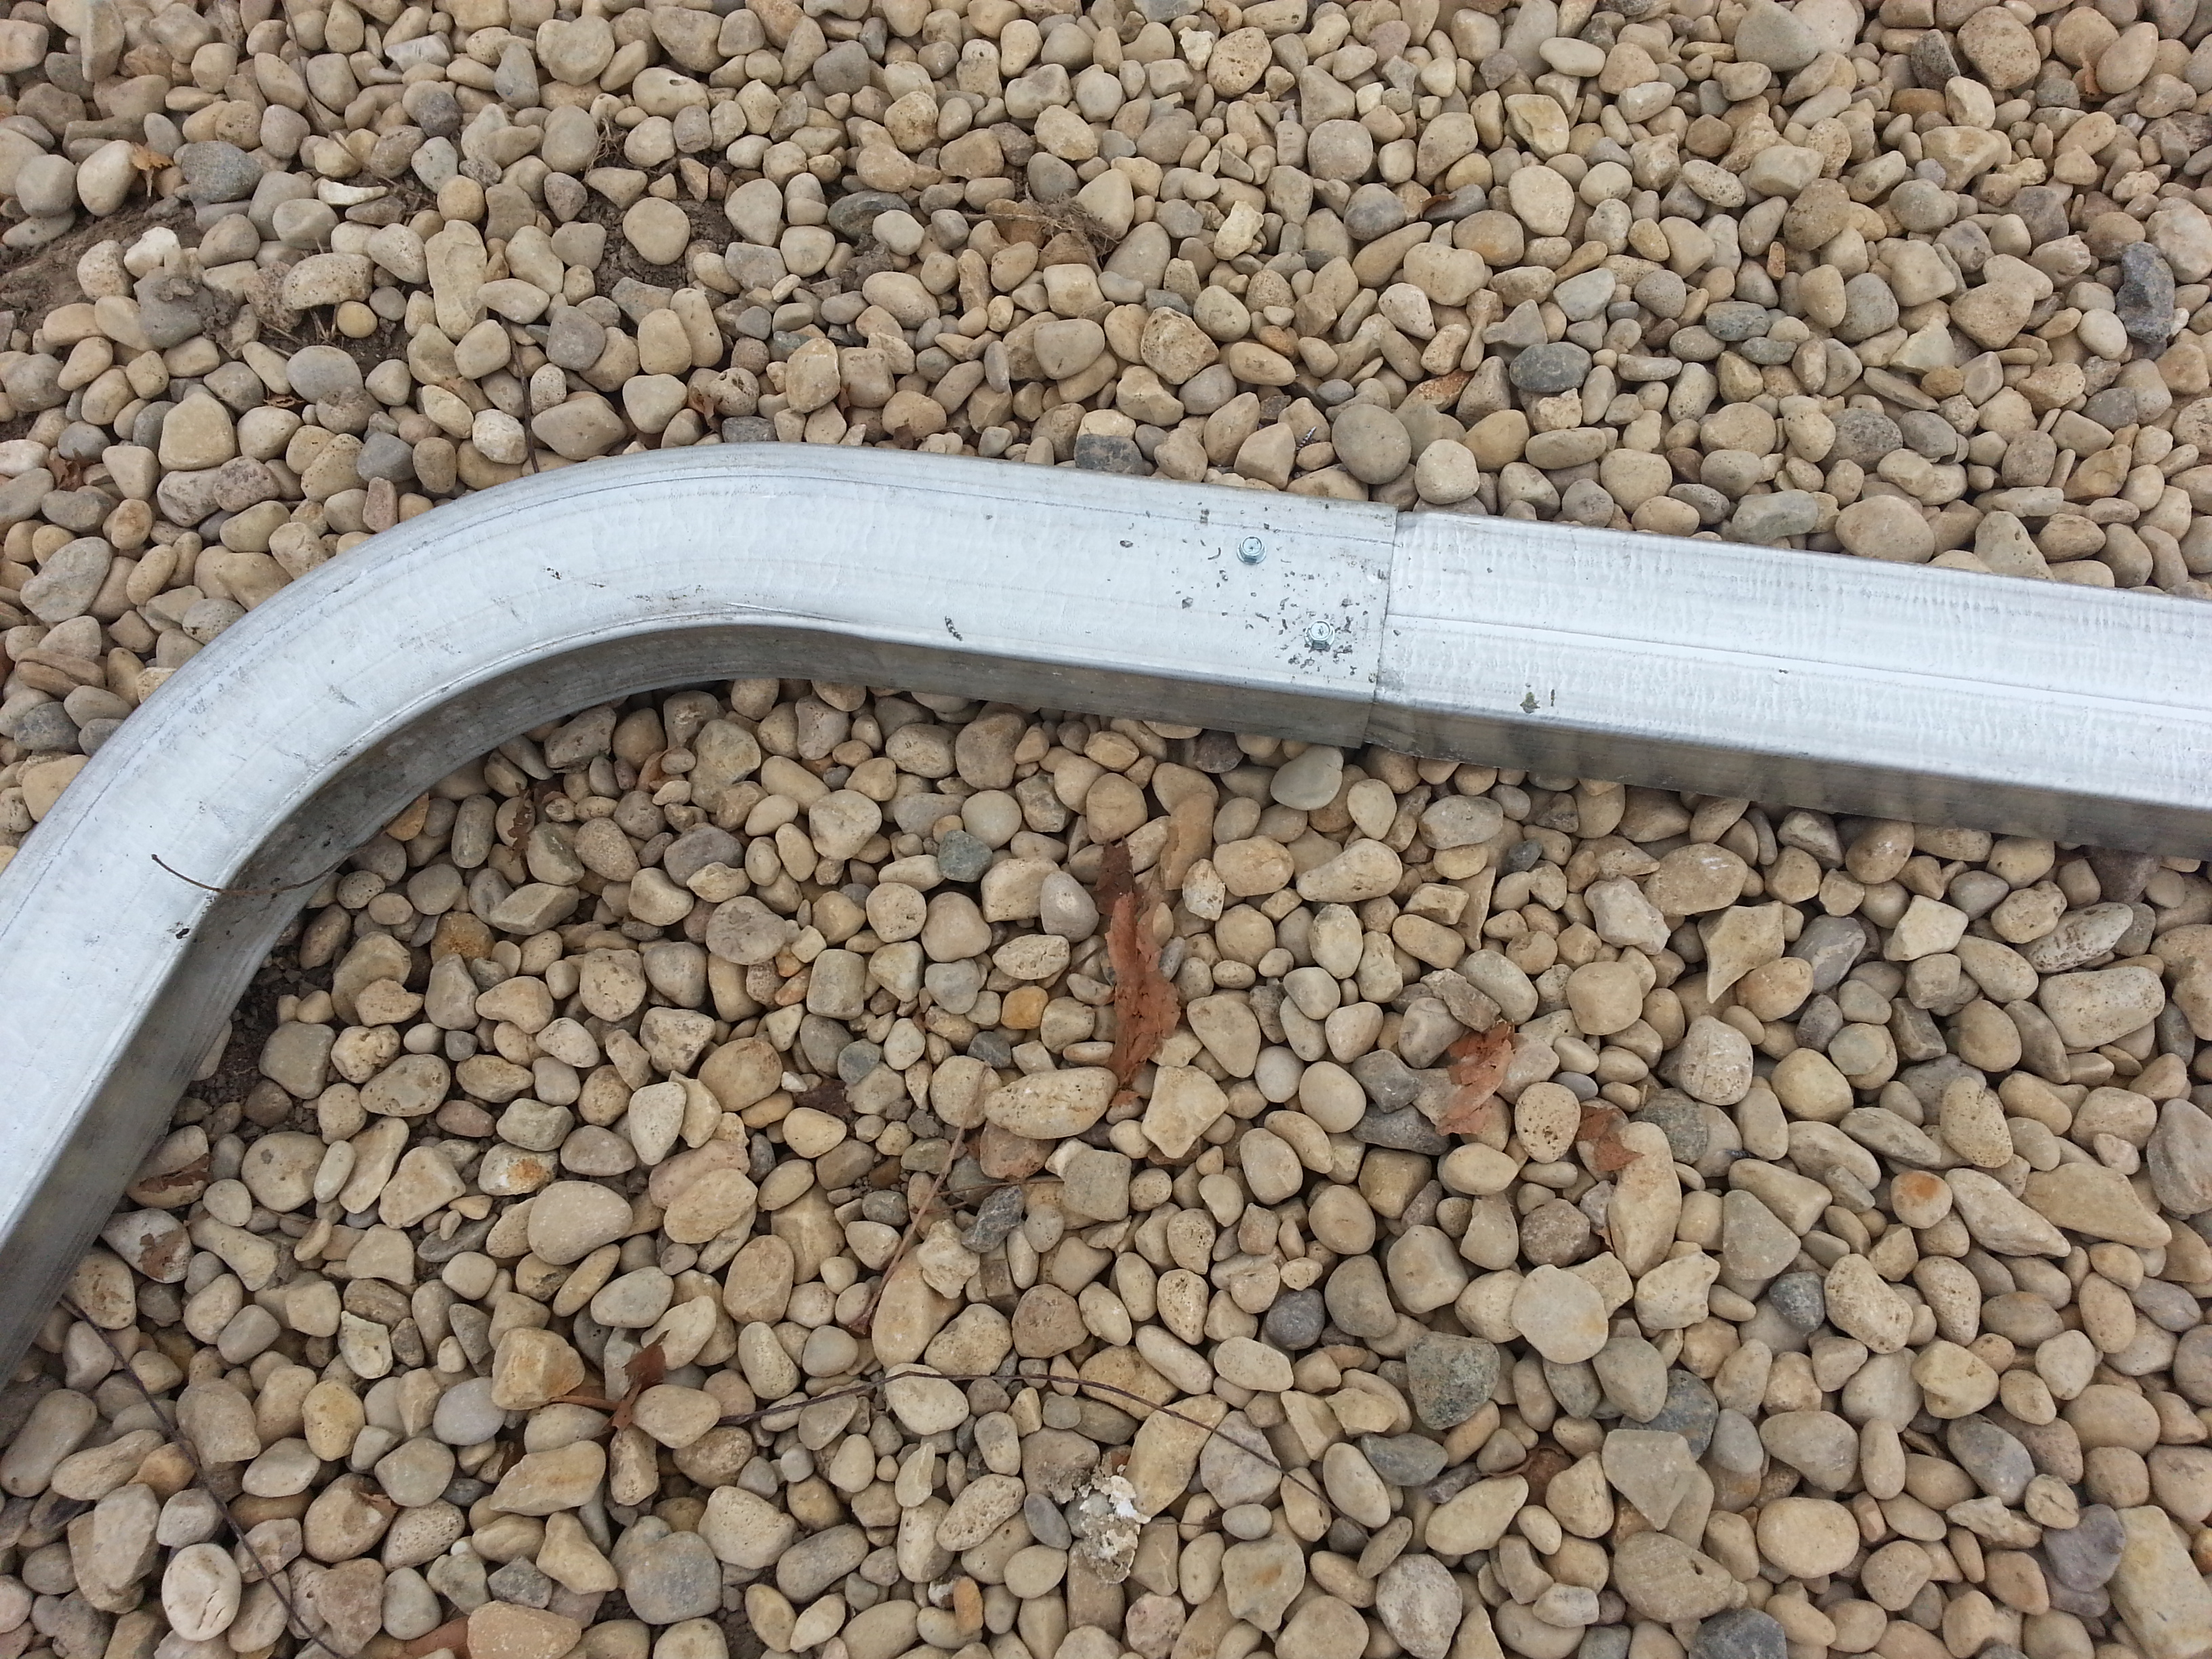
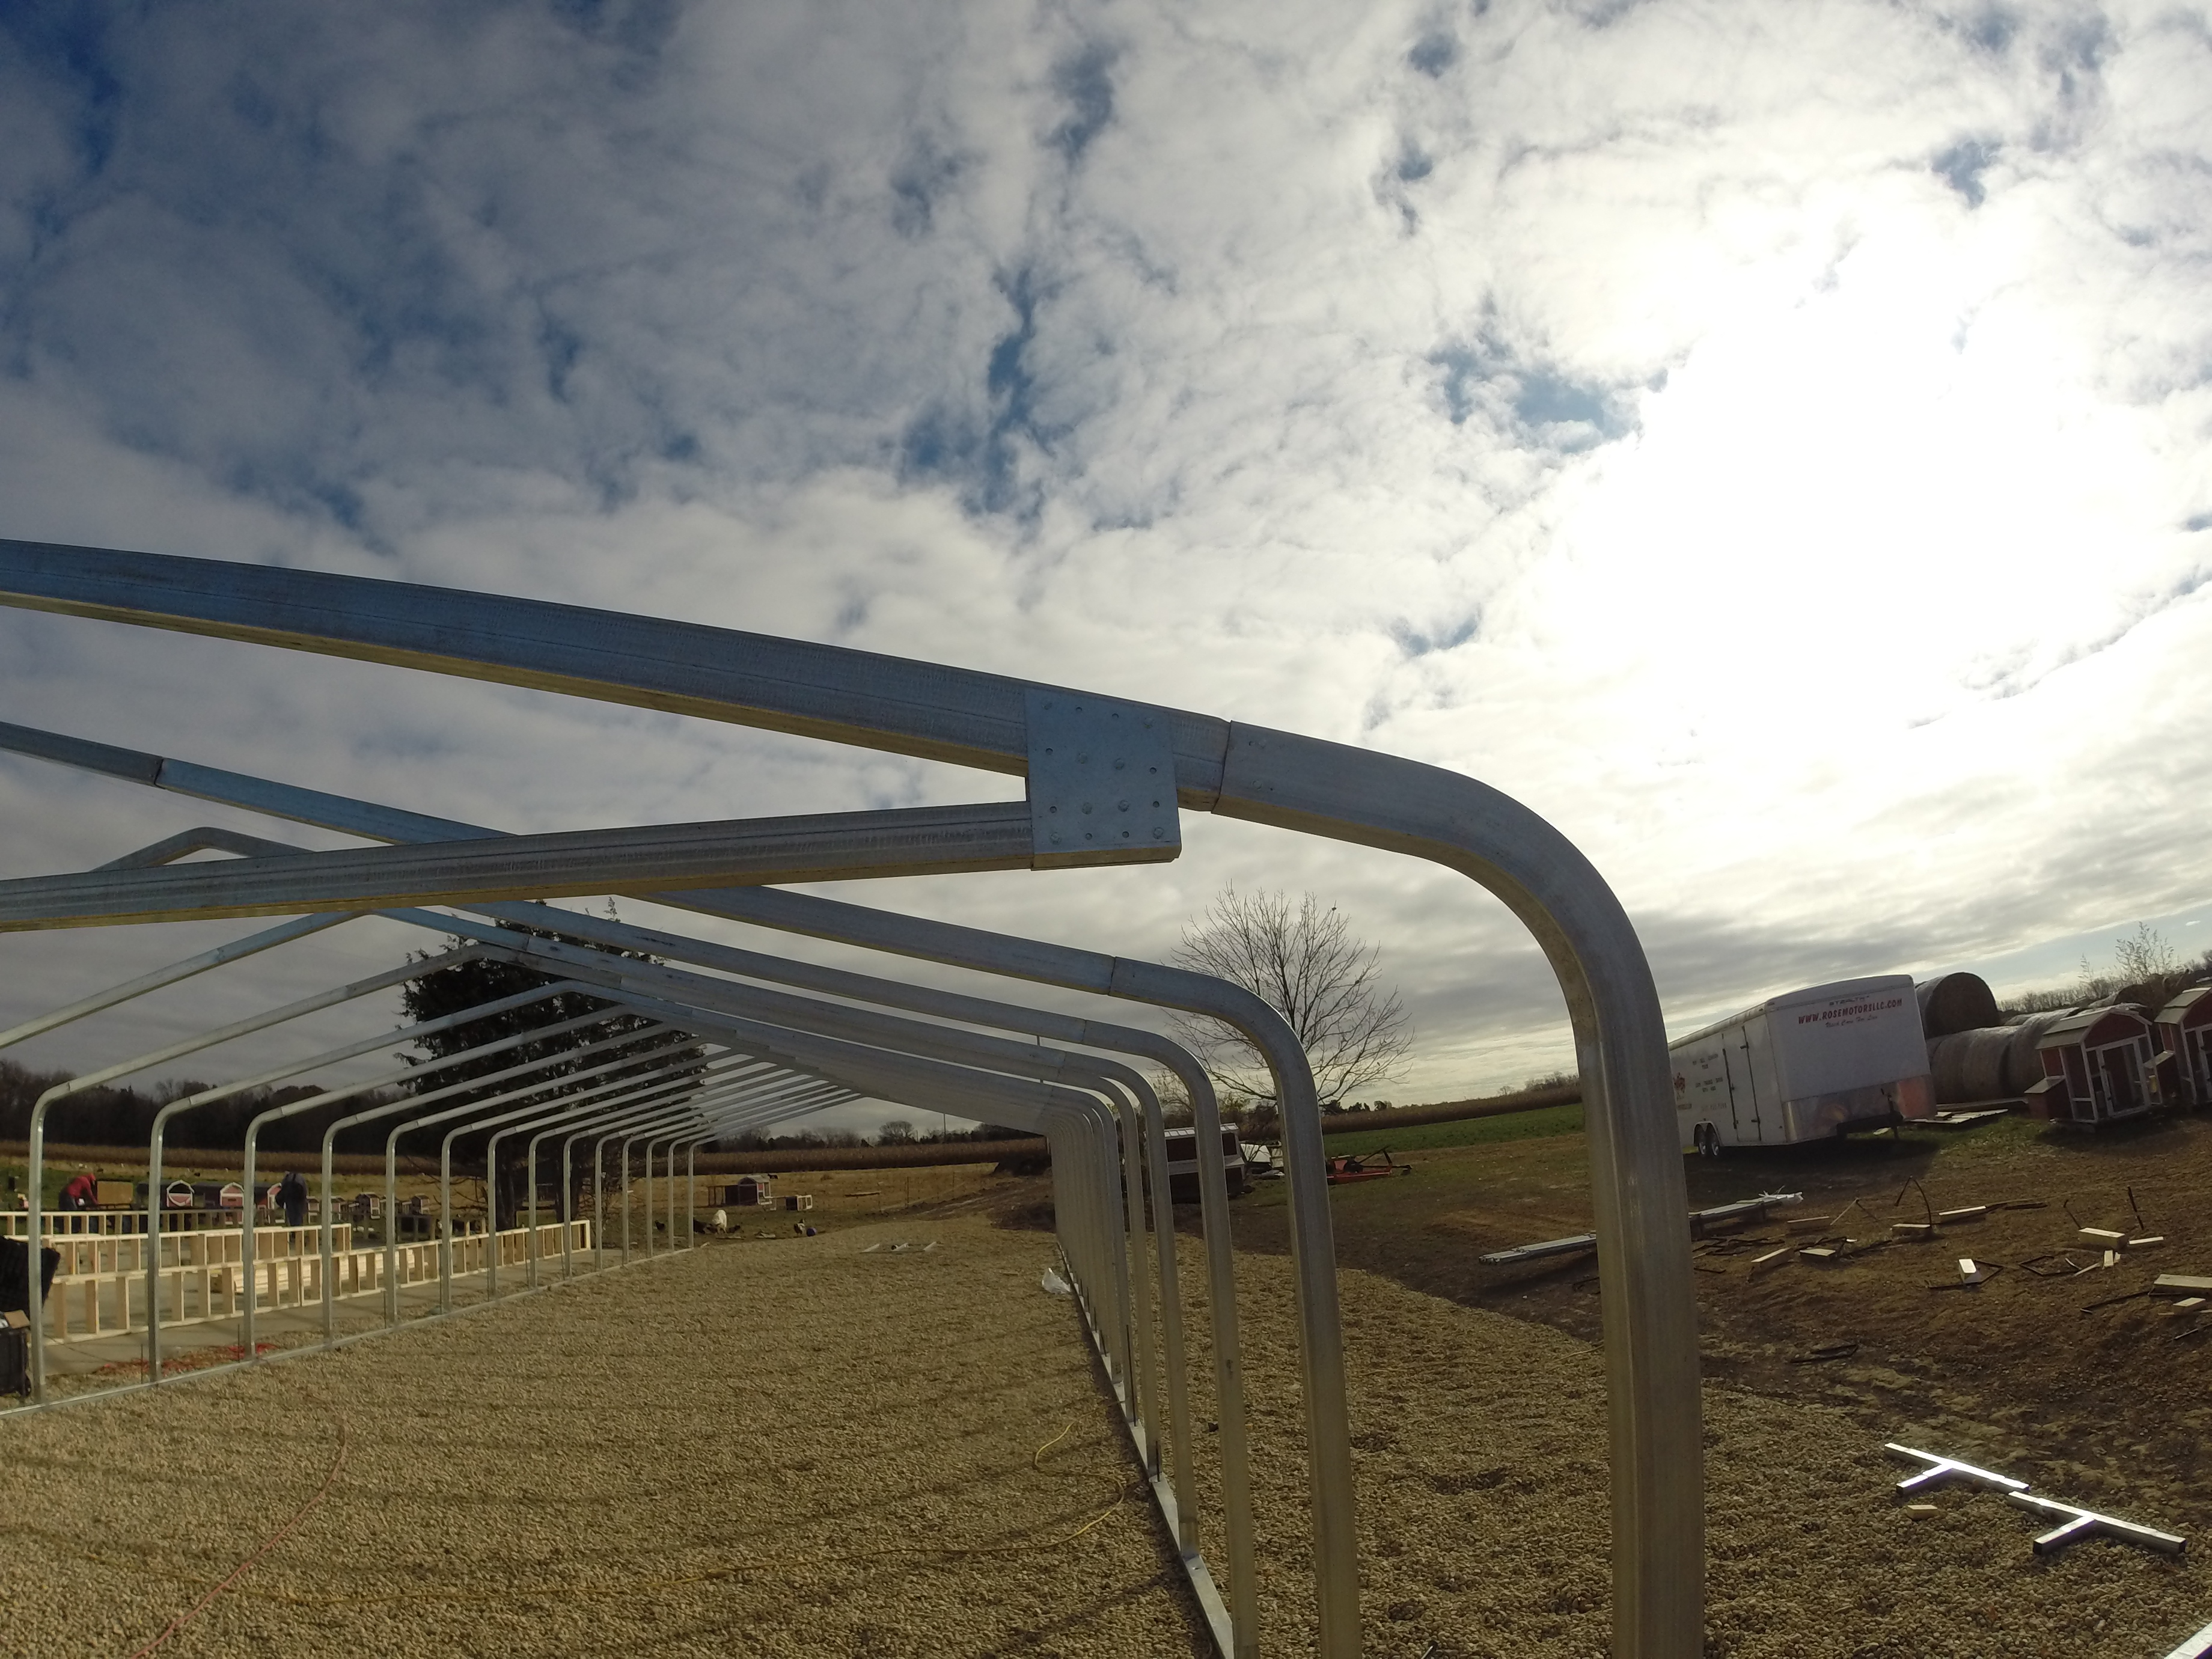
This is the top corner of the leg where it curves over and becomes the roof. Notice the 2 screws that hold the connection together. After we do this side we flip the truss over and put screws on the other side too.
Here is the rest of the roof connection where the extension meets up with the roof peak section.
Here is a completed truss. Most our our models will have some corner bracing already installed on the corners. We screw in the top of the bracing for you. We do not screw in the bottom of the bracing. This will allow you to plumb the walls level. Then you can shoot in a couple of screws on the bottom of the corner bracing to keep it plumb.
Don't forget to shoot in a couple of screws at the bottom where it slips on to the base rail footer.
Before you raise up the arch to set it on the footer, check the inside of the leg opening and make sure it is square and not crimped. This may save you some aggravation later when you set it on top of the footer.
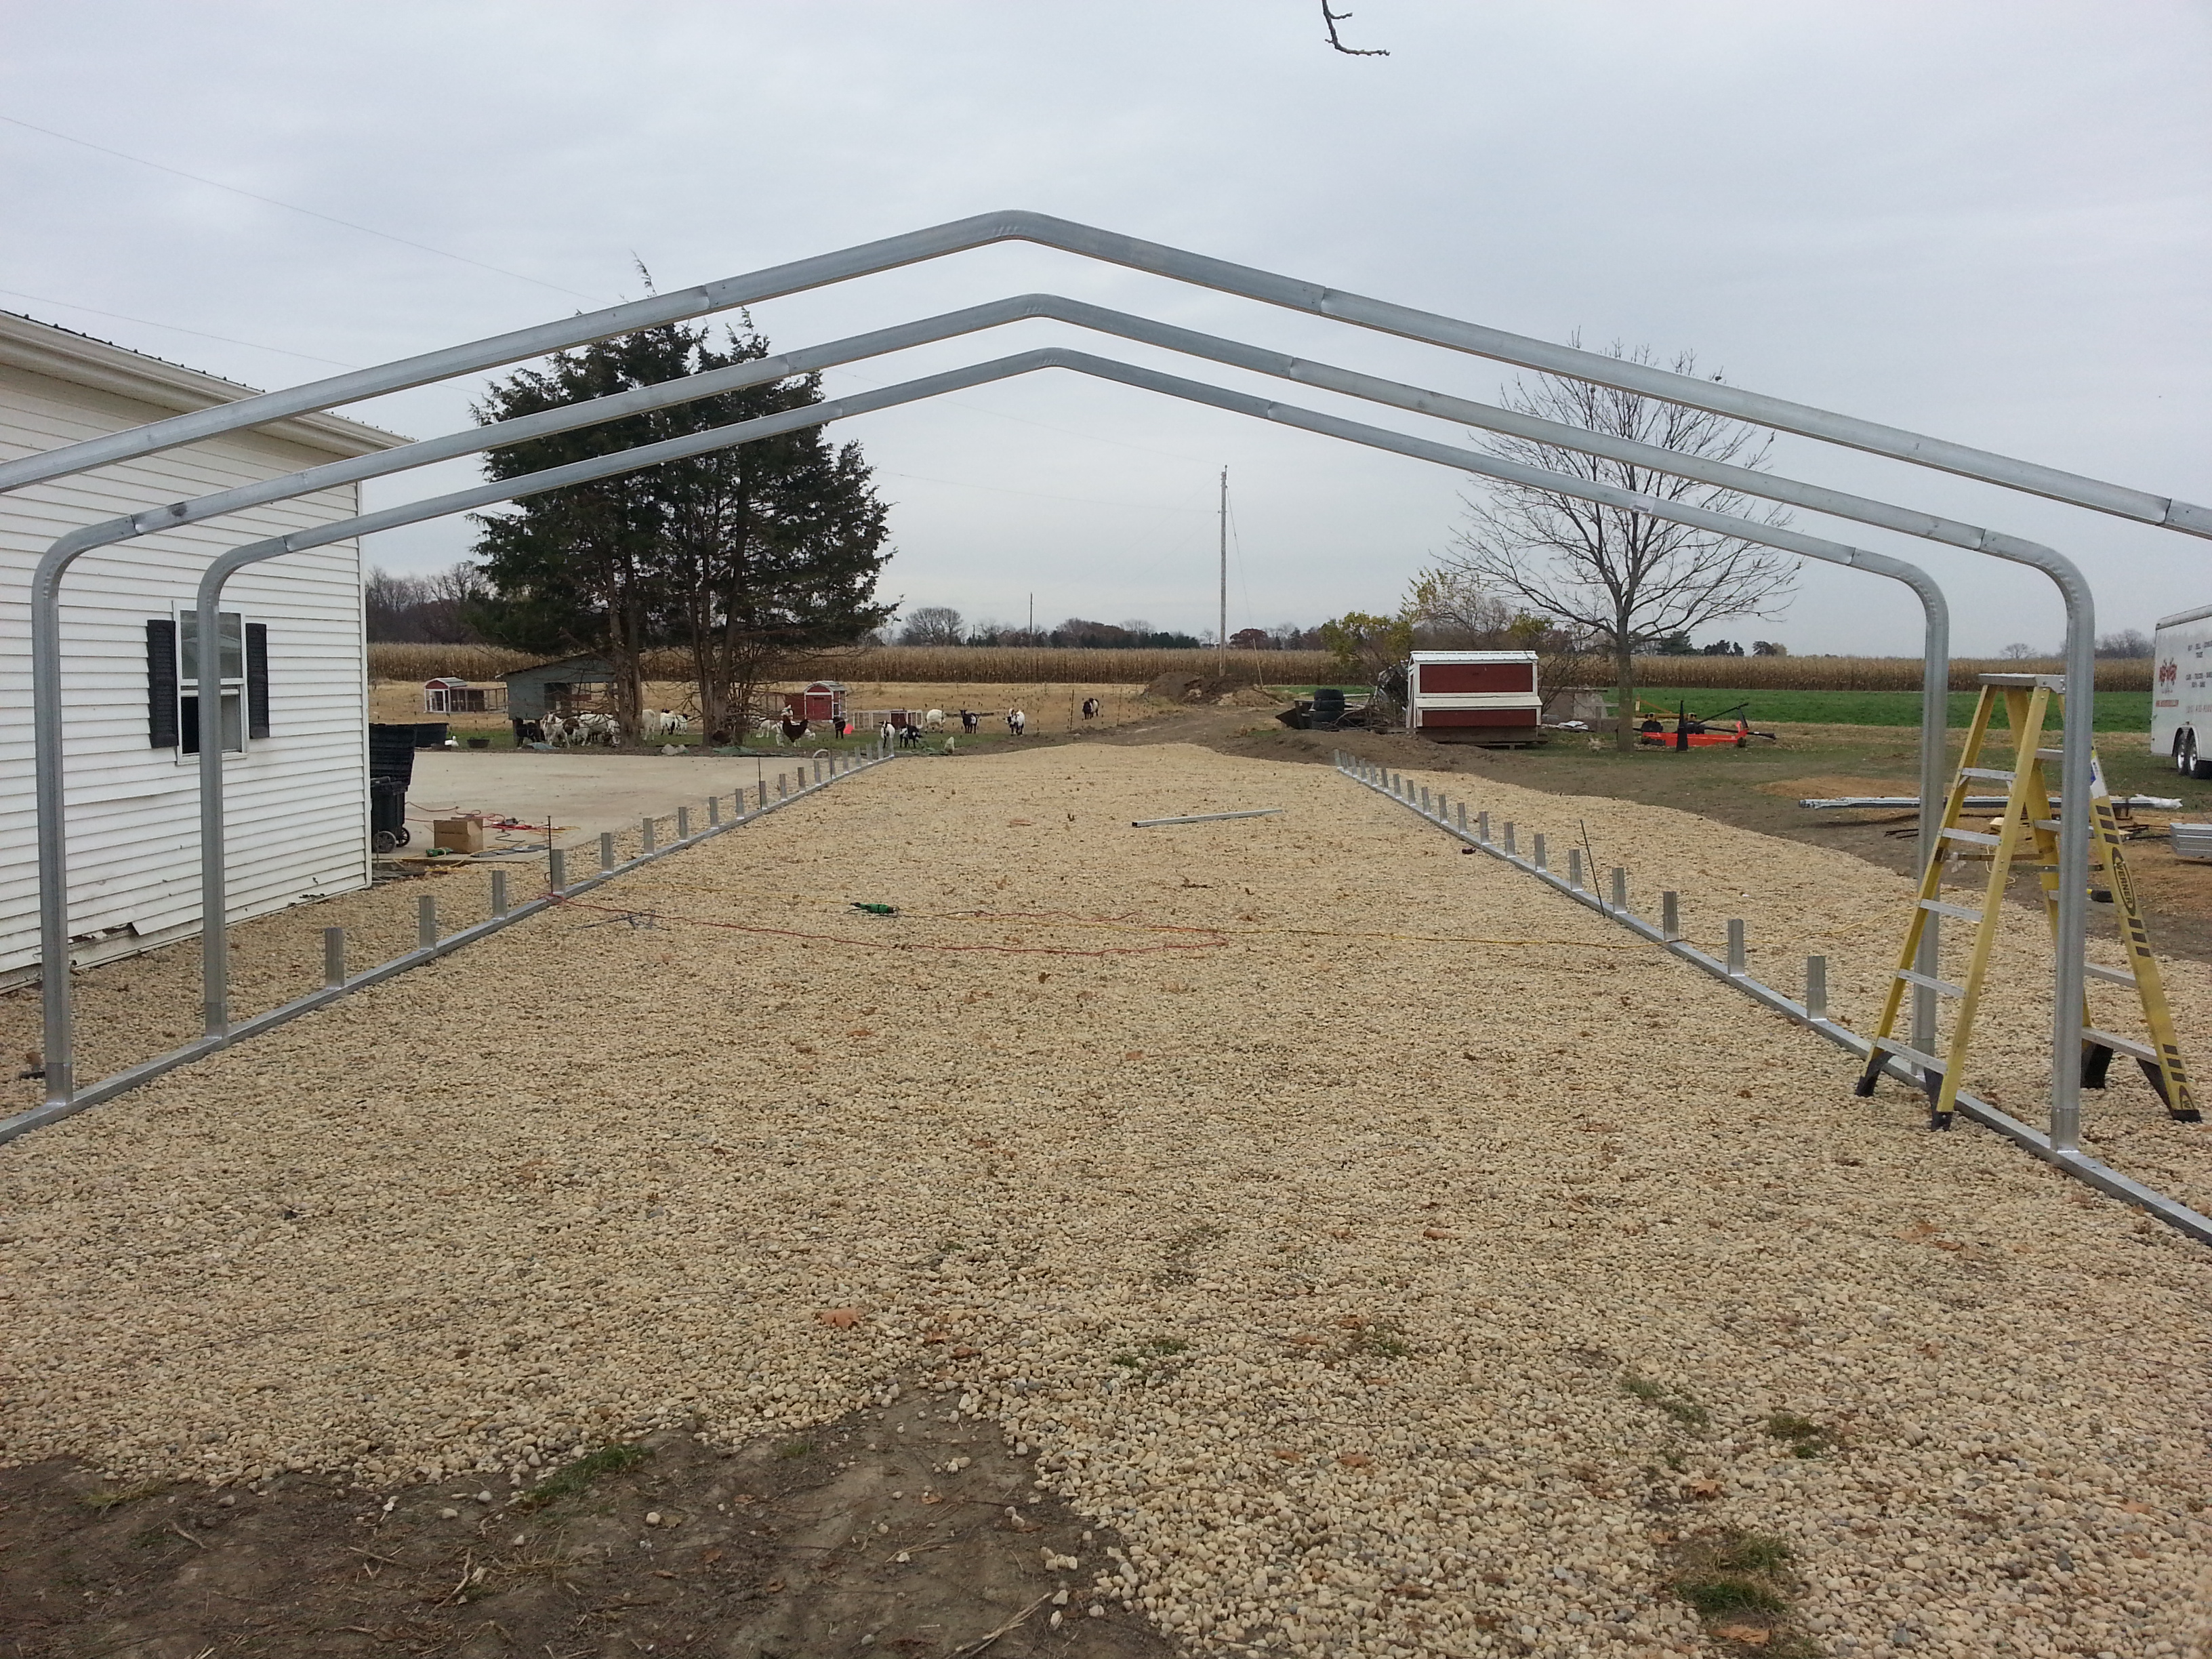
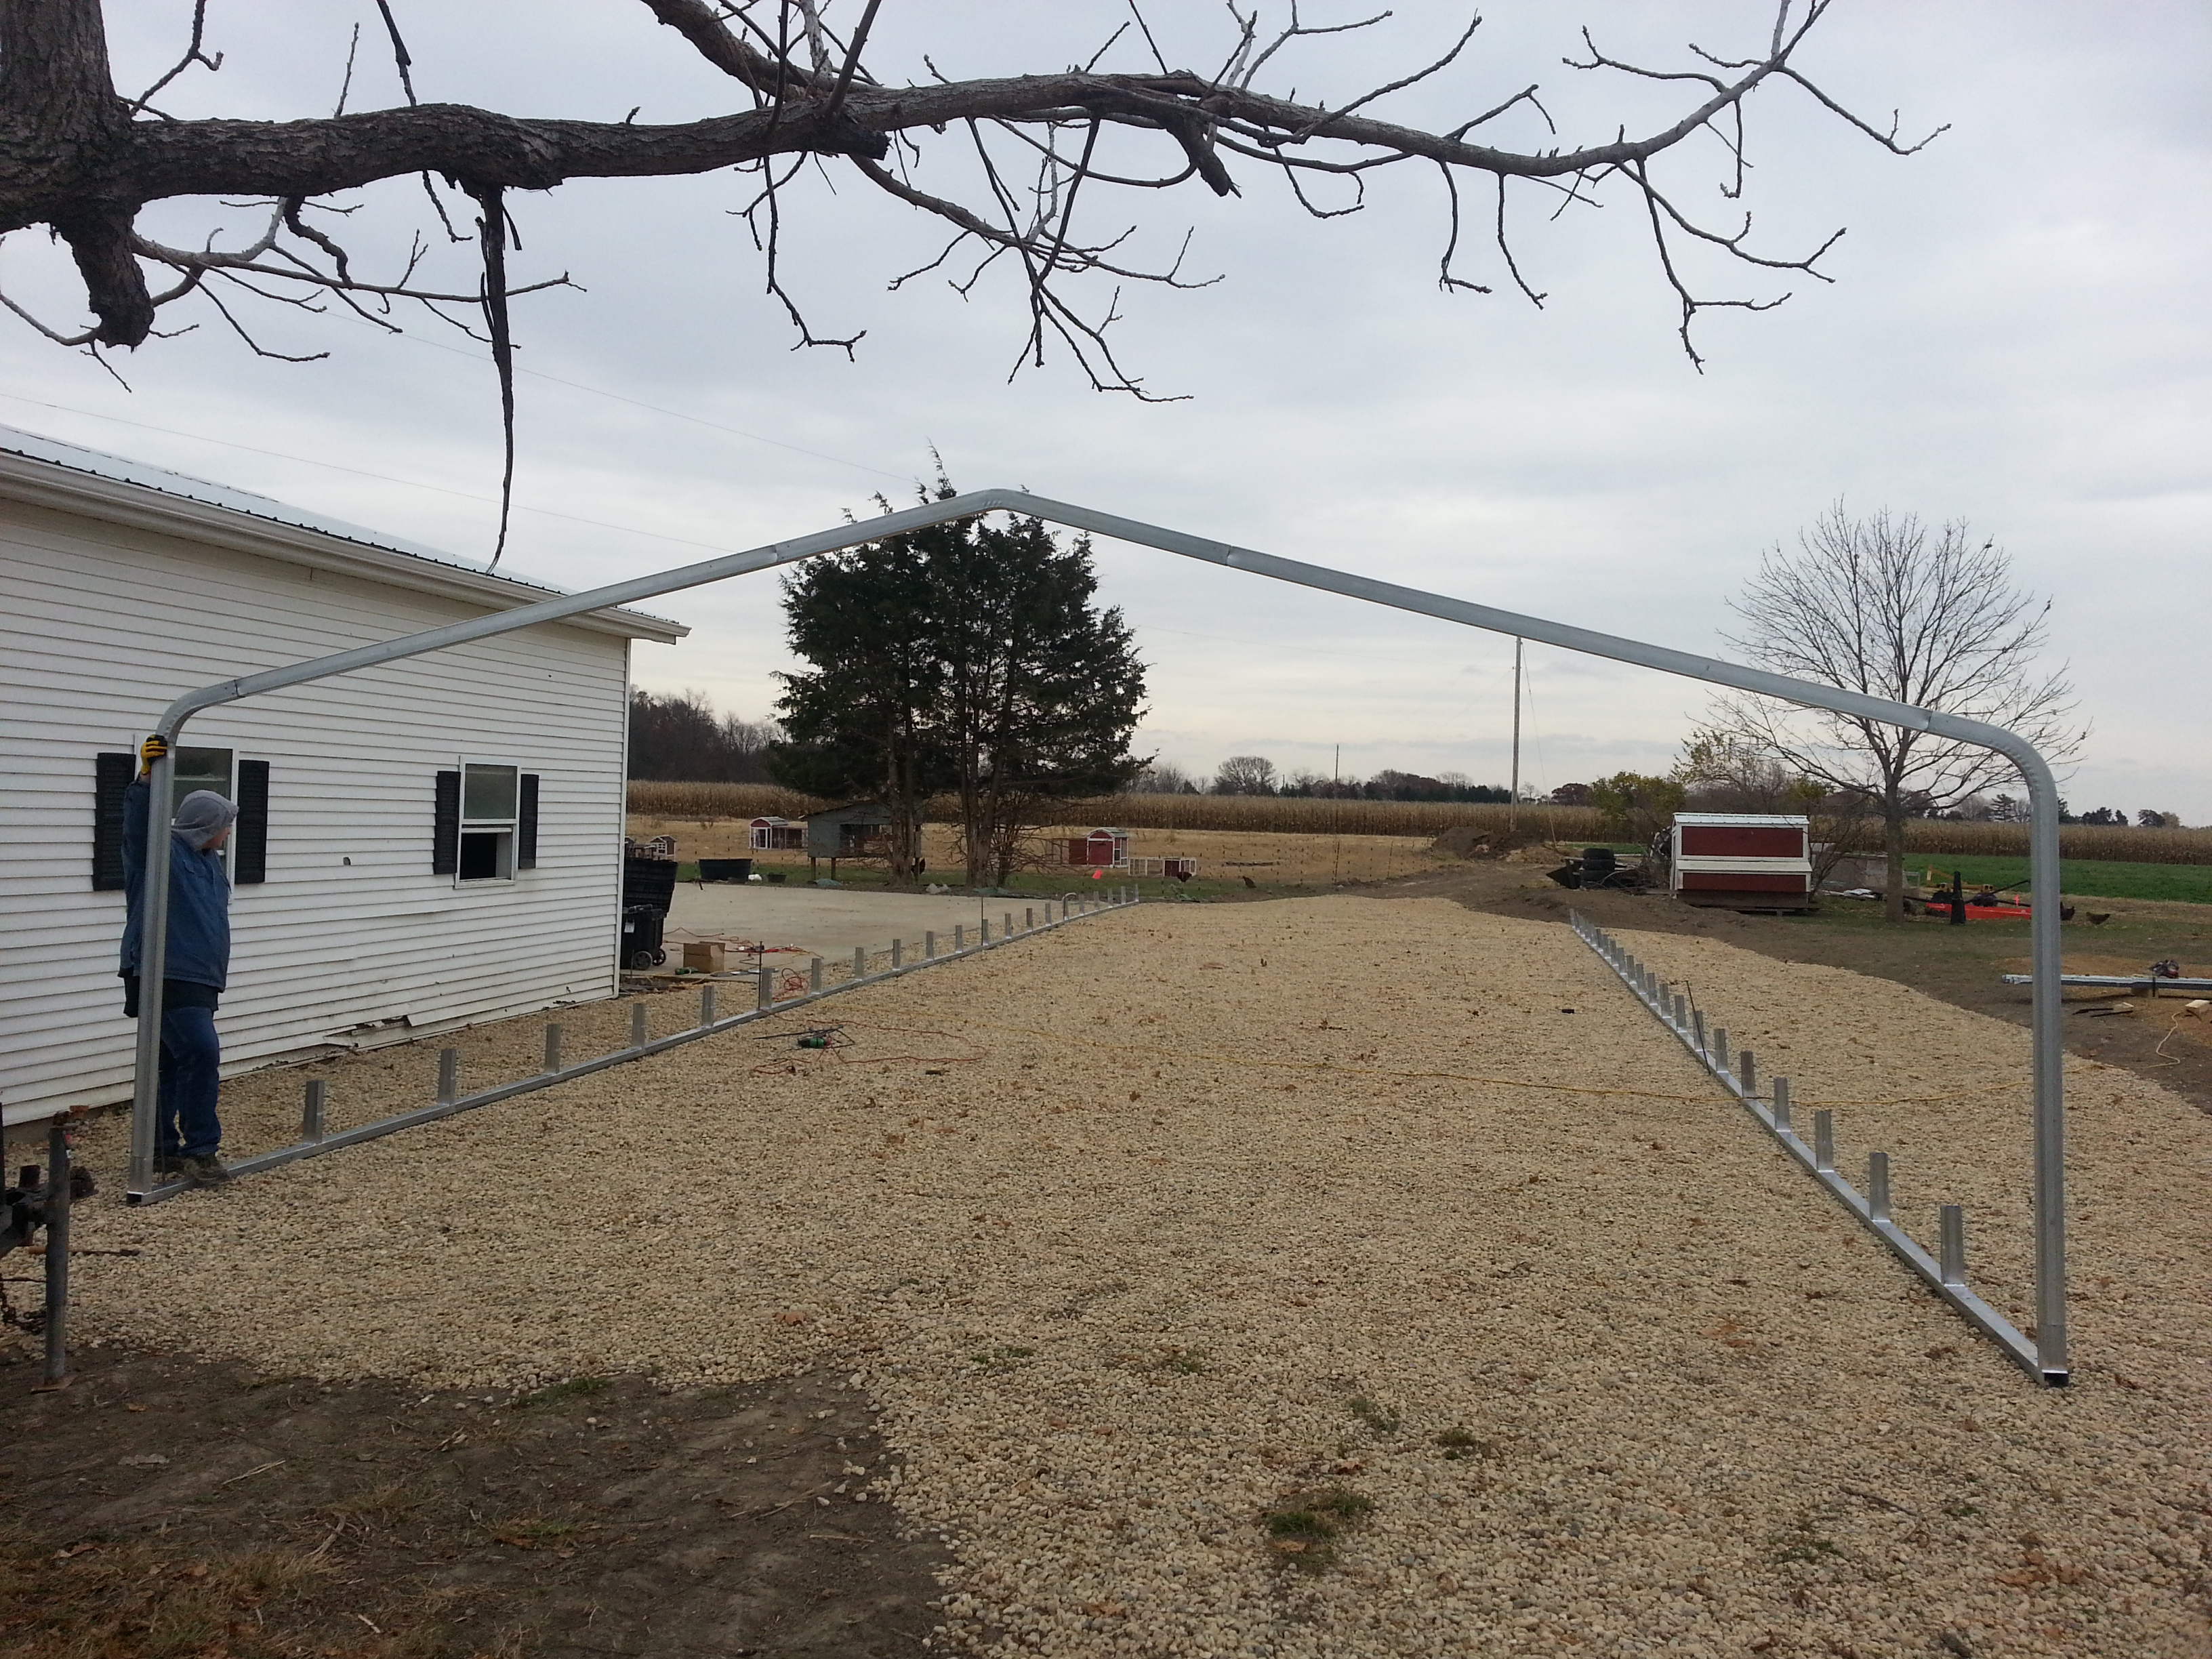
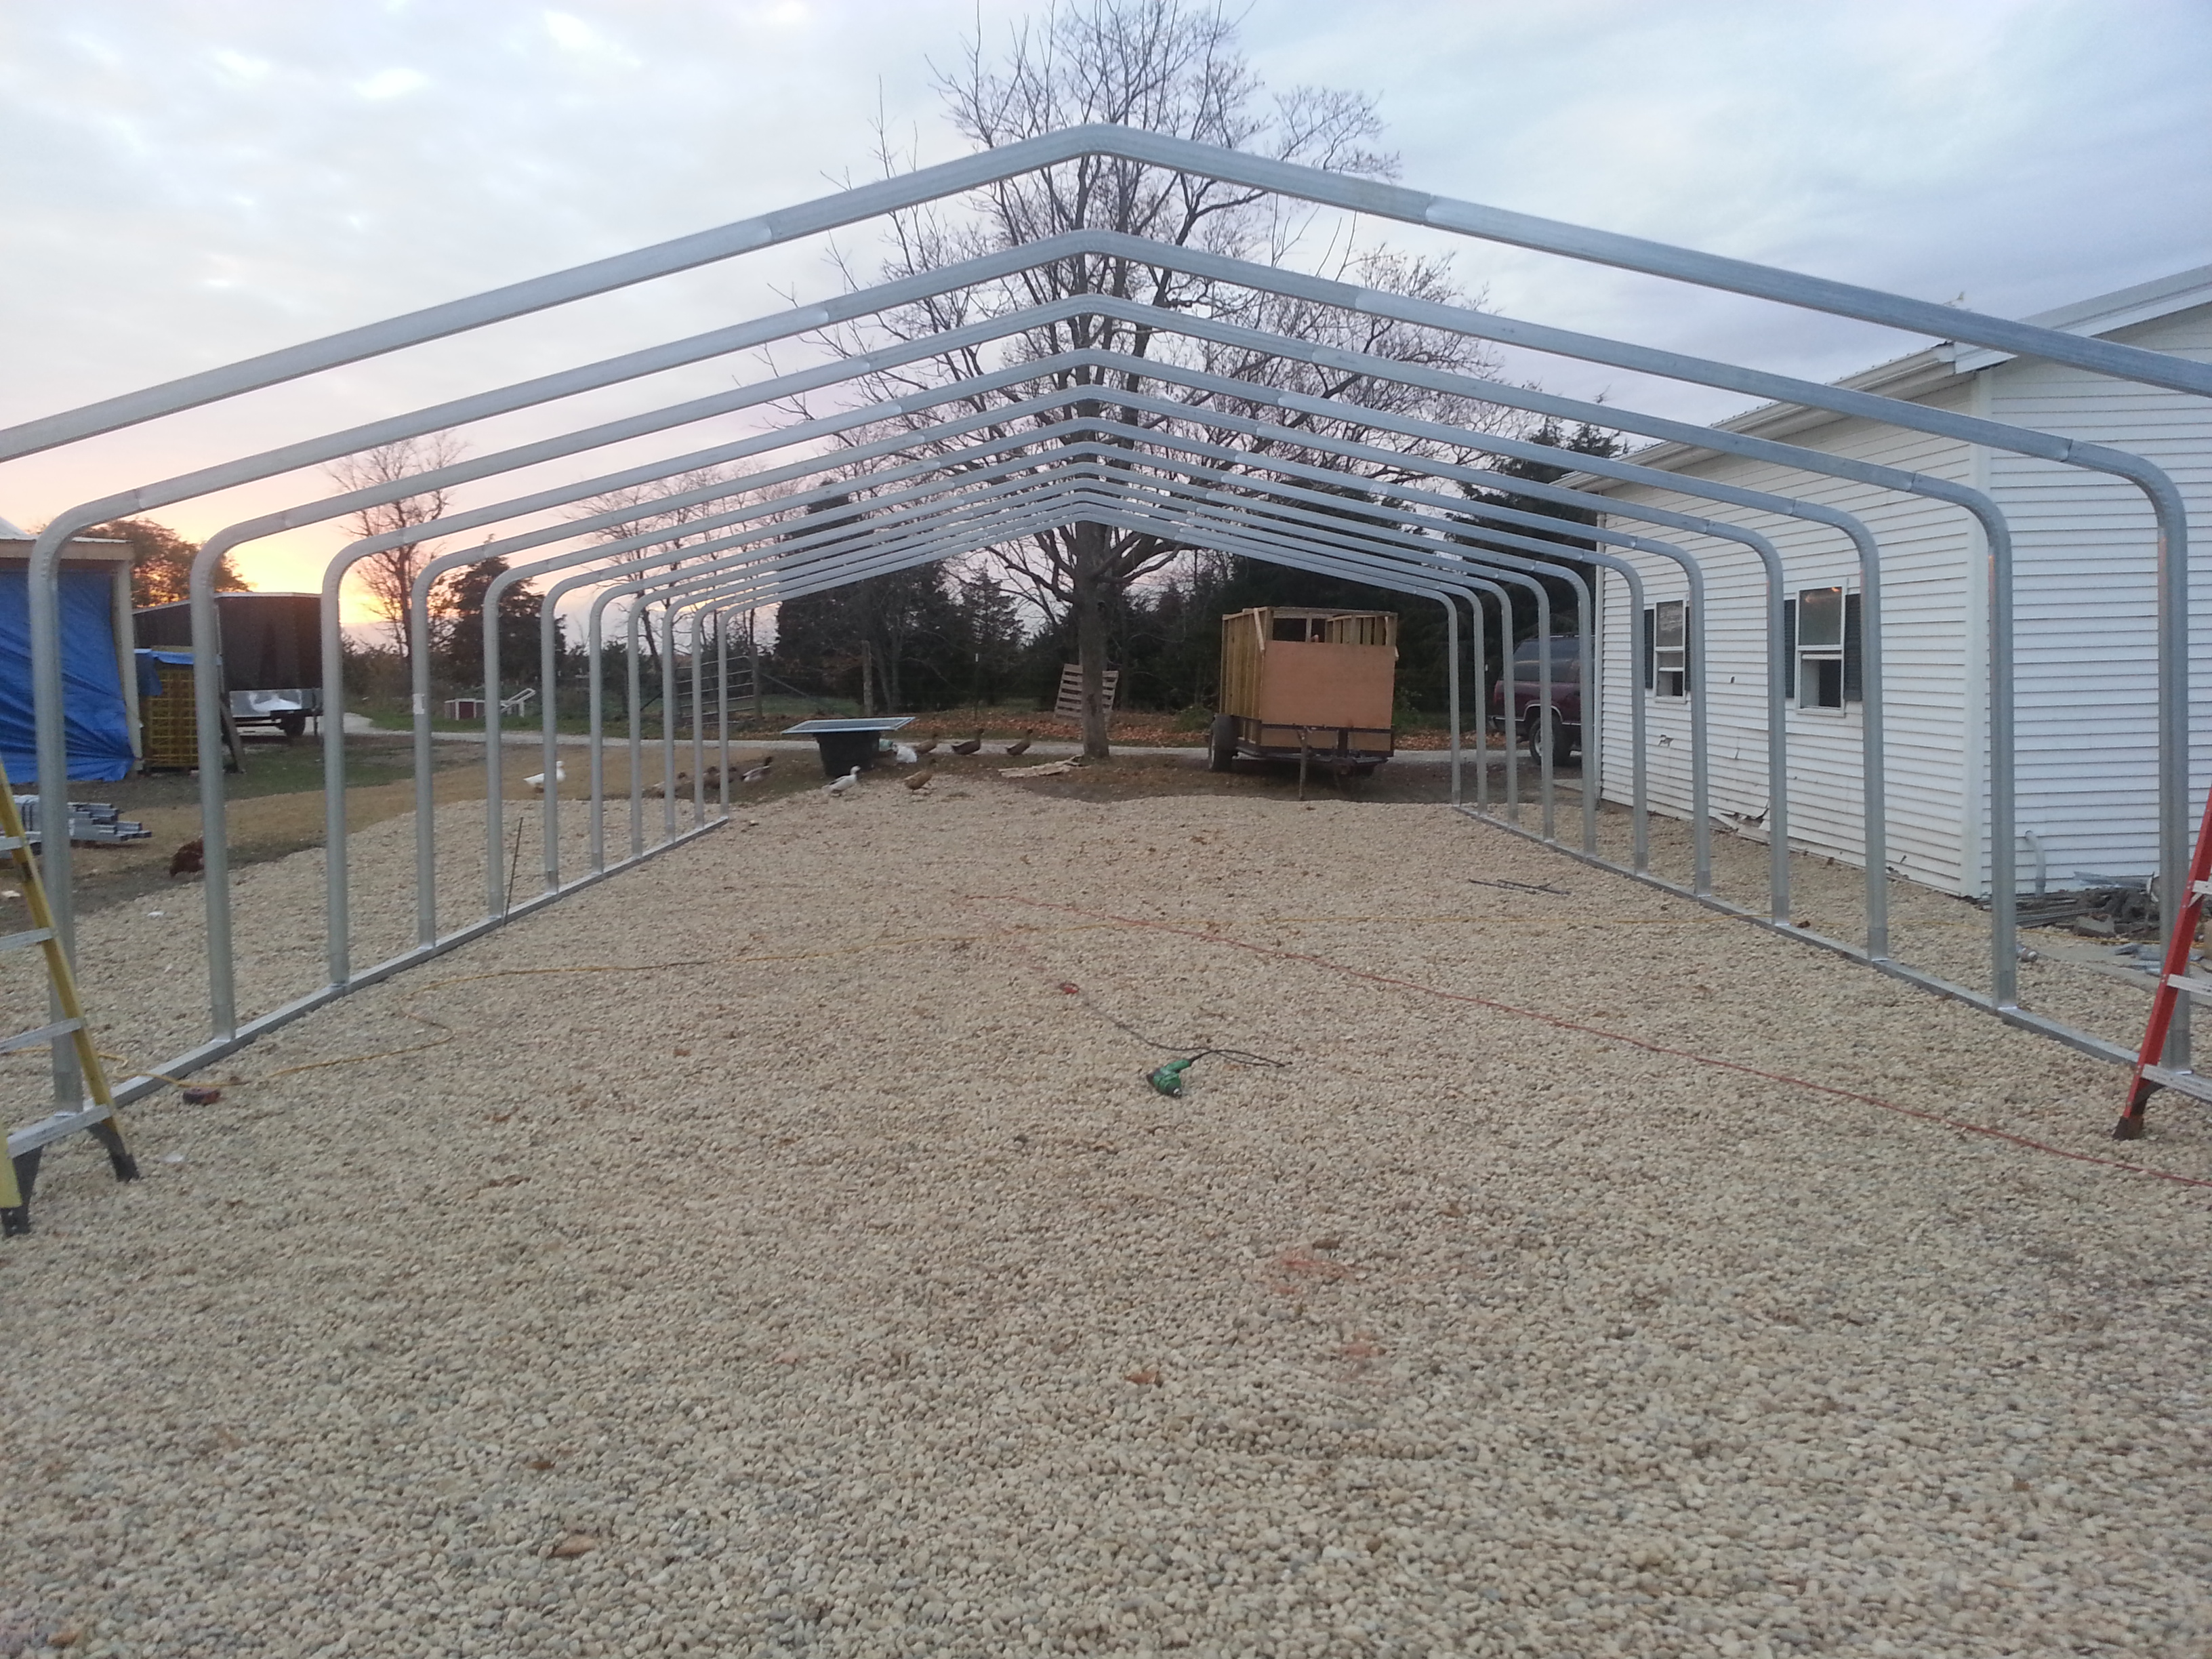
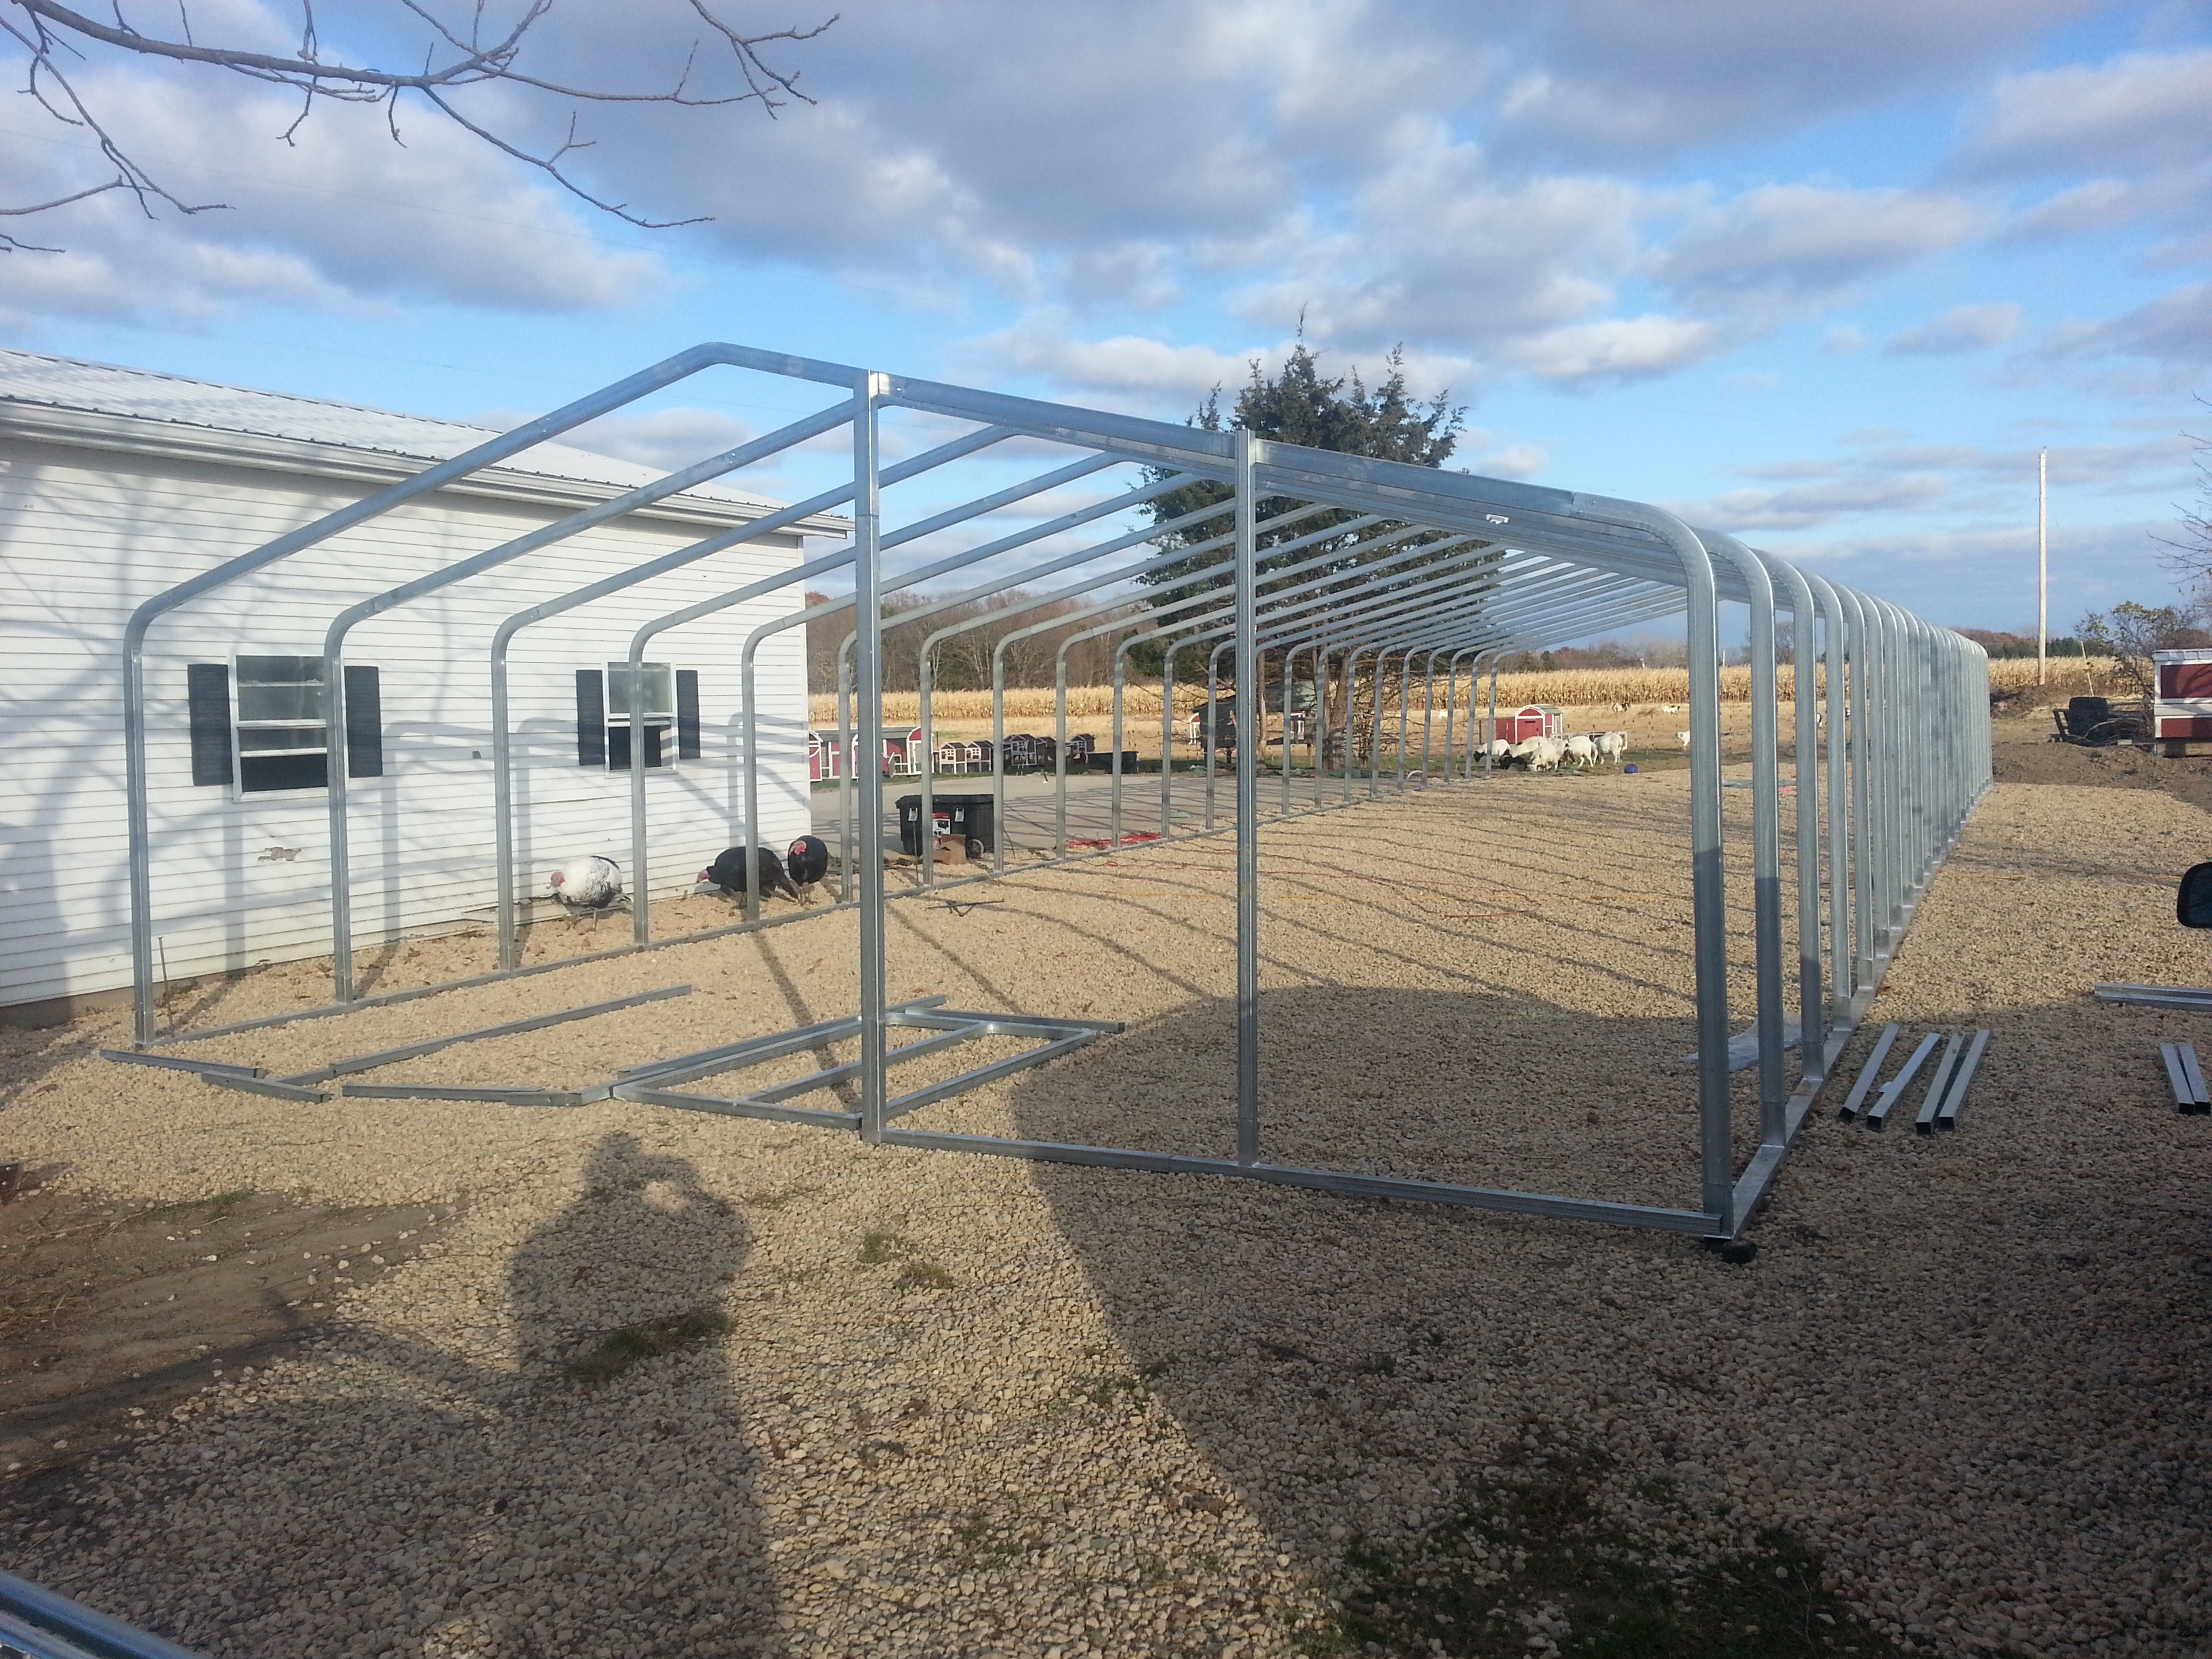
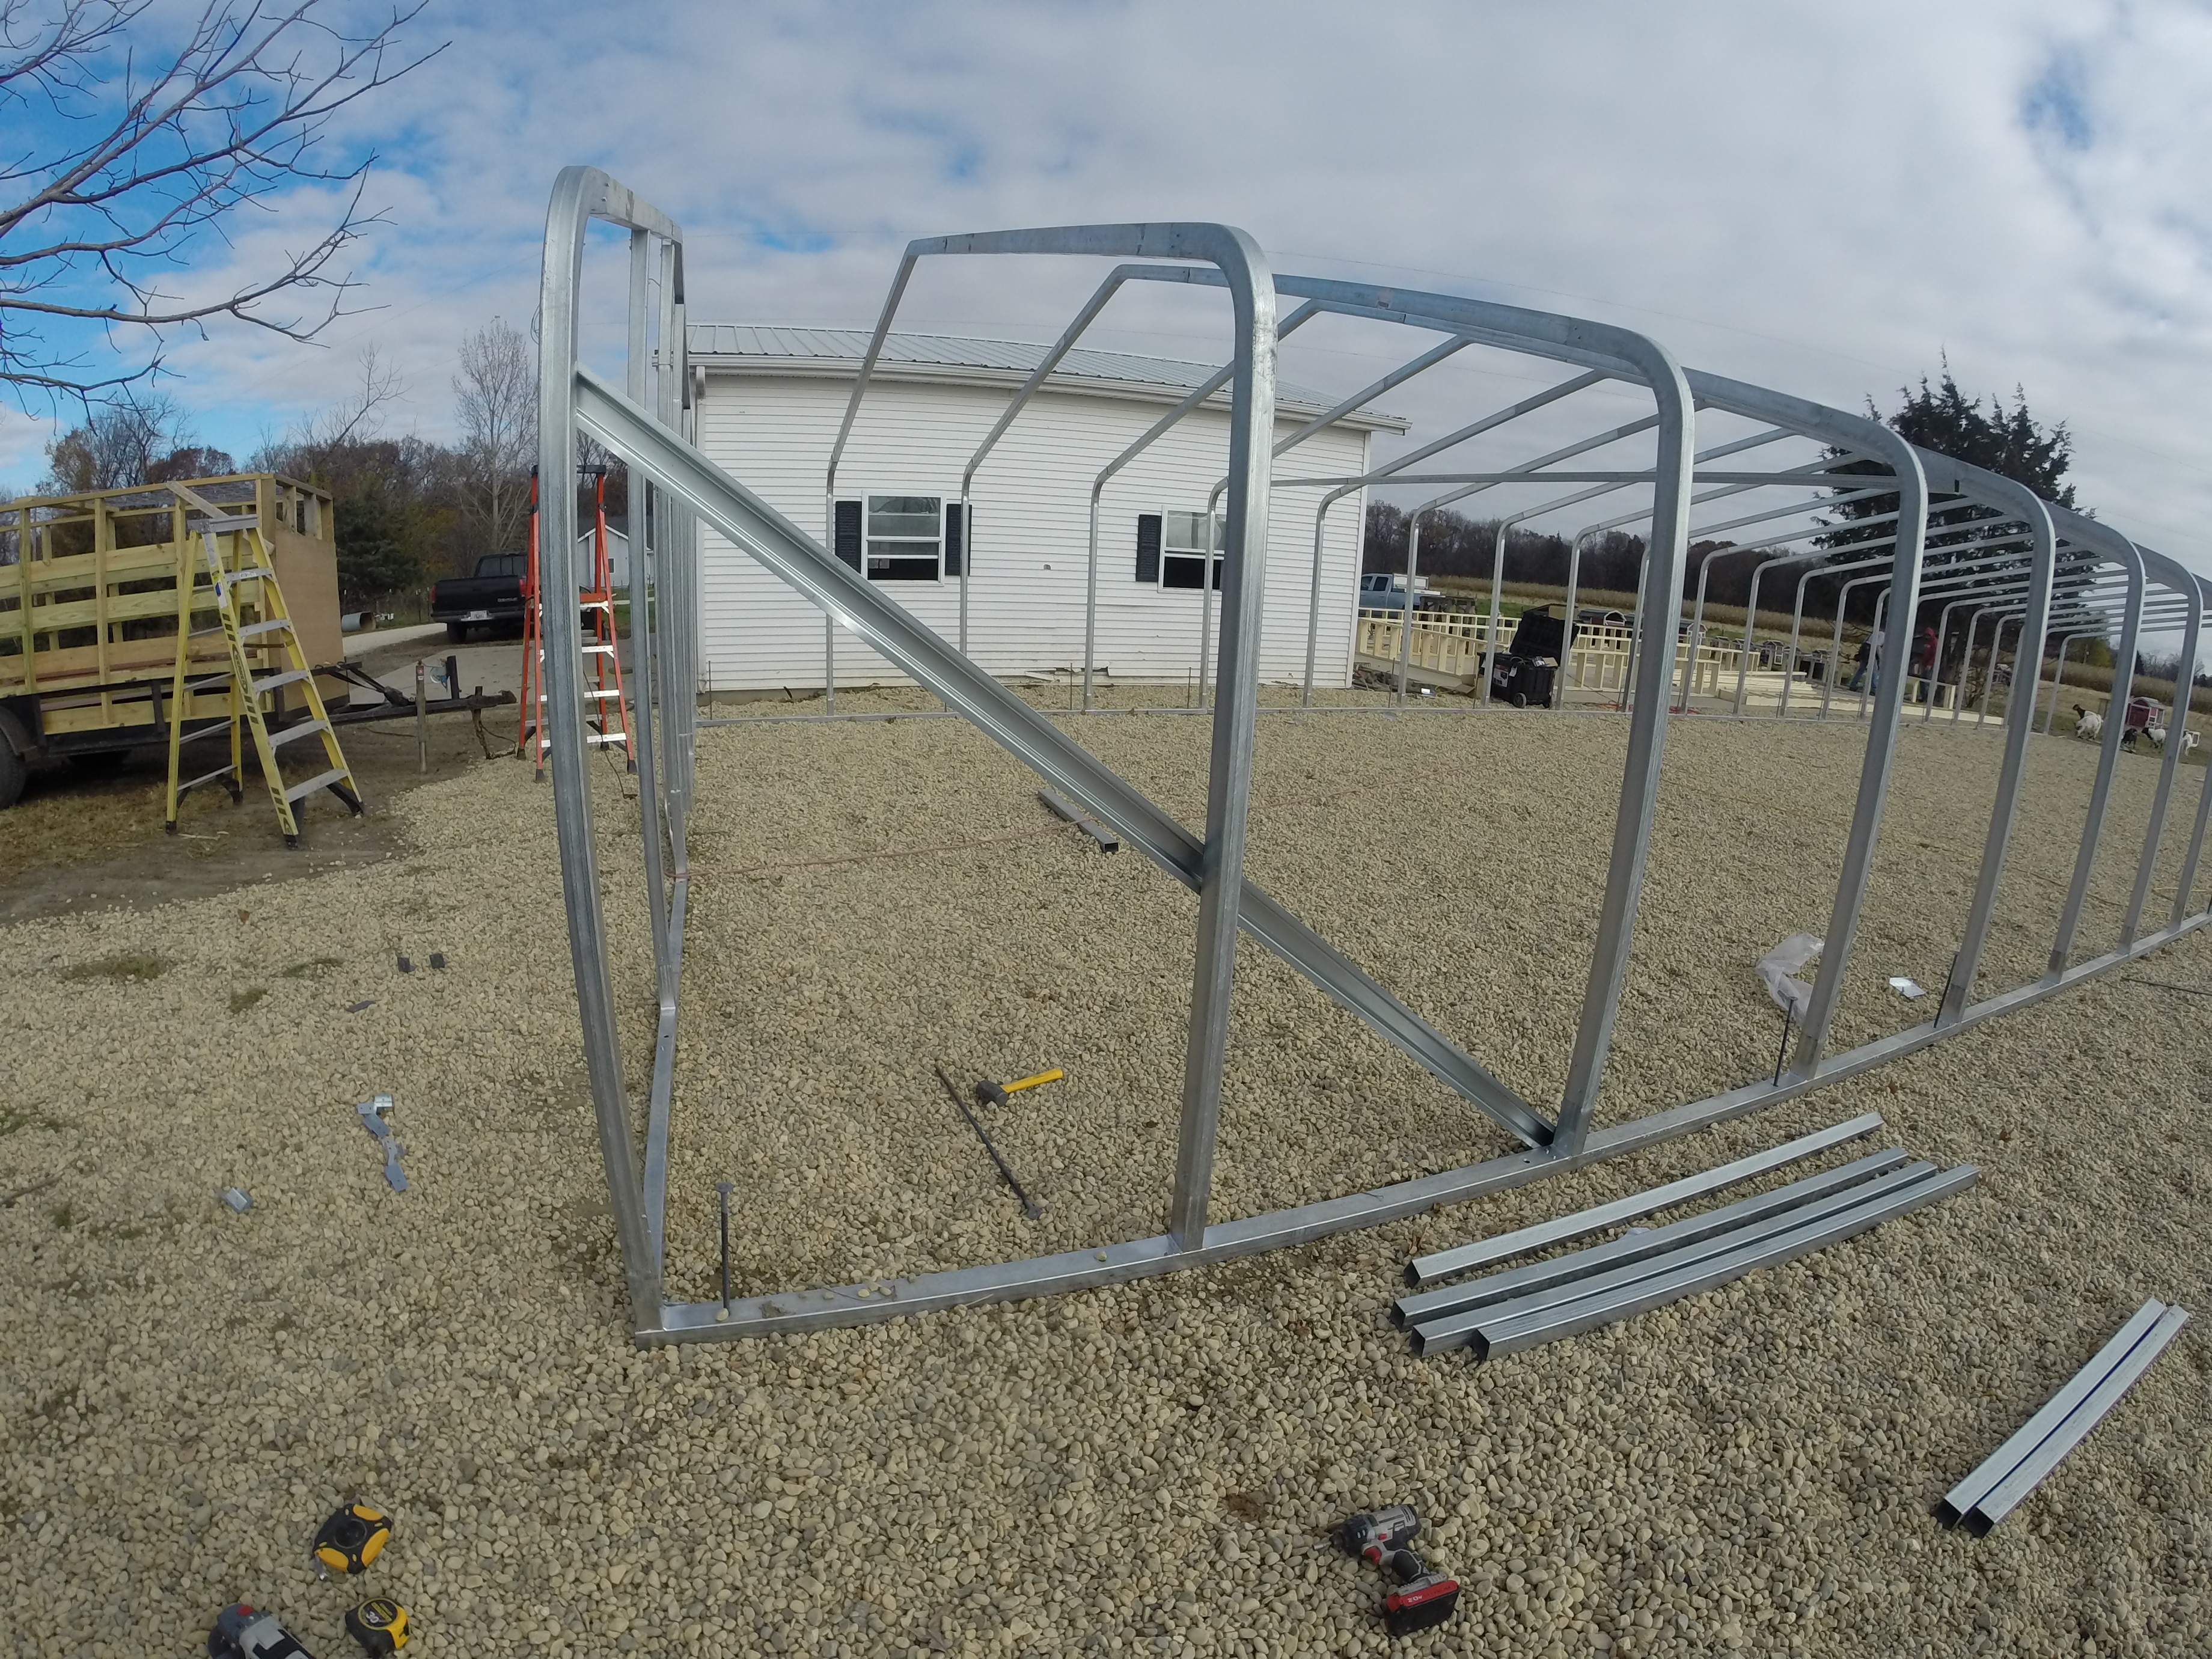
Then just continue to repeat your way down the line.
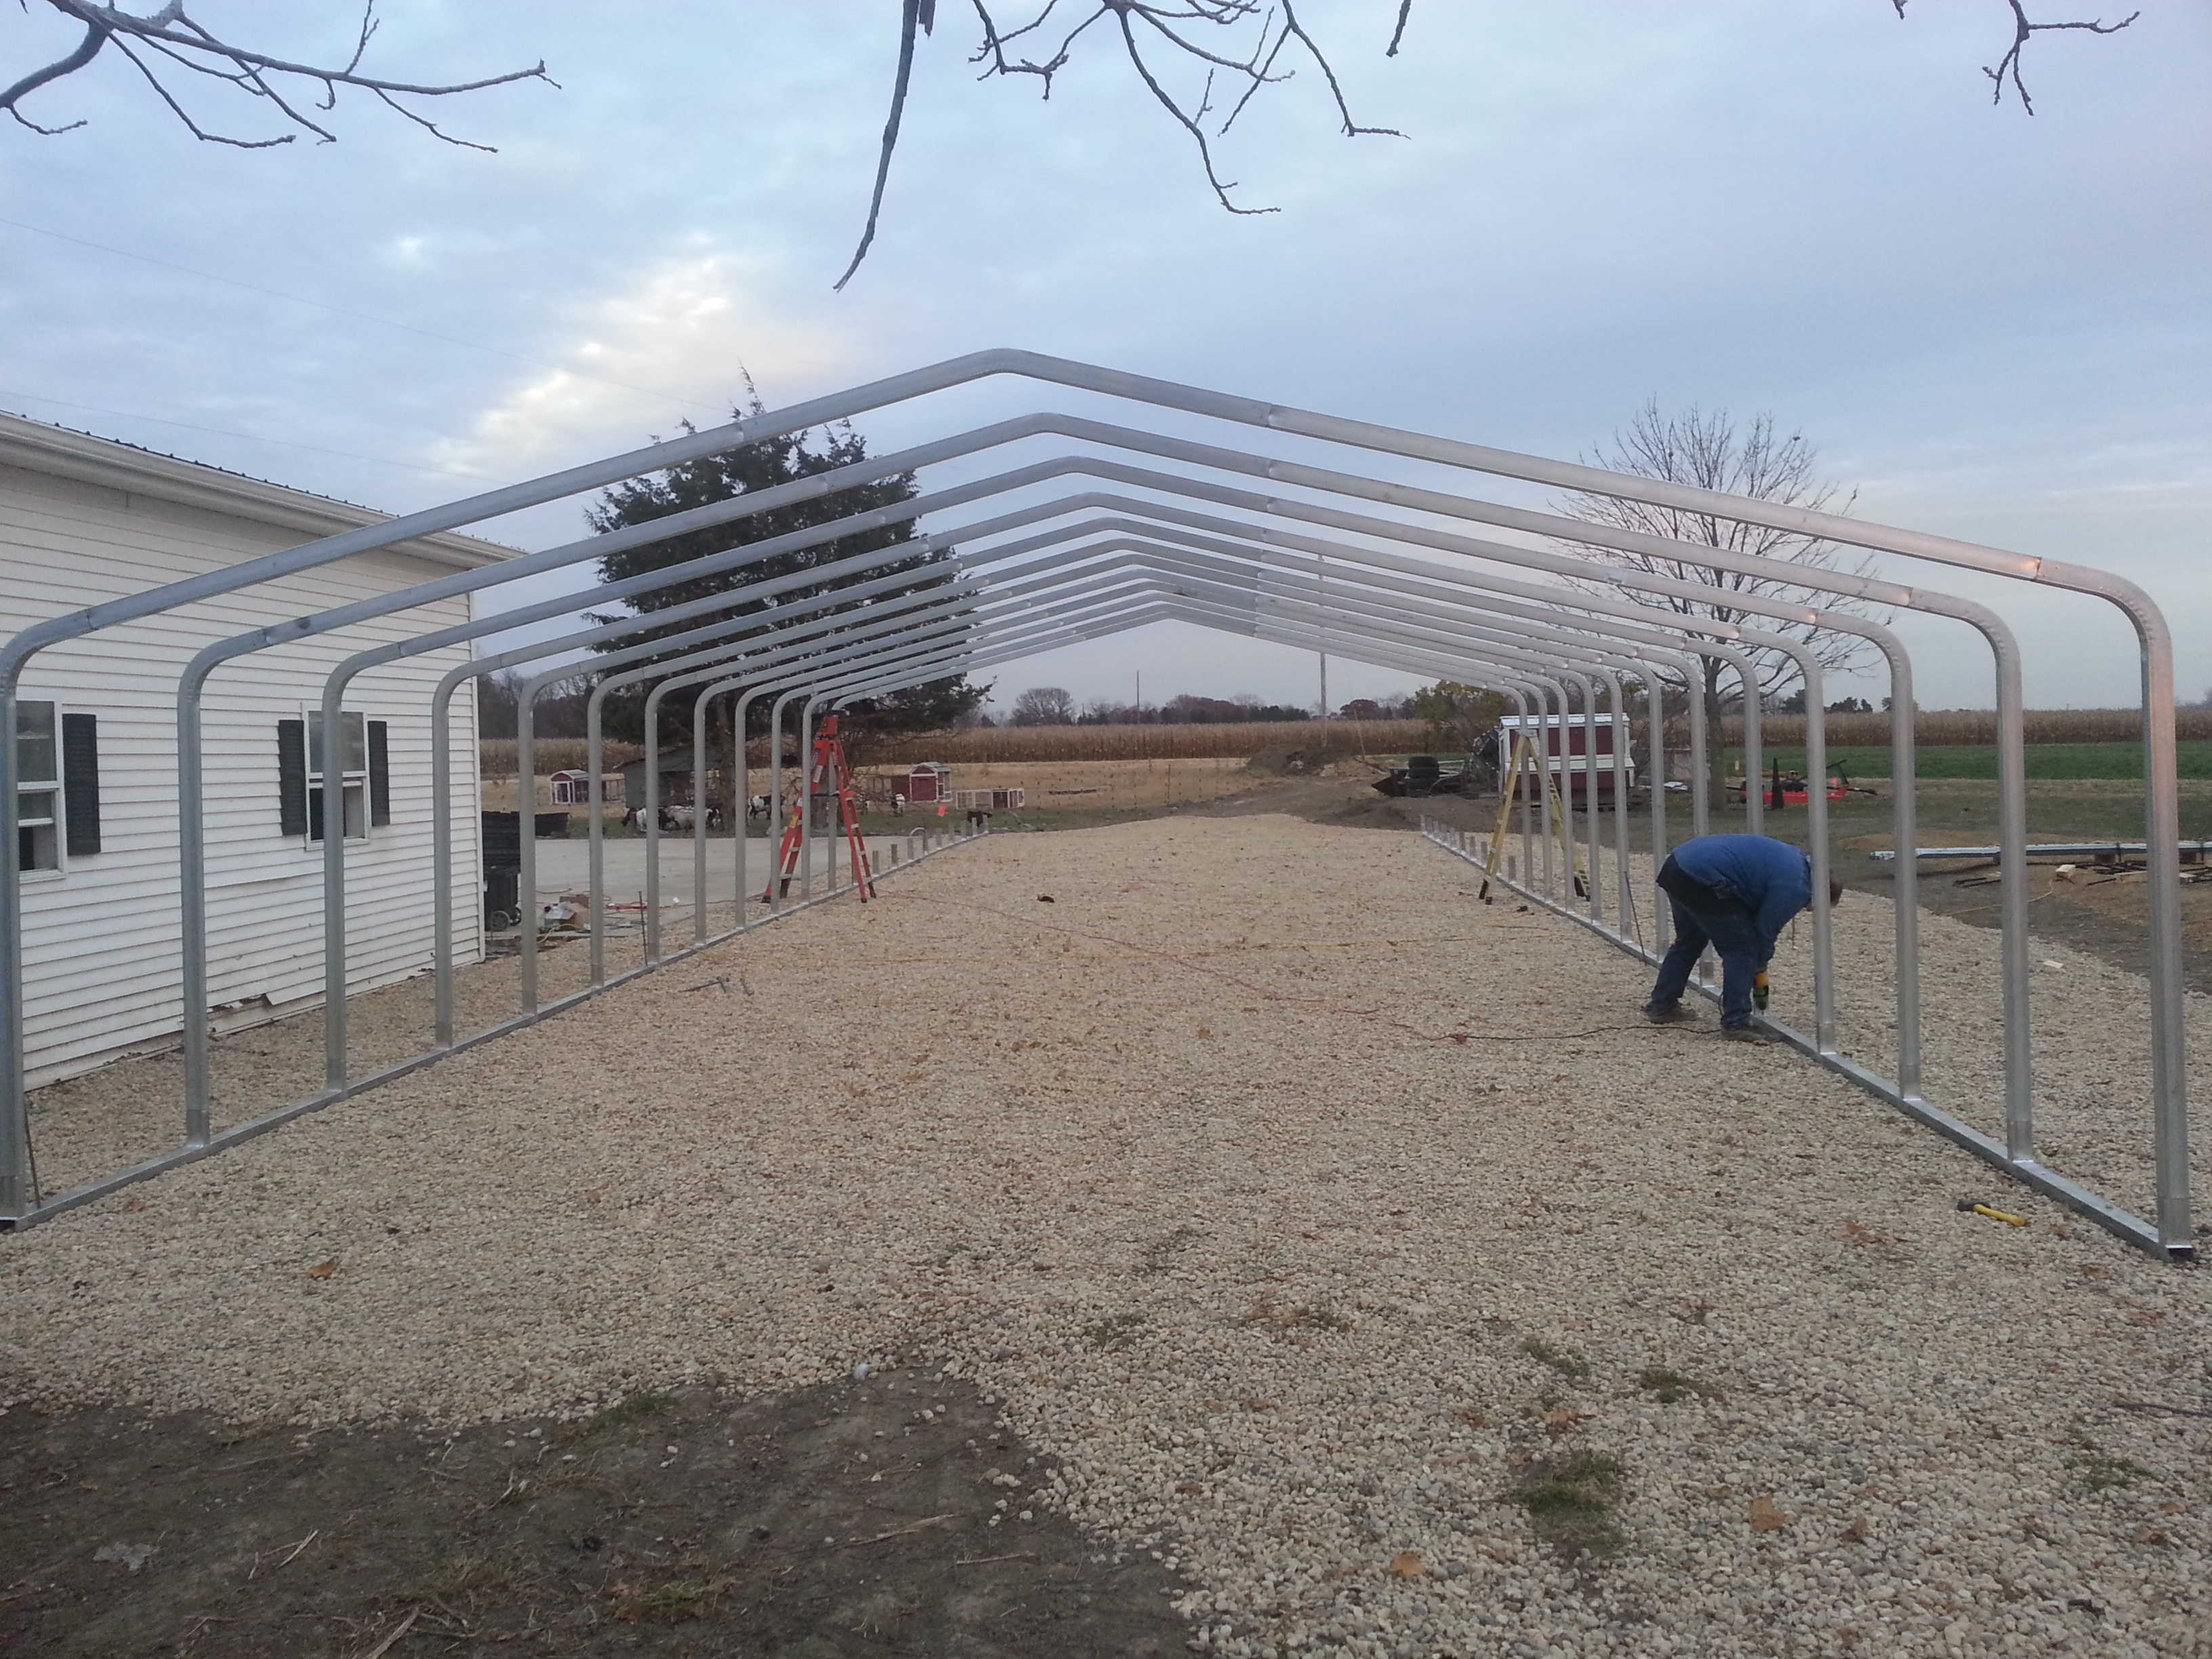
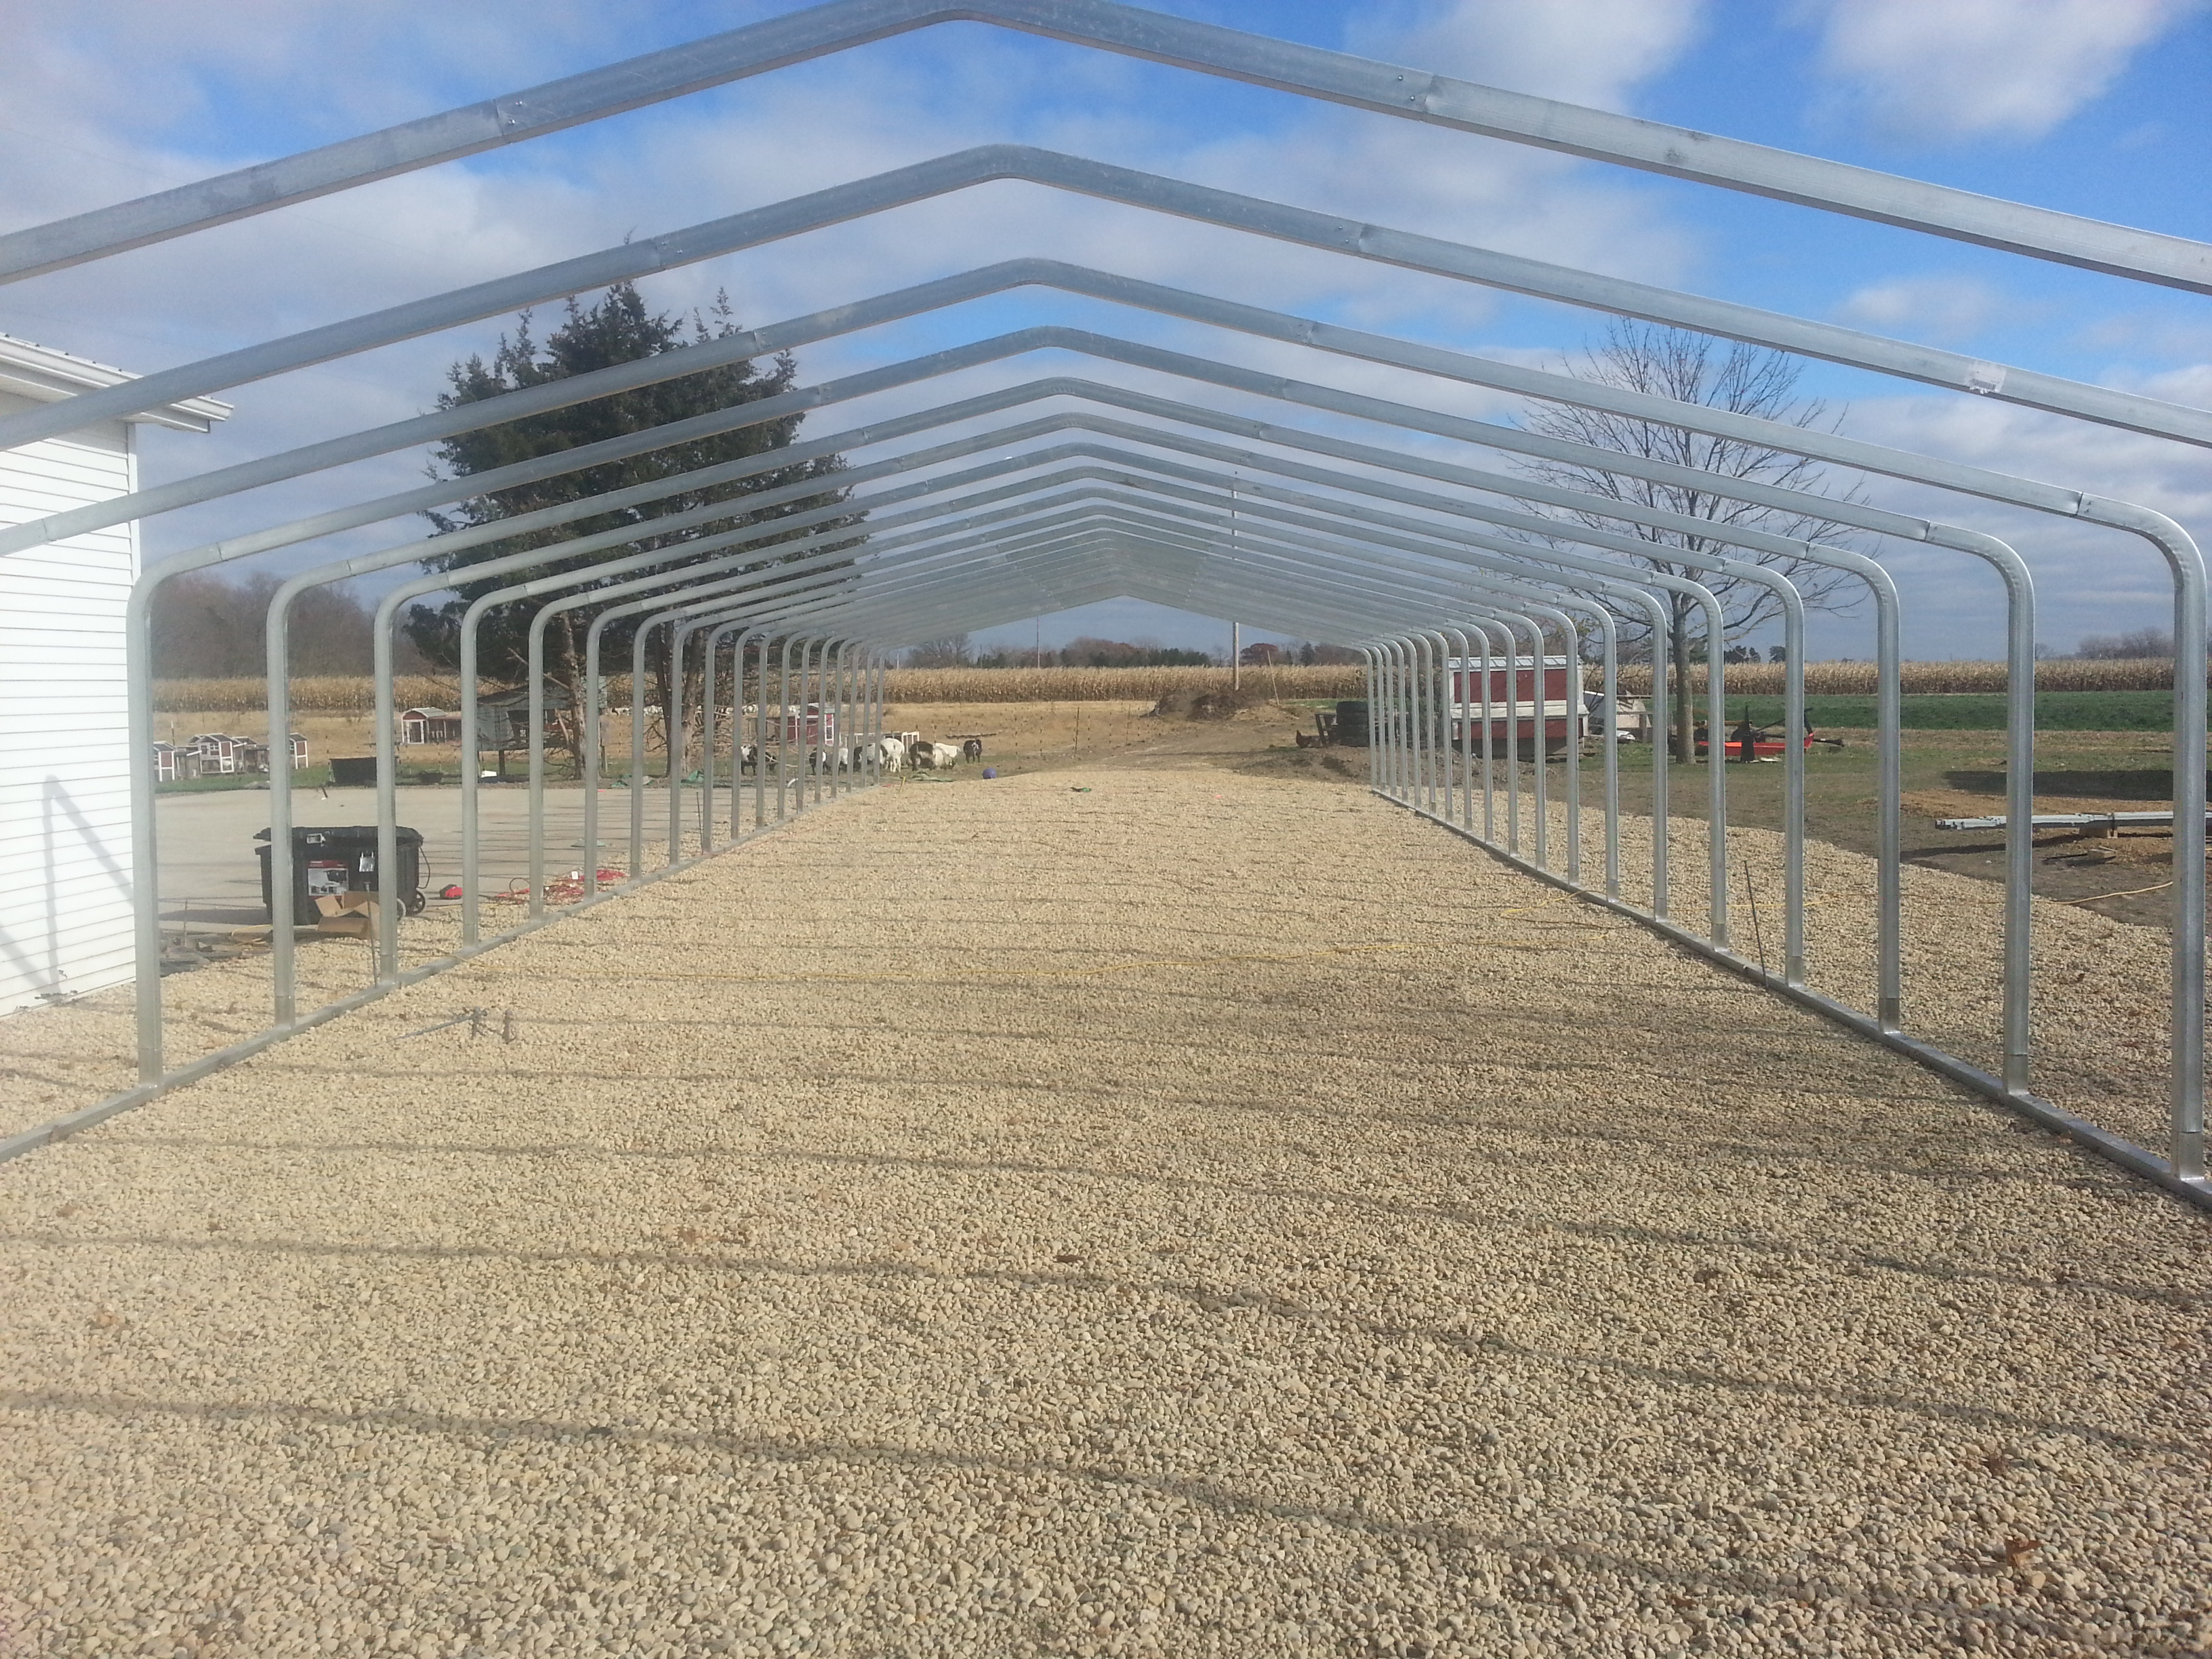
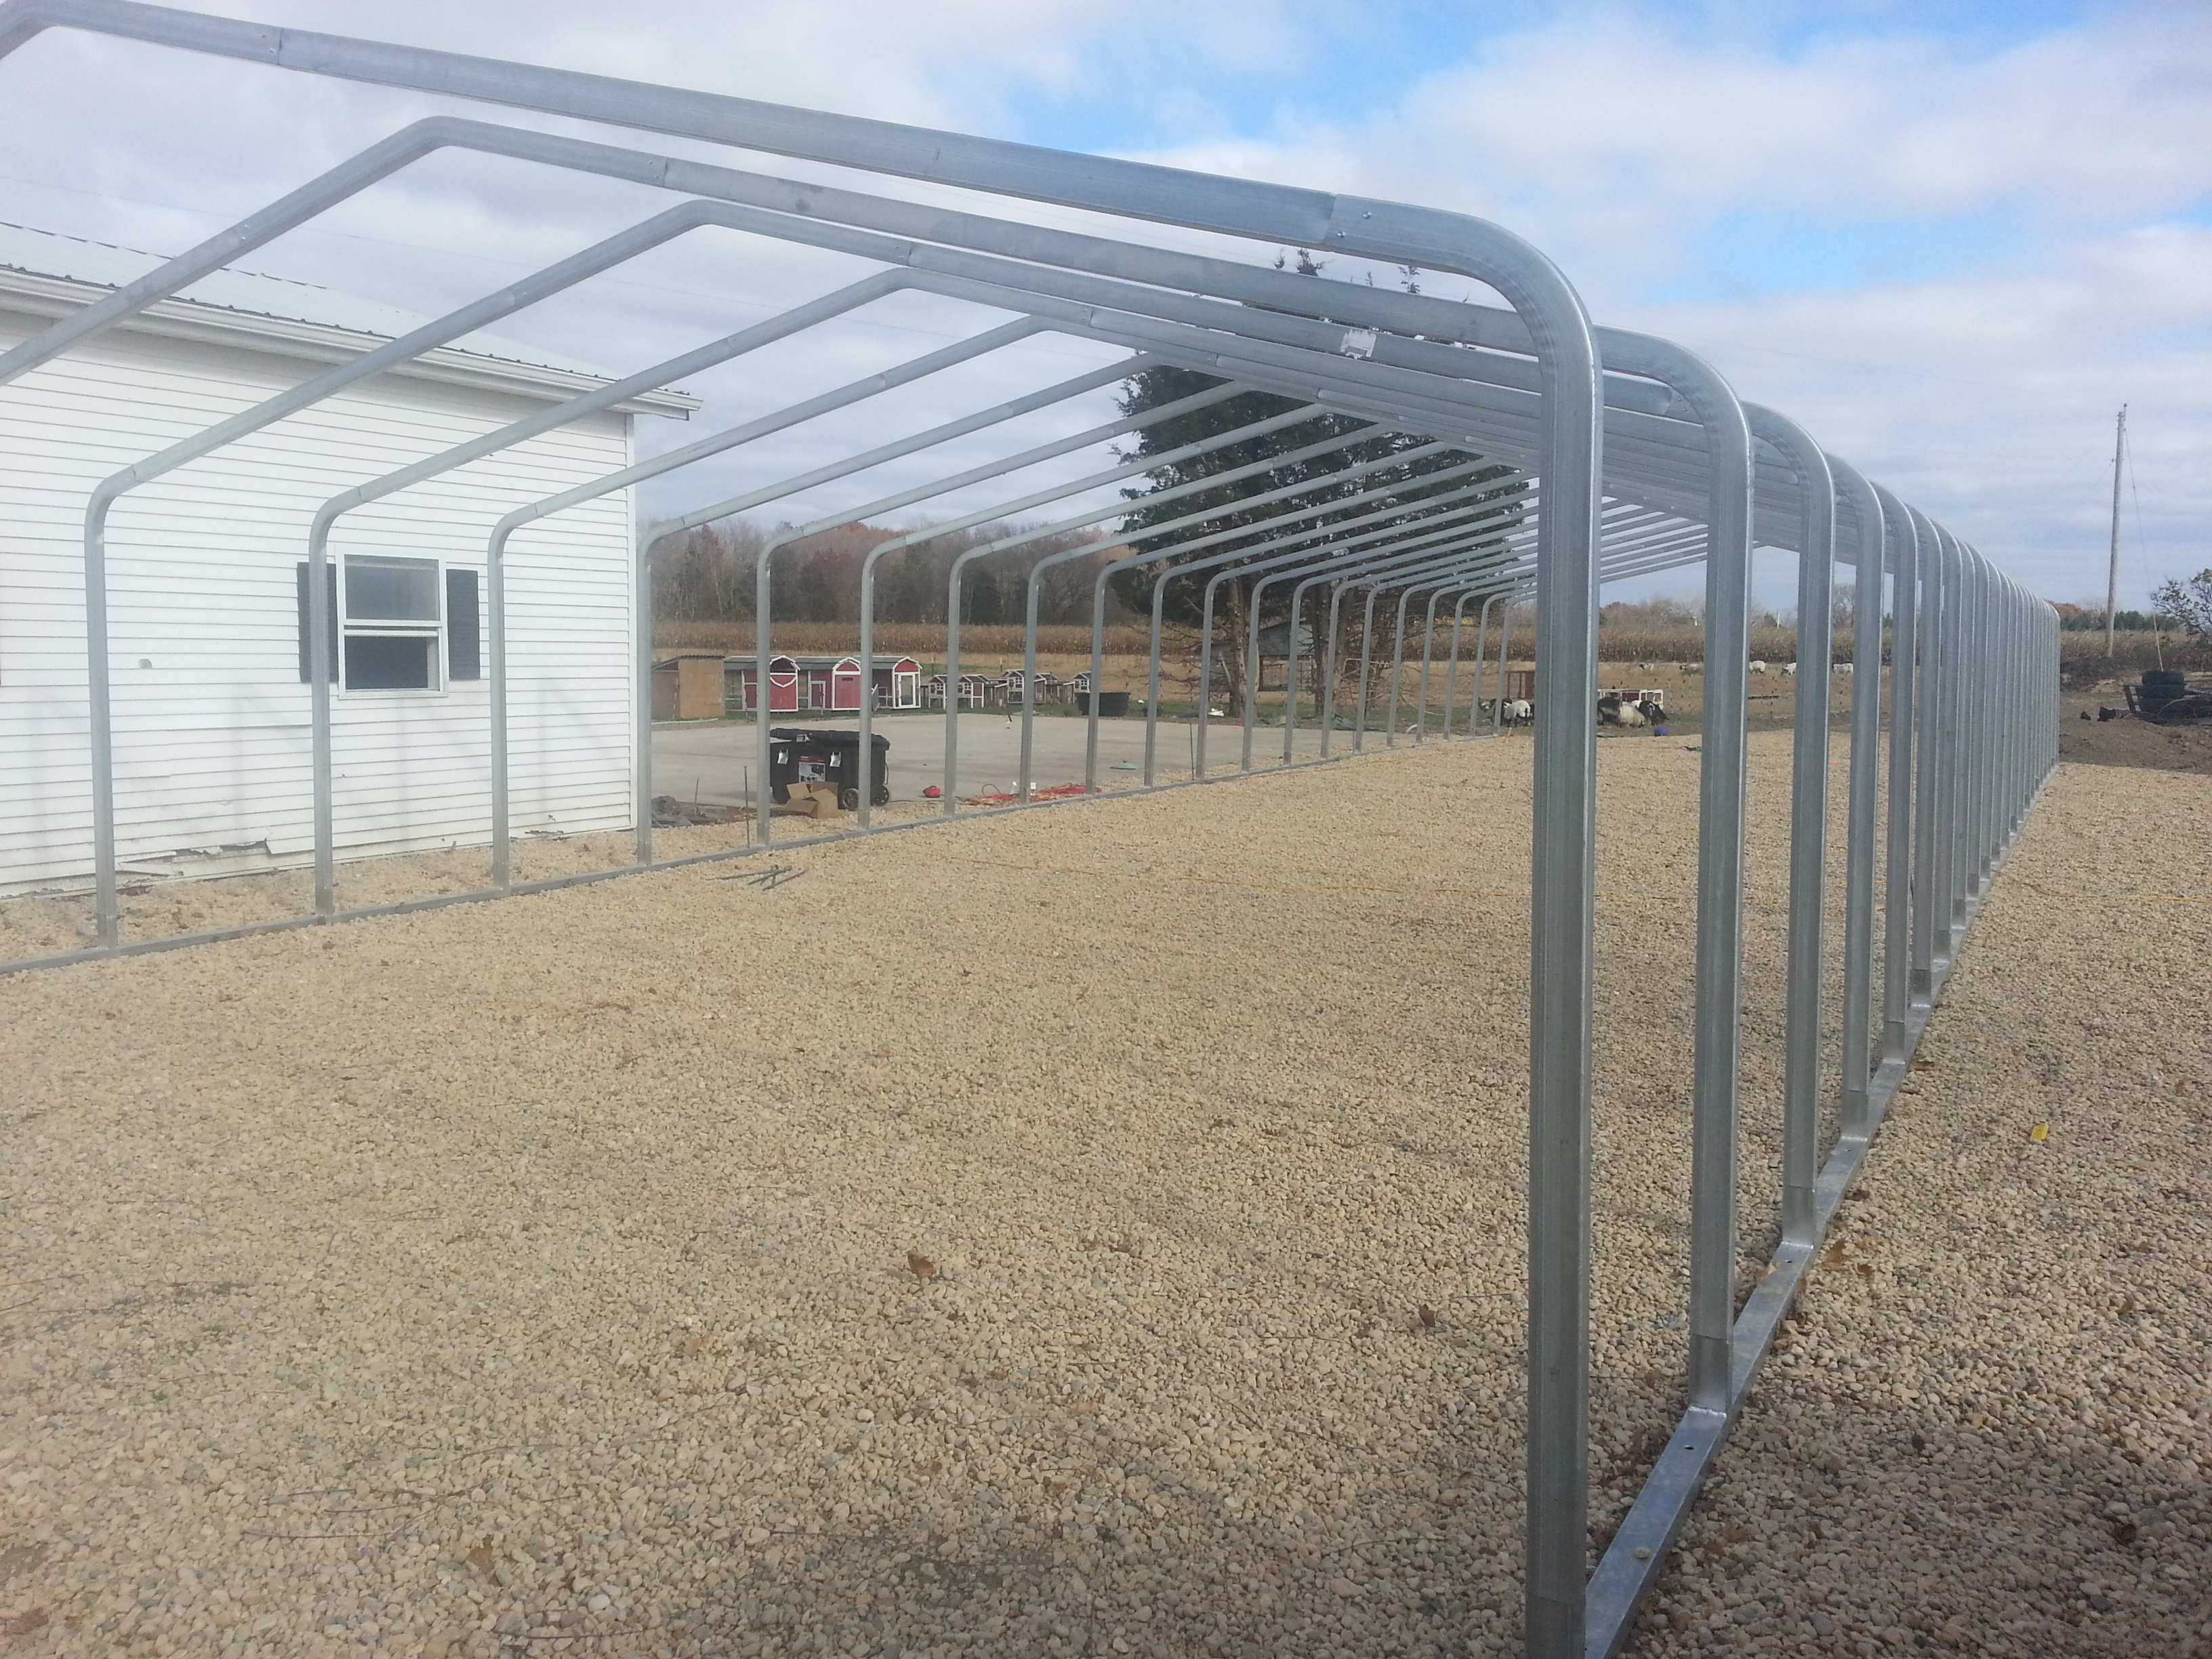
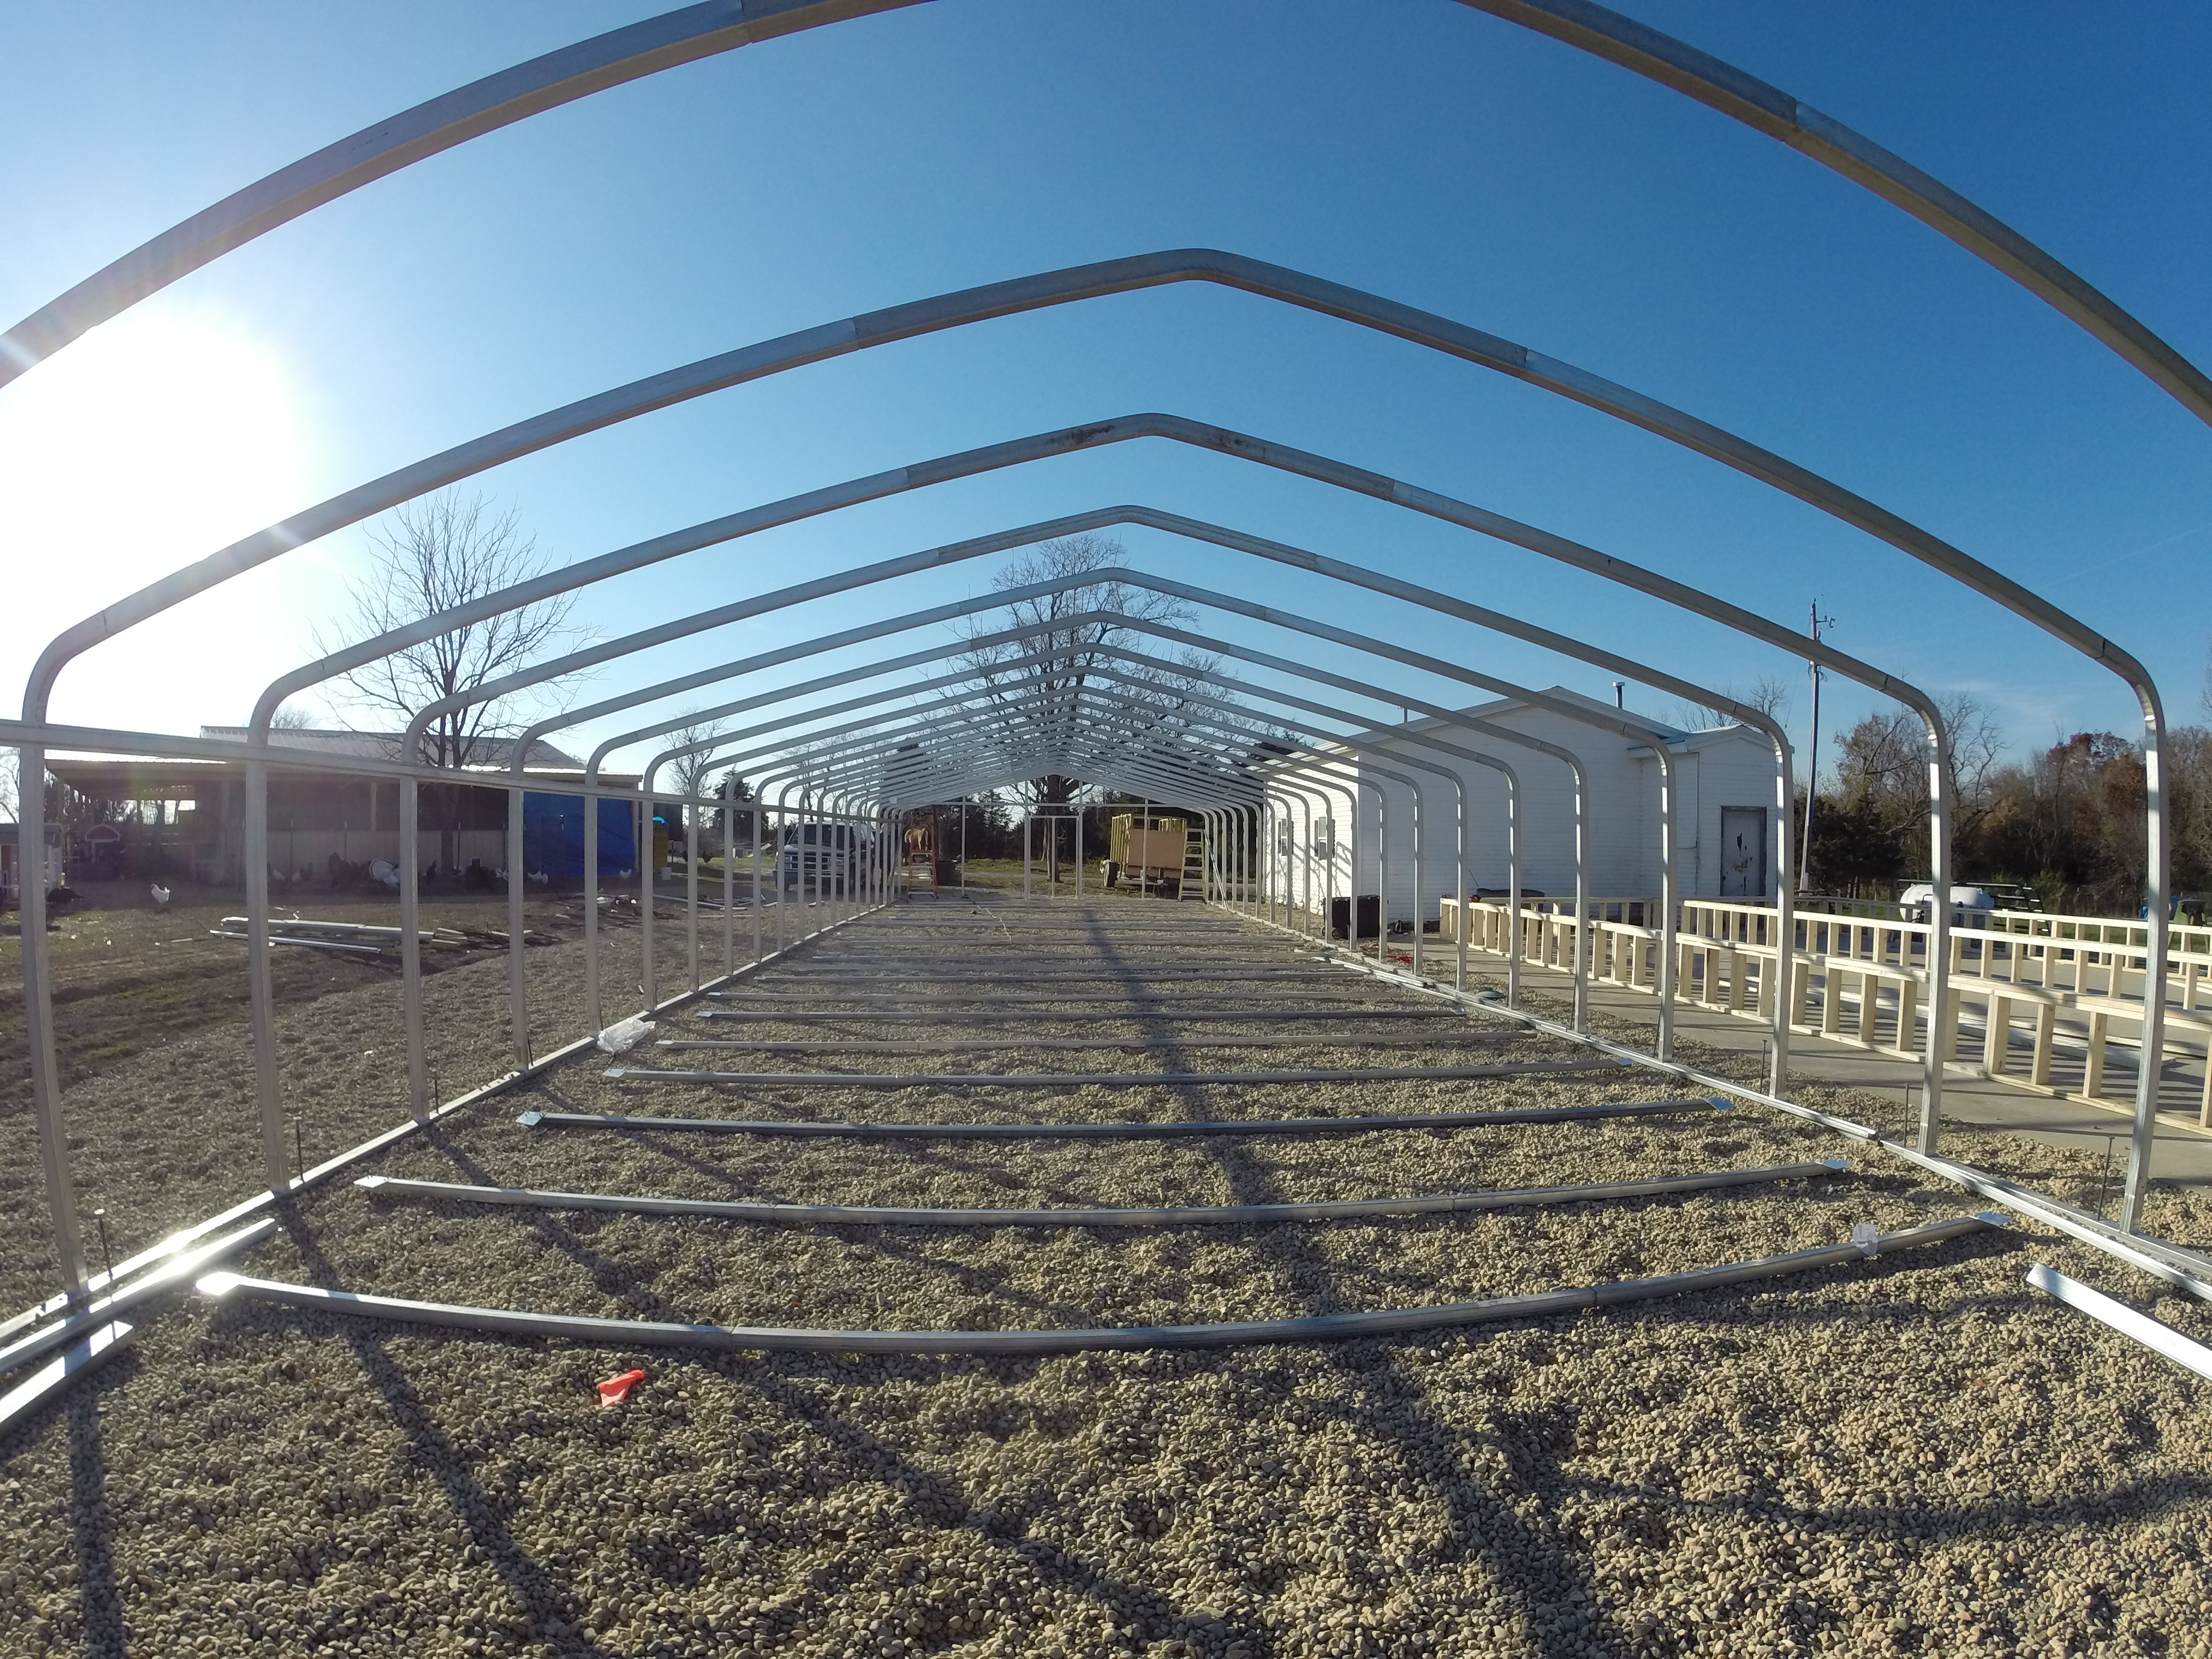
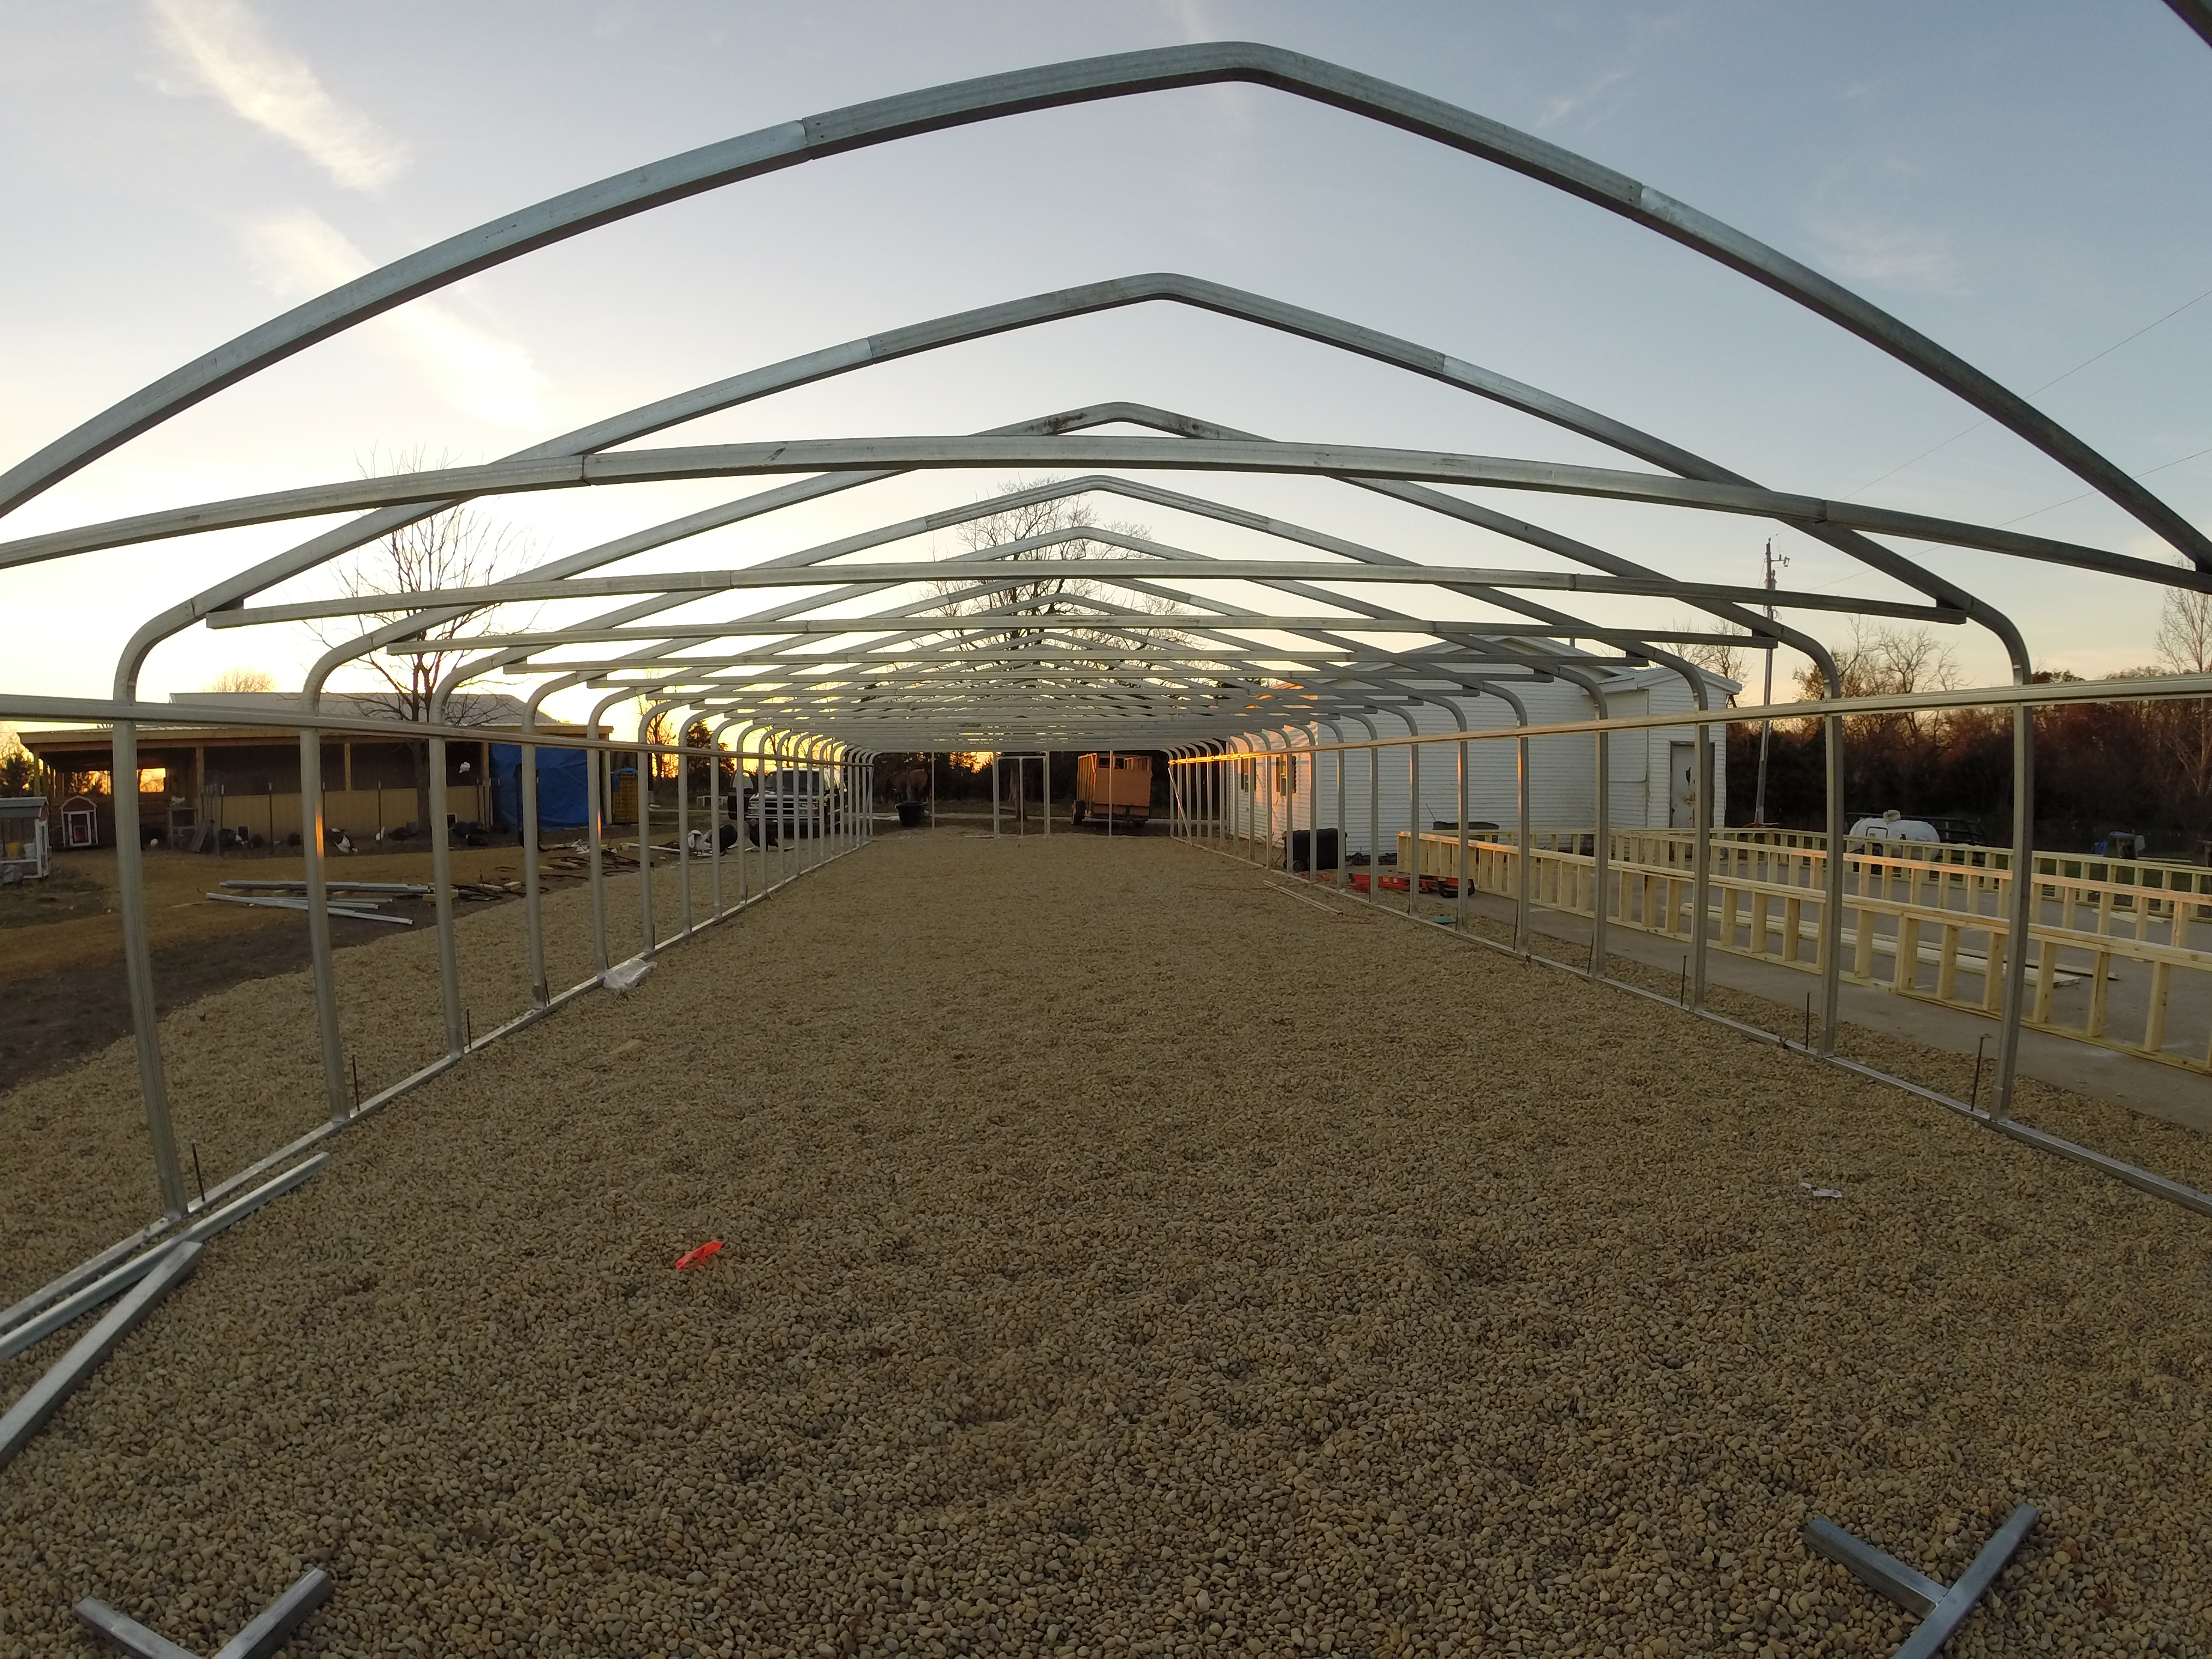
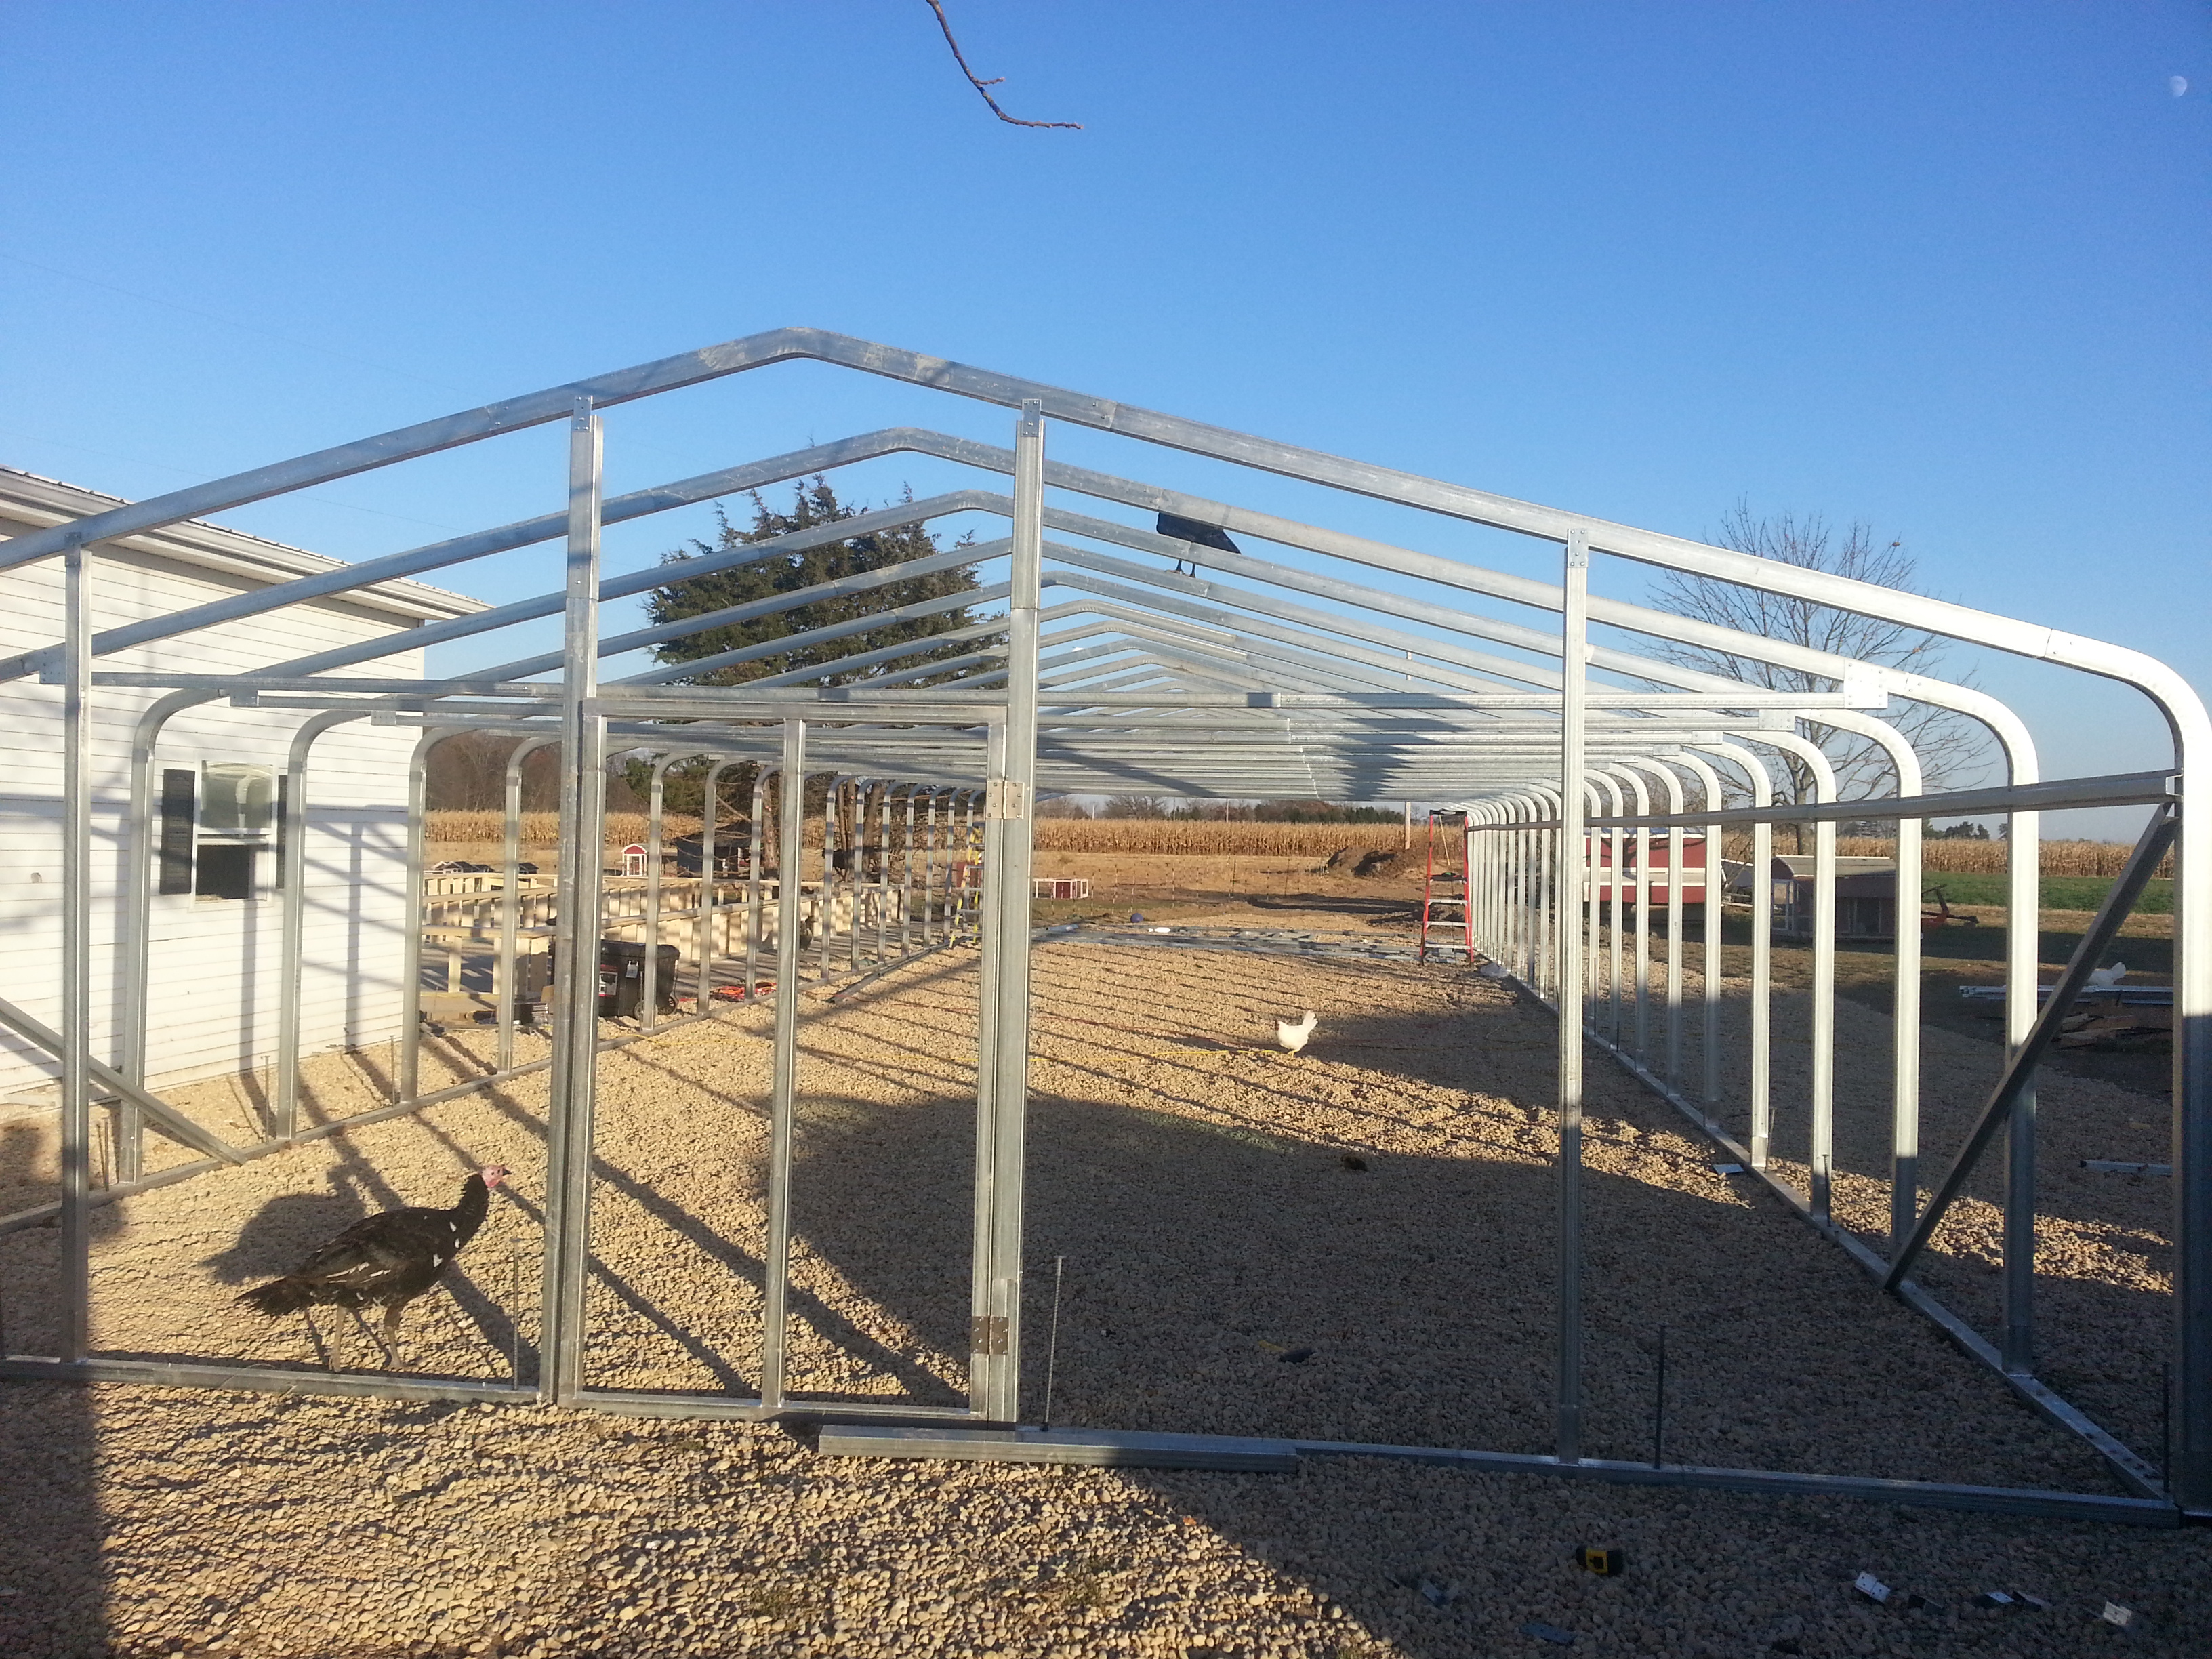
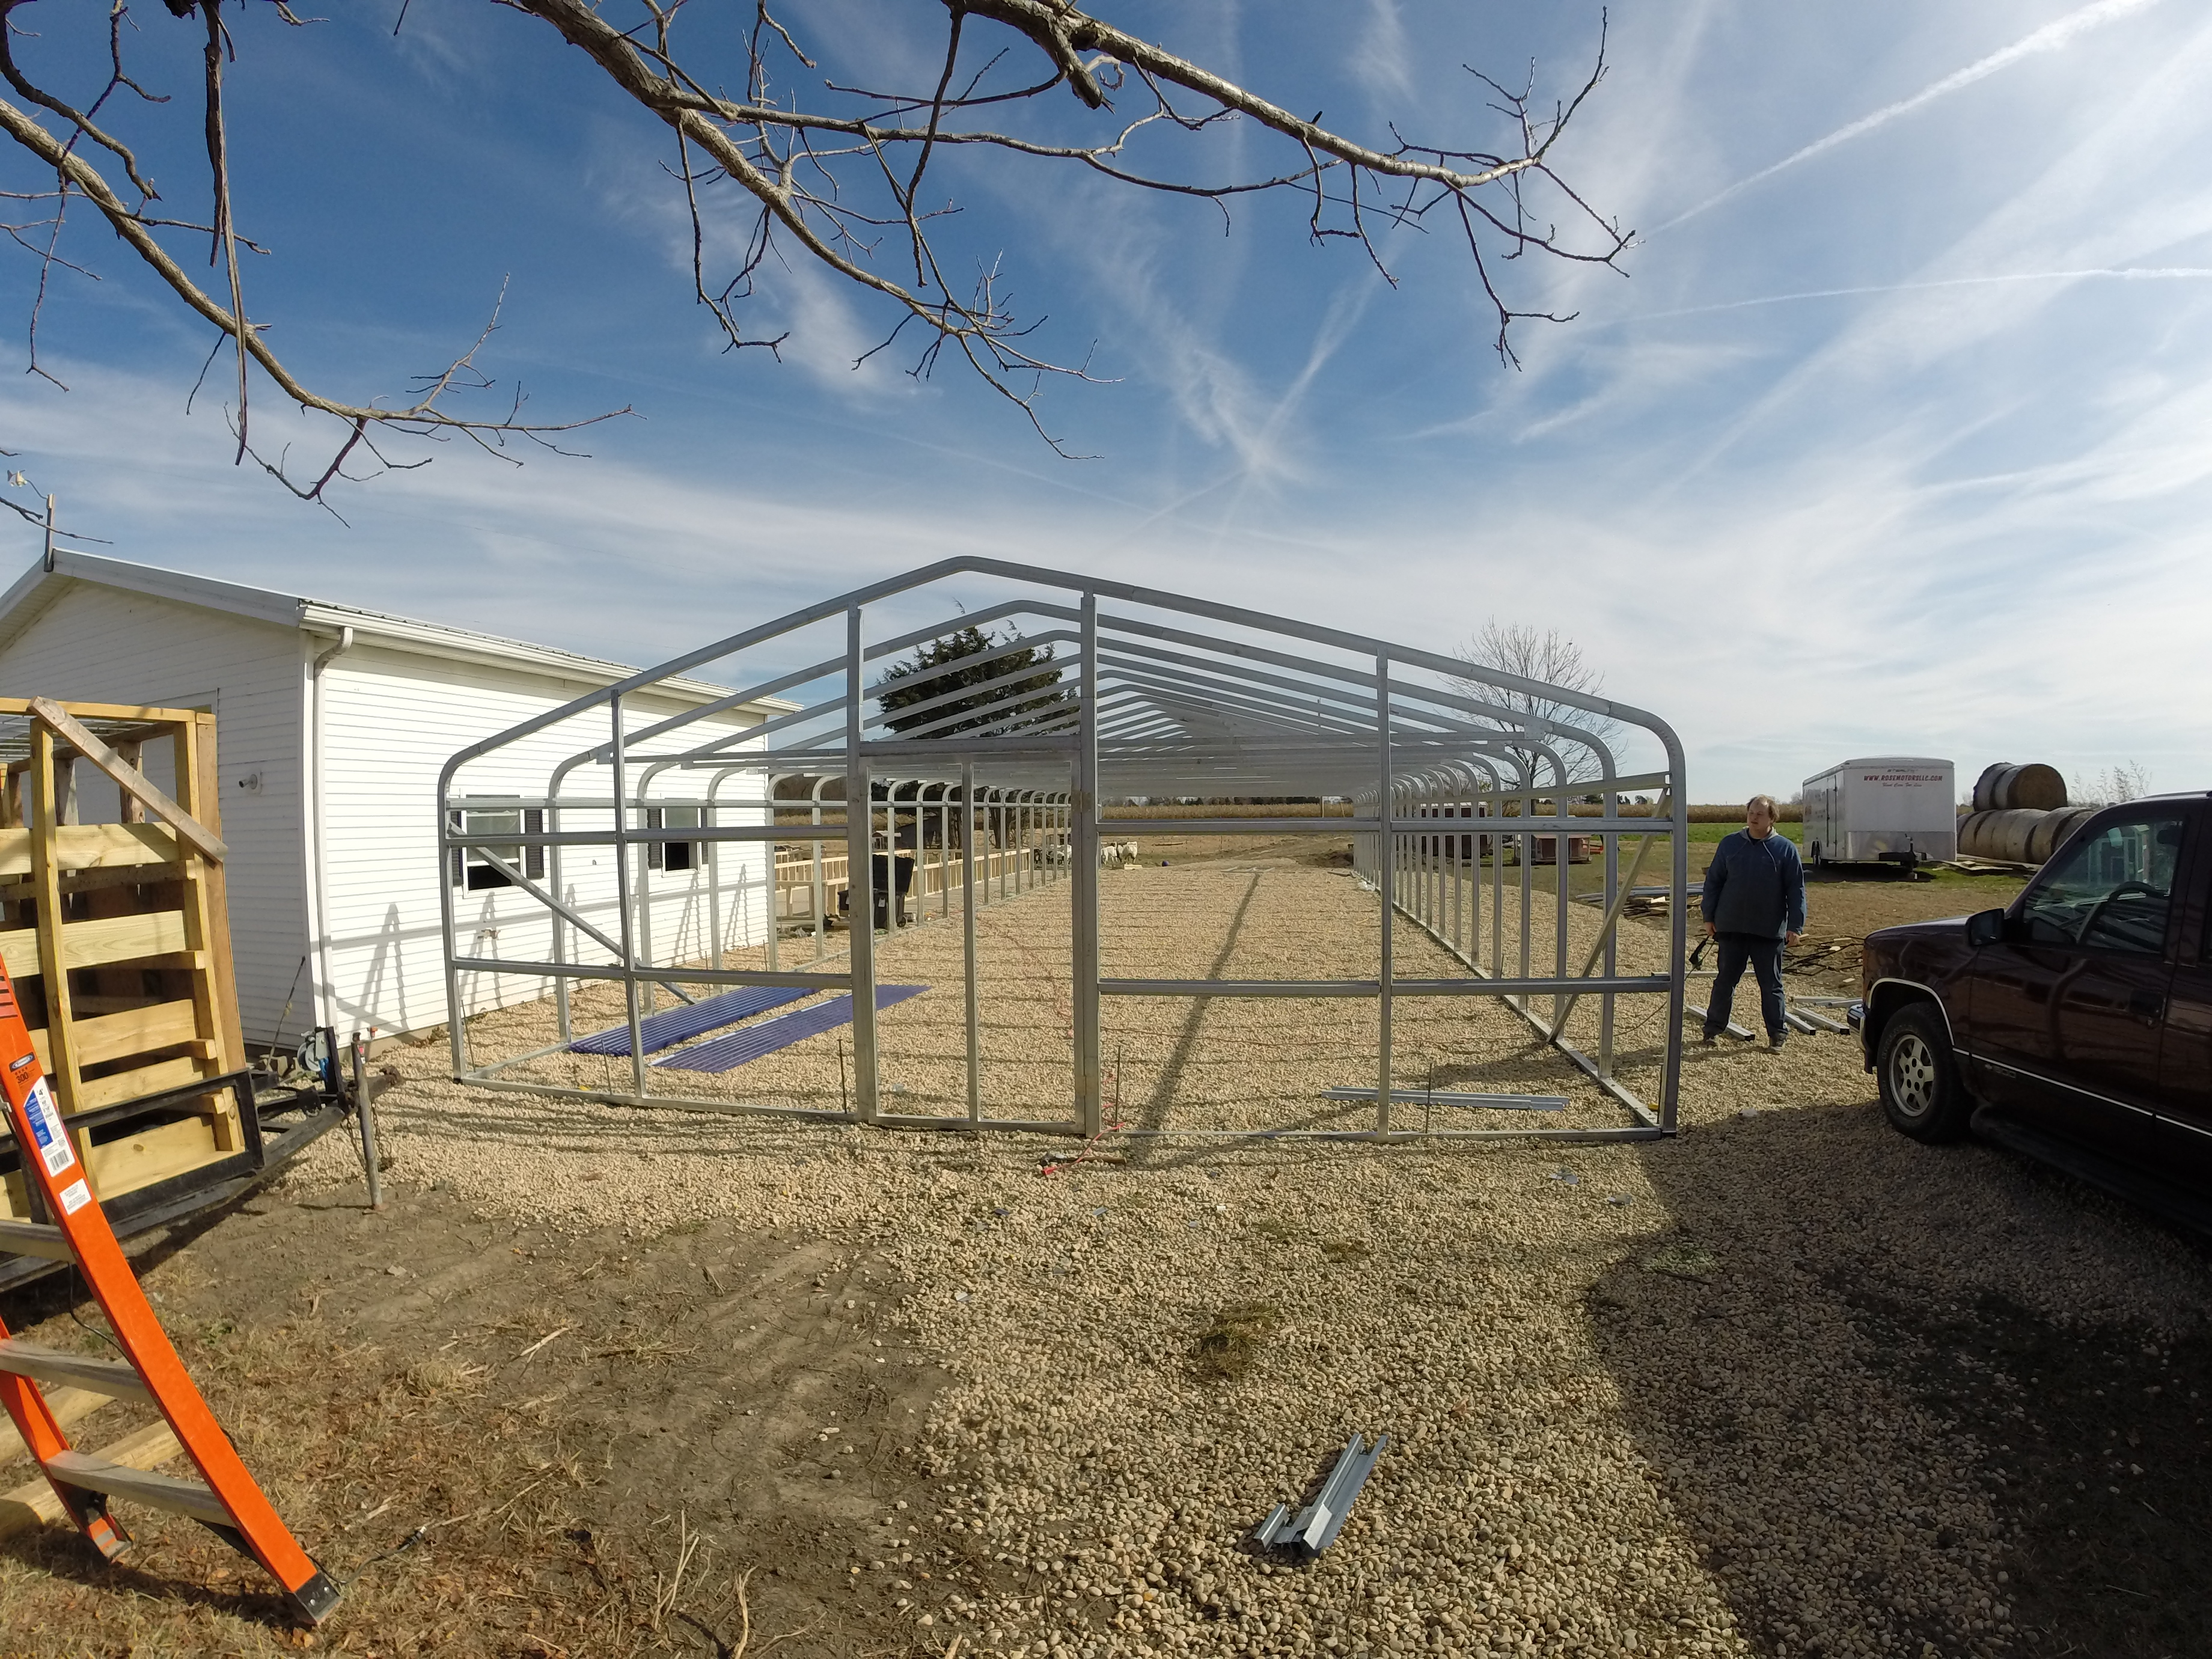
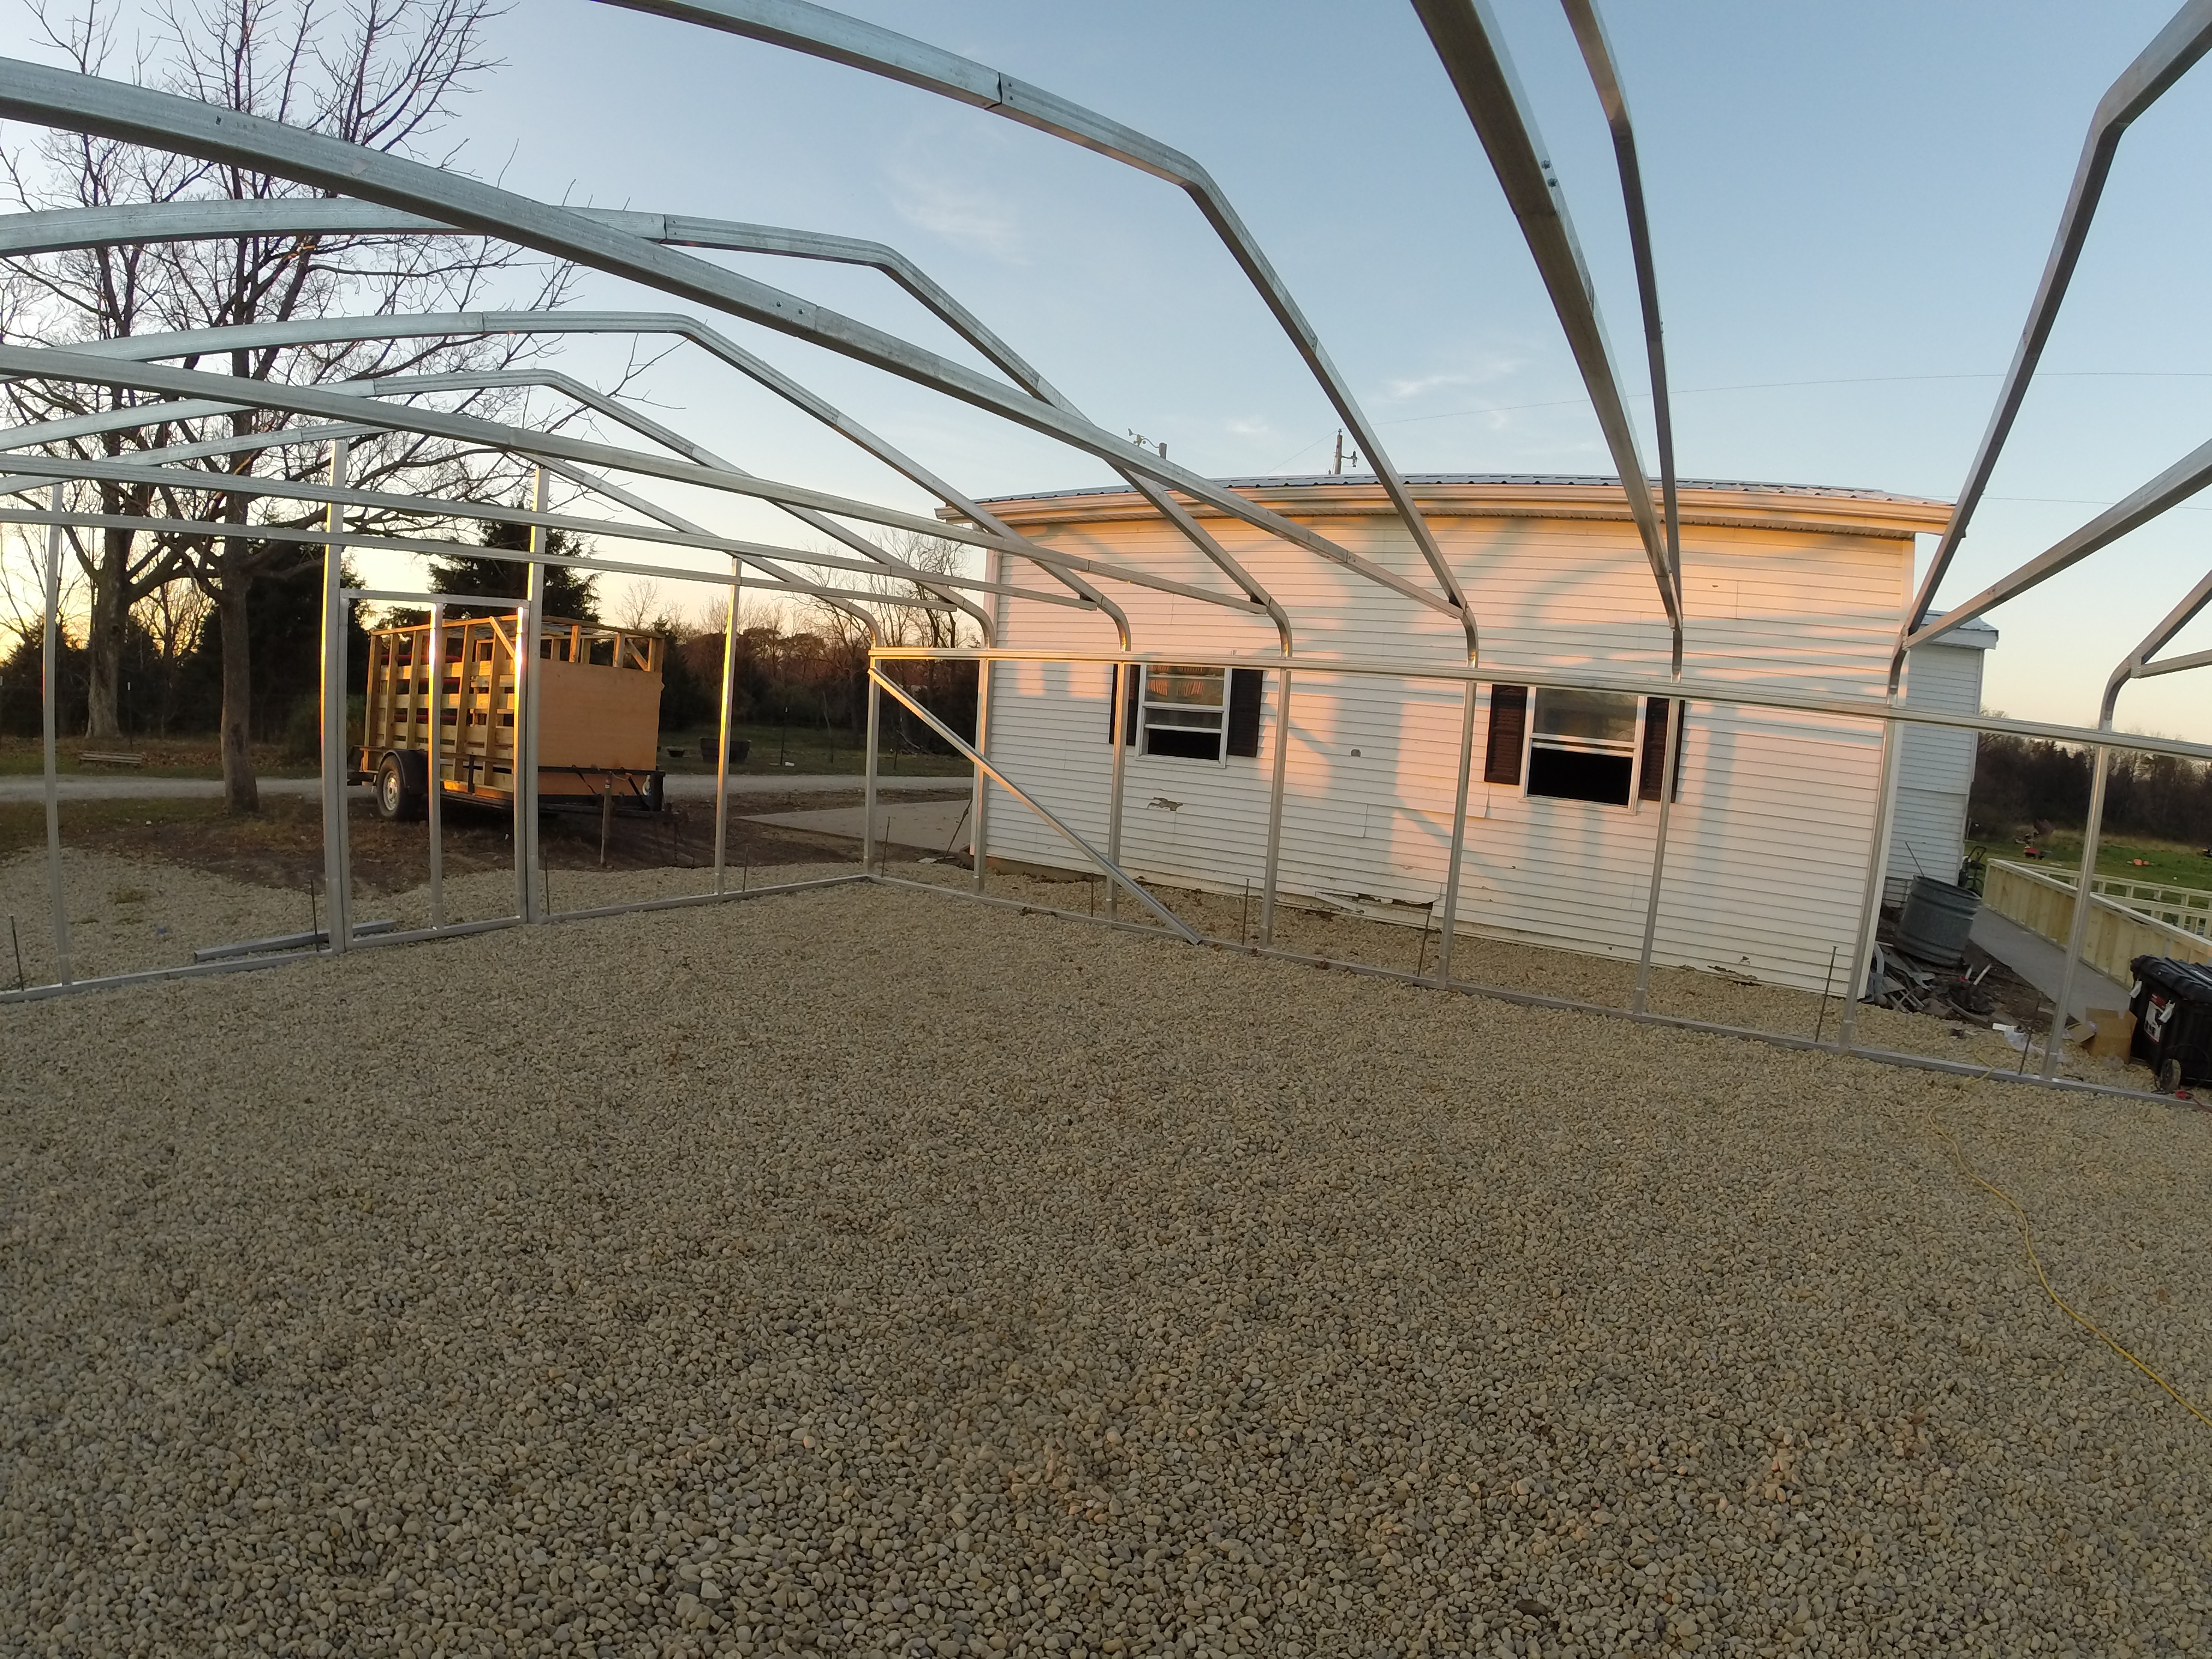
Nice and strait down the line. This is a good time to square up the building. Measure the inside of the opposite corners and slide the side of the greenhouse that is not yet anchored until the measurements on the diagonal are equal. Then double check the width from one side to the other and make sure it it still the proper width all the way down. Now you should have a square and strait building.

This customer needed additional truss bracing for his location and snow load. The next few pictures will show you how we install that.
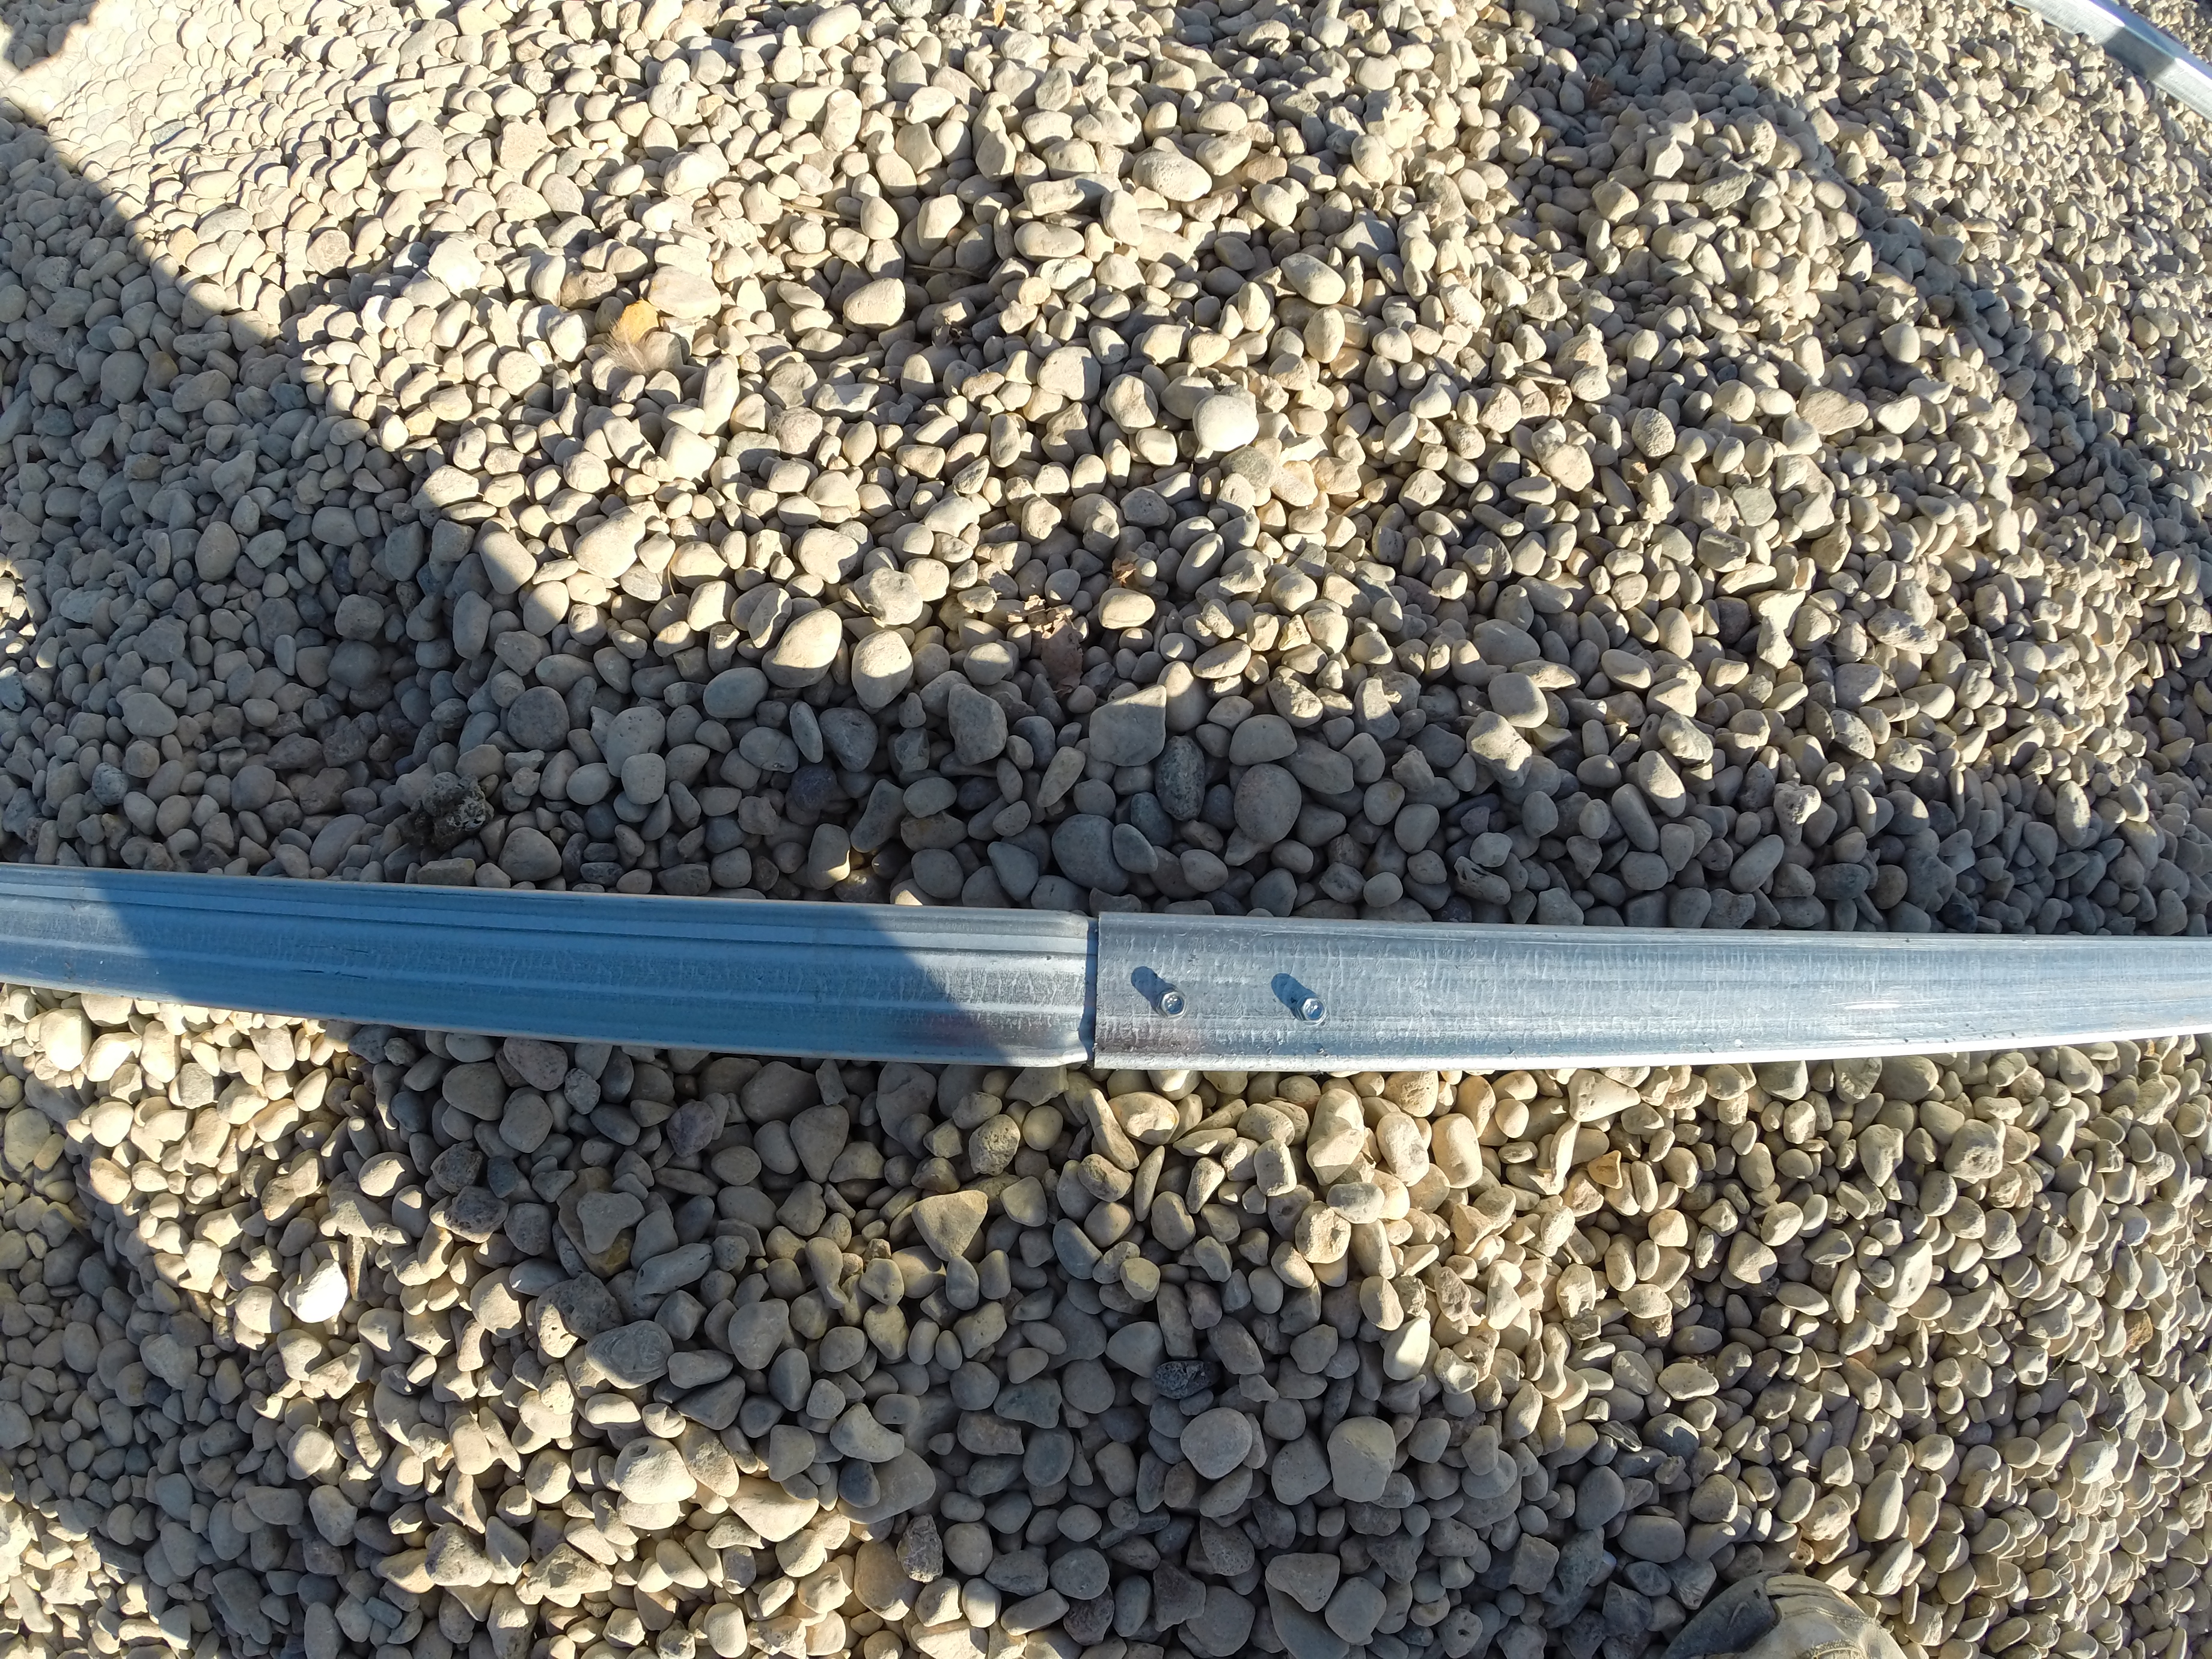
Here we have laid out the truss bars. Each truss bar is comprised of 3 pieces on a 24' wide. The long one in the middle and 2 shorter ones on each side of that.
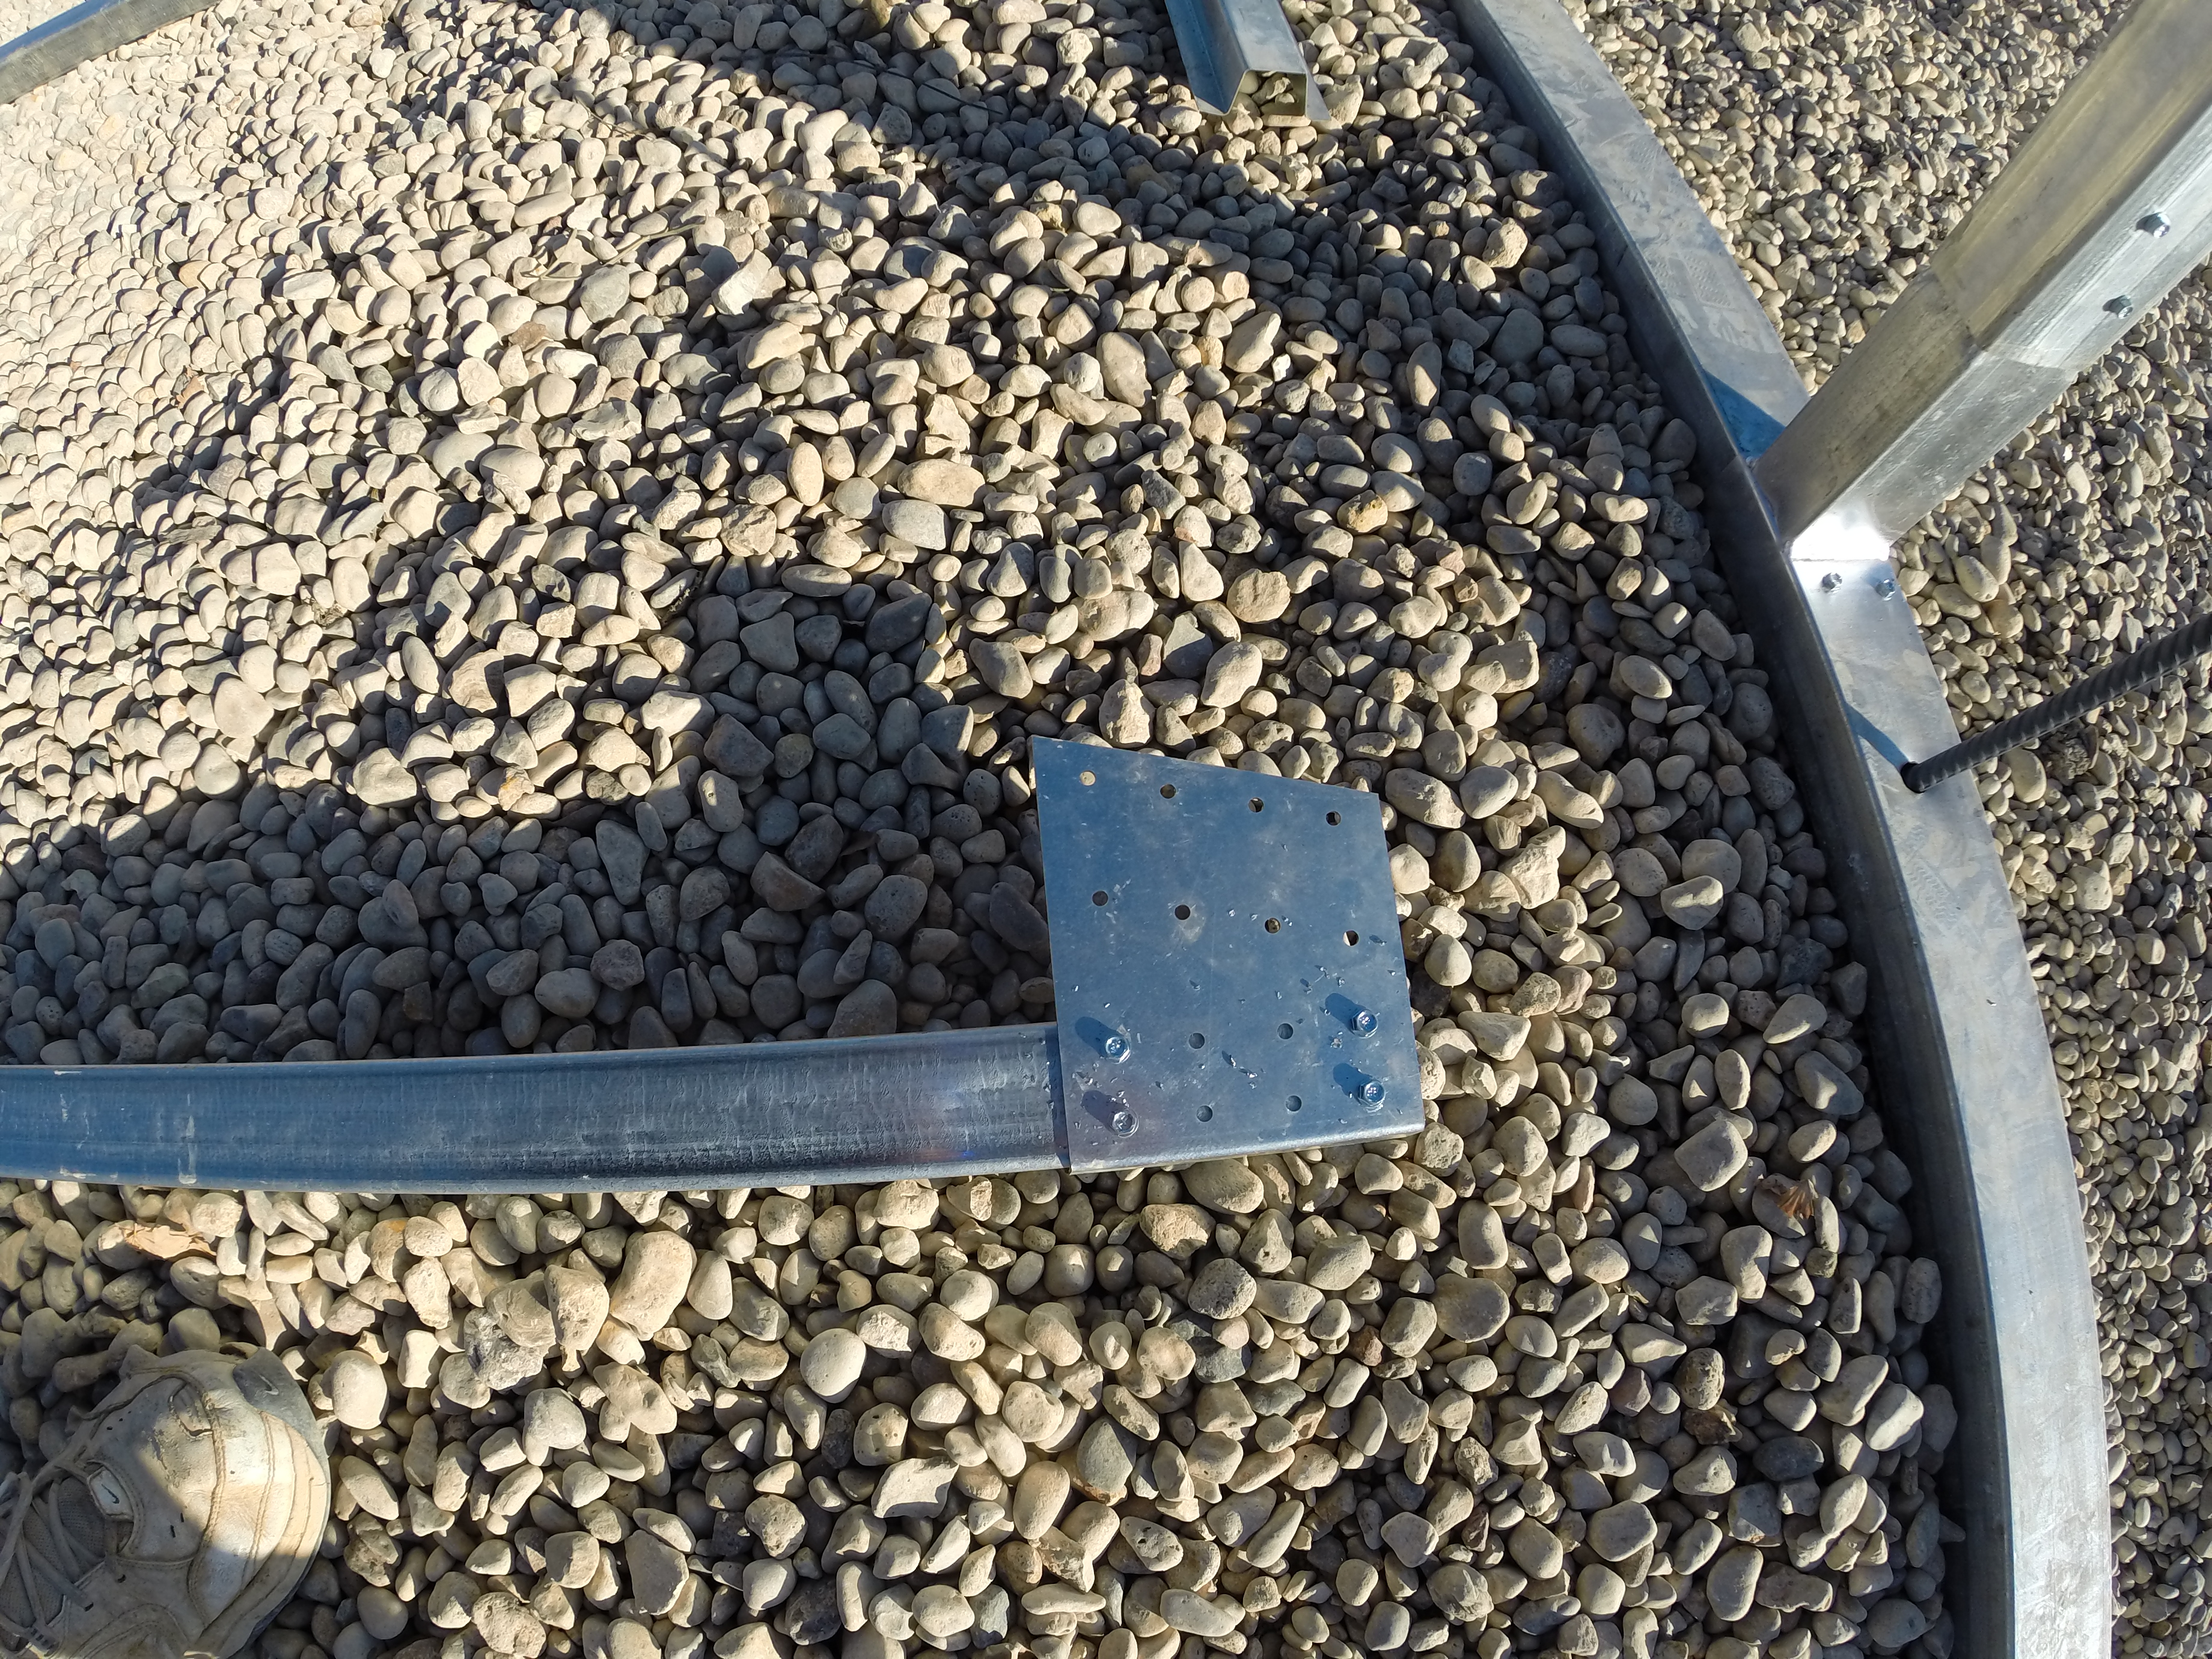
Here you see the bracket that will be used to attach it to the main arch.
This is what the door will look like before assembly. (NOTE) Our new doors have 4 horizontal pieces instead of the 3 vertical pieces you see here. Normally we ship 44" horizontal pieces and 74-78" vertical pieces. Use the flat brackets to hold the 2 center horizontal supports in place. You can space them pretty much however you like apart.
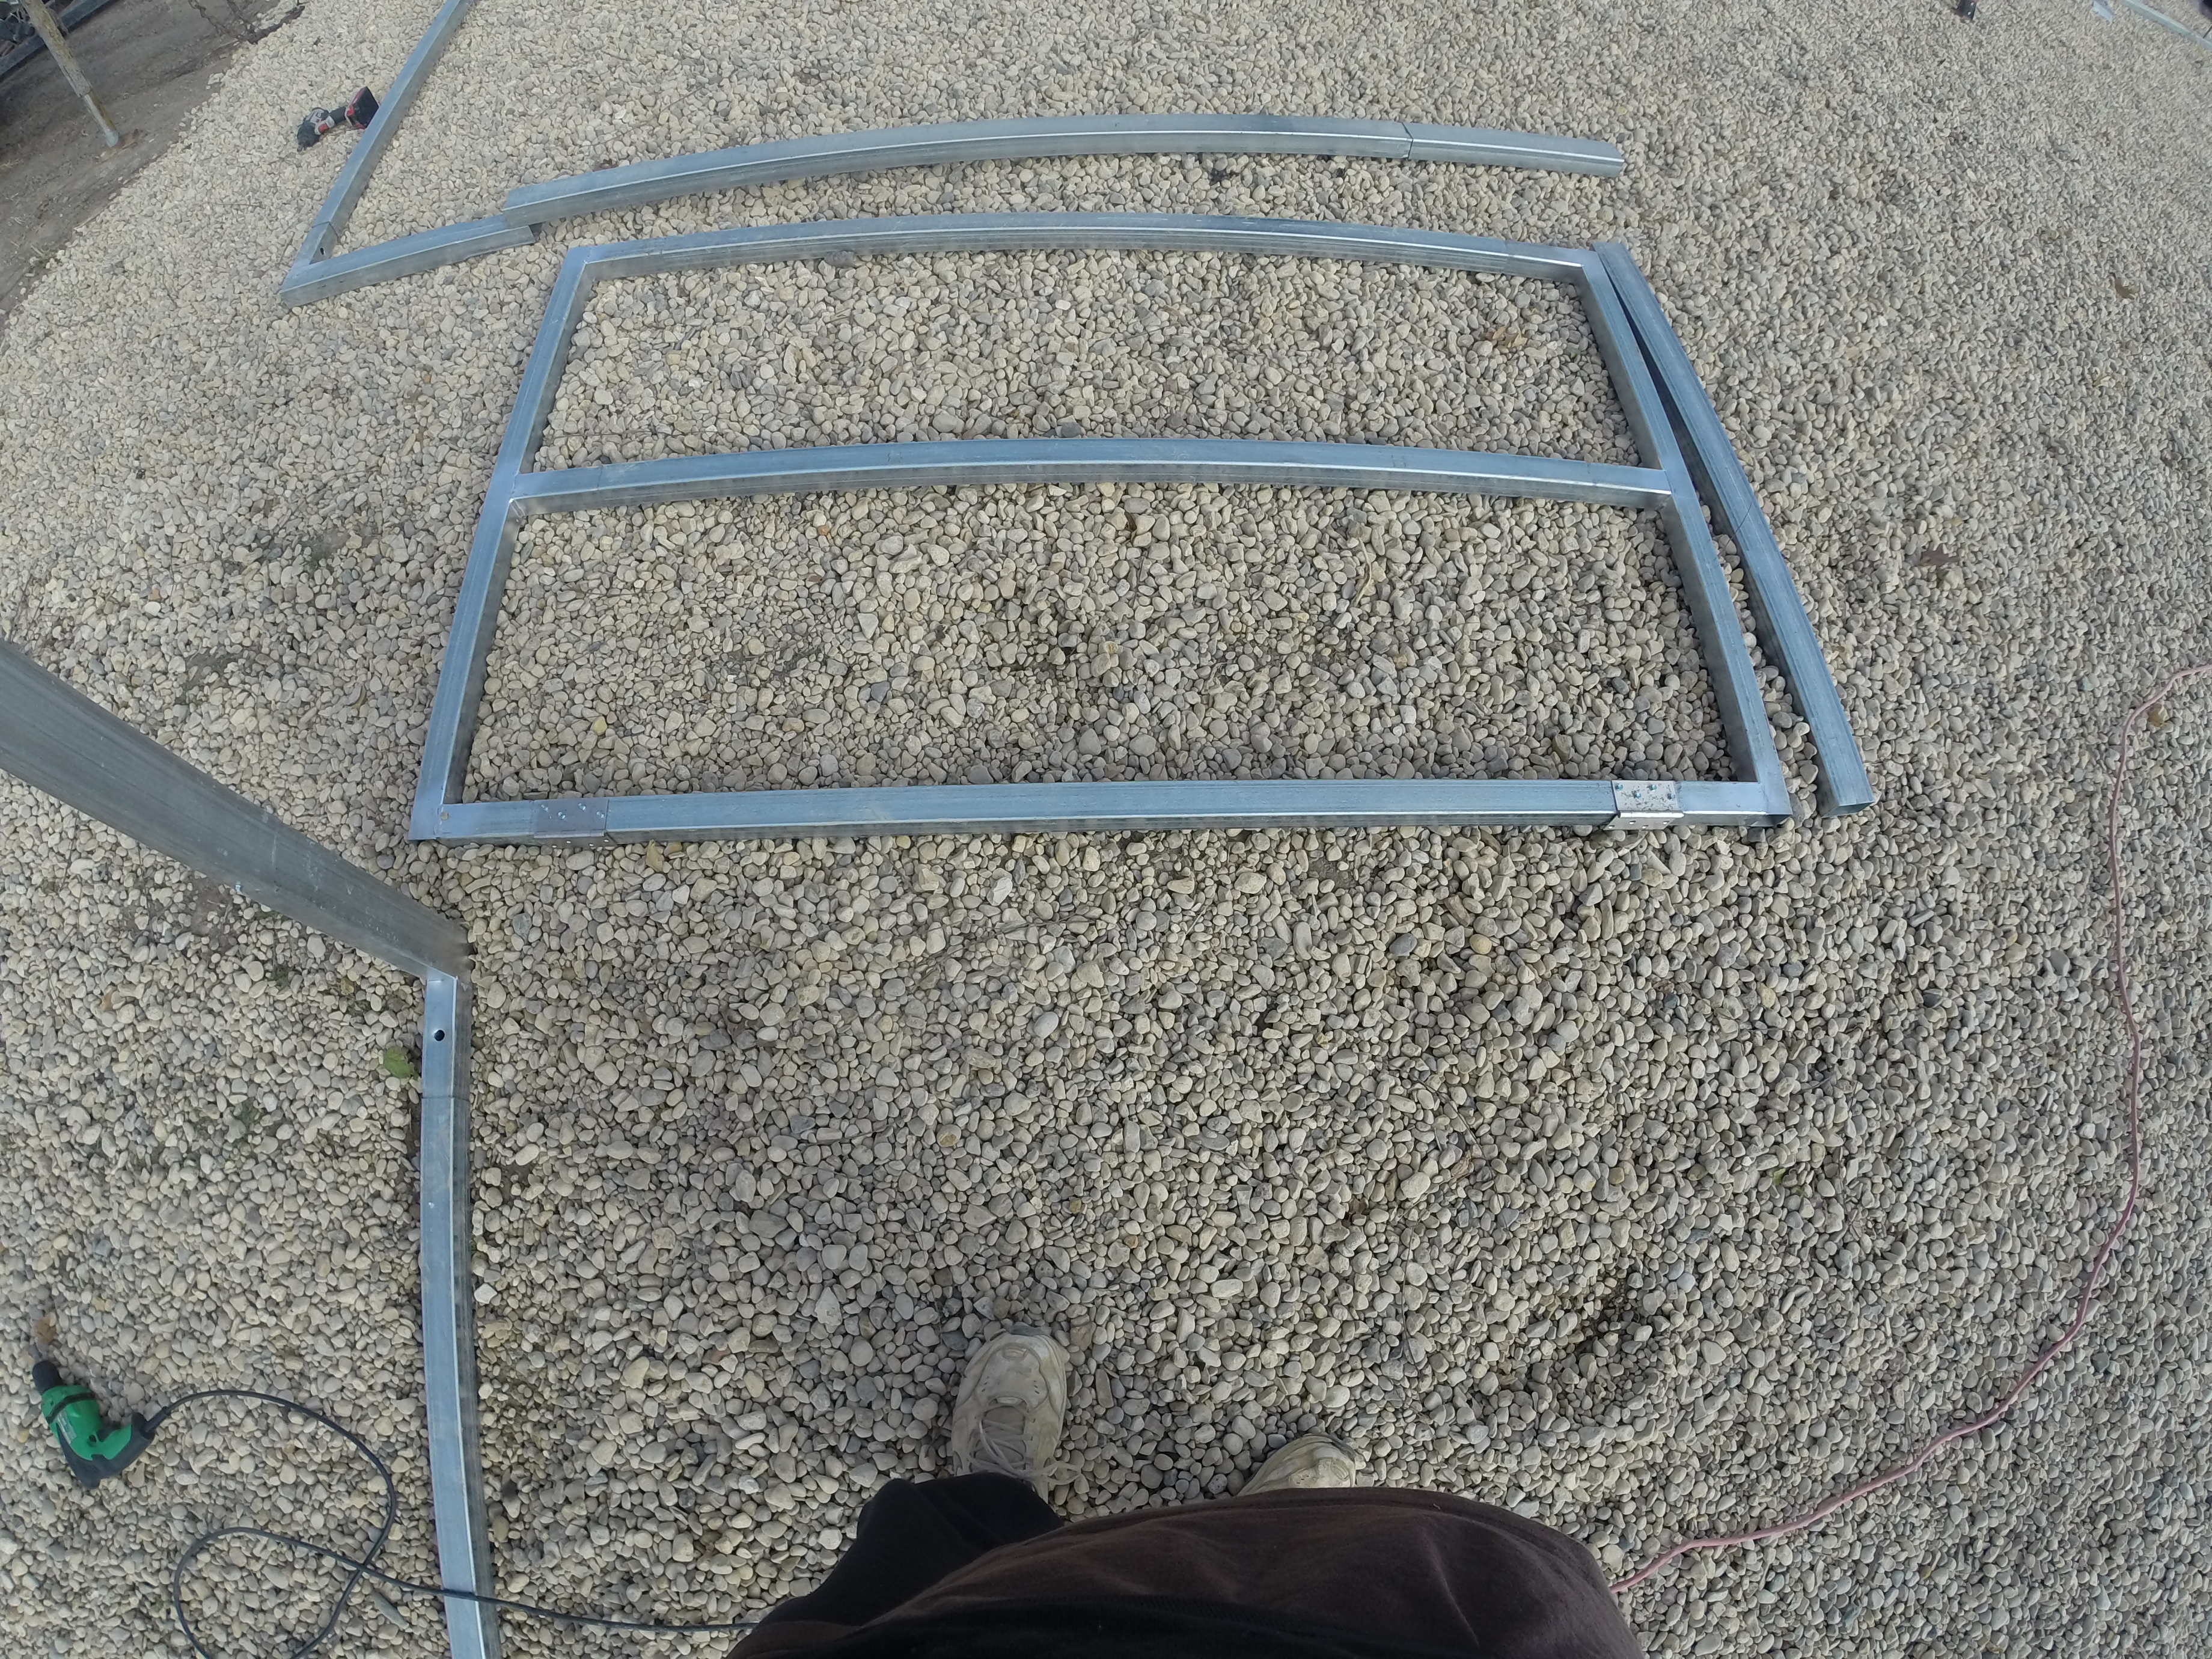
Door after assembly.
The next 2 photos show the end wall starting to come together. In this photo I just leaned it up alongside the arch to hold it up while I took the picture. (Note) This is a 24' wide model and has 2 vertical supports on each side. Most all of our building will only have 1 vertical support where the door post is.
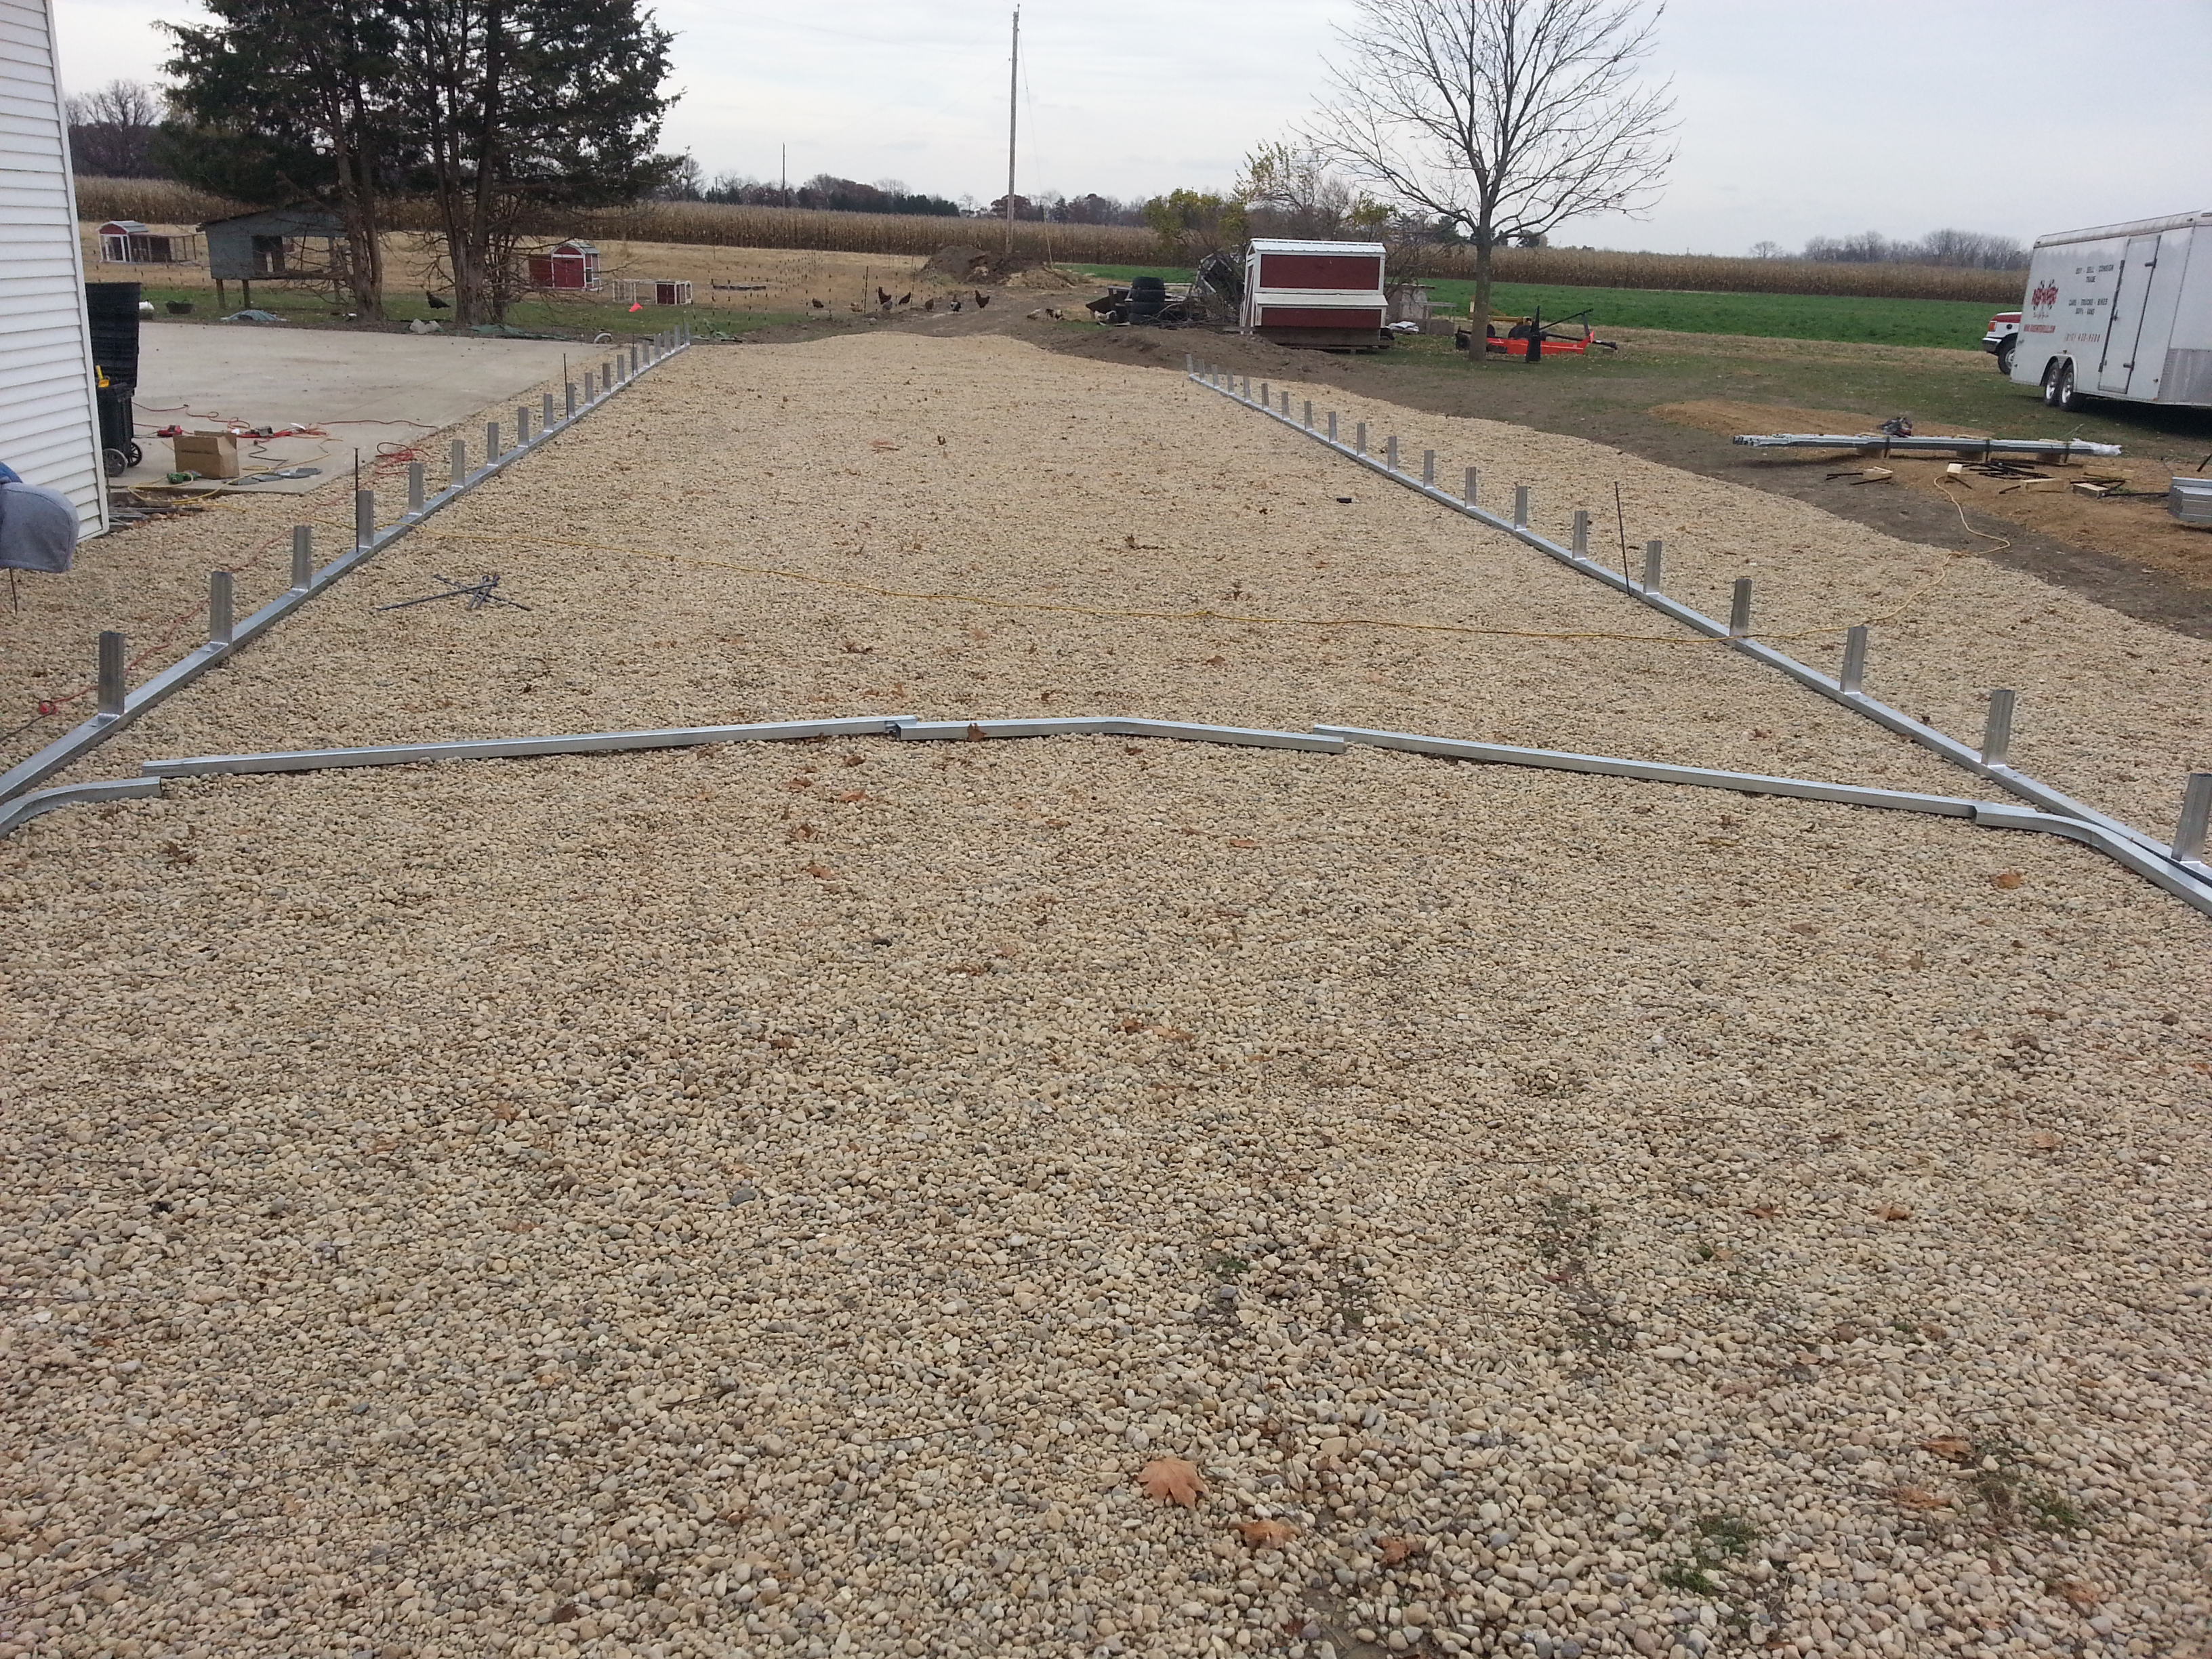
Here you will see the basic breakdown of how the end wall is assembled. This happens to be a 24' wide model so yours may differ slightly. What is important to note in this picture is how the door post looks at the bottom. Notice the "L" bracket. One slips into the door post that will stand up and the other slips into the base rail heading over to the side wall.
Go ahead and set the bottom base rail in place. Slip the door post bracket into it with the door post on top. Now screw it in place at the top of the building plumb. Make sure to place a second horizontal somewhere higher up so that you know it is spaced correctly before you screw it tight. Then place the rest of your horizontal supports at whatever distance apart works best for your operation. So if you are planning on using 24" vents and fans, you might want to go ahead and space them about 24 1/4" apart. That way they will fit right into place when you are ready. (Note) If your model uses the bent brackets for holding these horizontal supports in place, place the brackets on the underside of the supports for added strength.
This "T" bracket is only used on some models and yours will most likely not have this piece.
End wall coming along. In this shot you will see that the end wall has now been attached at the top using the rectangle steel brackets.
Here you can see that we just shoot in a couple of screws on each connection.
Here is the end wall after the horizontal supports have been attached. These are not load bearing and are only to give the plastic something to attach too. So you may raise or lower them to accommodate any vents, fans or windows you may be adding.
Here is how we get there.
Now it is time to make the arches all plumb vertically. We do this using the hat channel. We run t all the way down each side of the greenhouse at the top of the legs. The first thing you need to do is get the end wall to stay put and stay plumb. So start by attaching a piece of hat channel on a diagonal across at least 2 other arches. Get the end wall plumb and screw the hat channel in place. This should hold the end wall securely.
Now that the end wall is secure you need to start running the hat channel down the sides at the top of the legs on the inside of the building. Just below where it starts to curve and become the roof is fine.
For some reason I cant seem to get this picture to rotate correctly. Click on it and it should be a vertical shot.
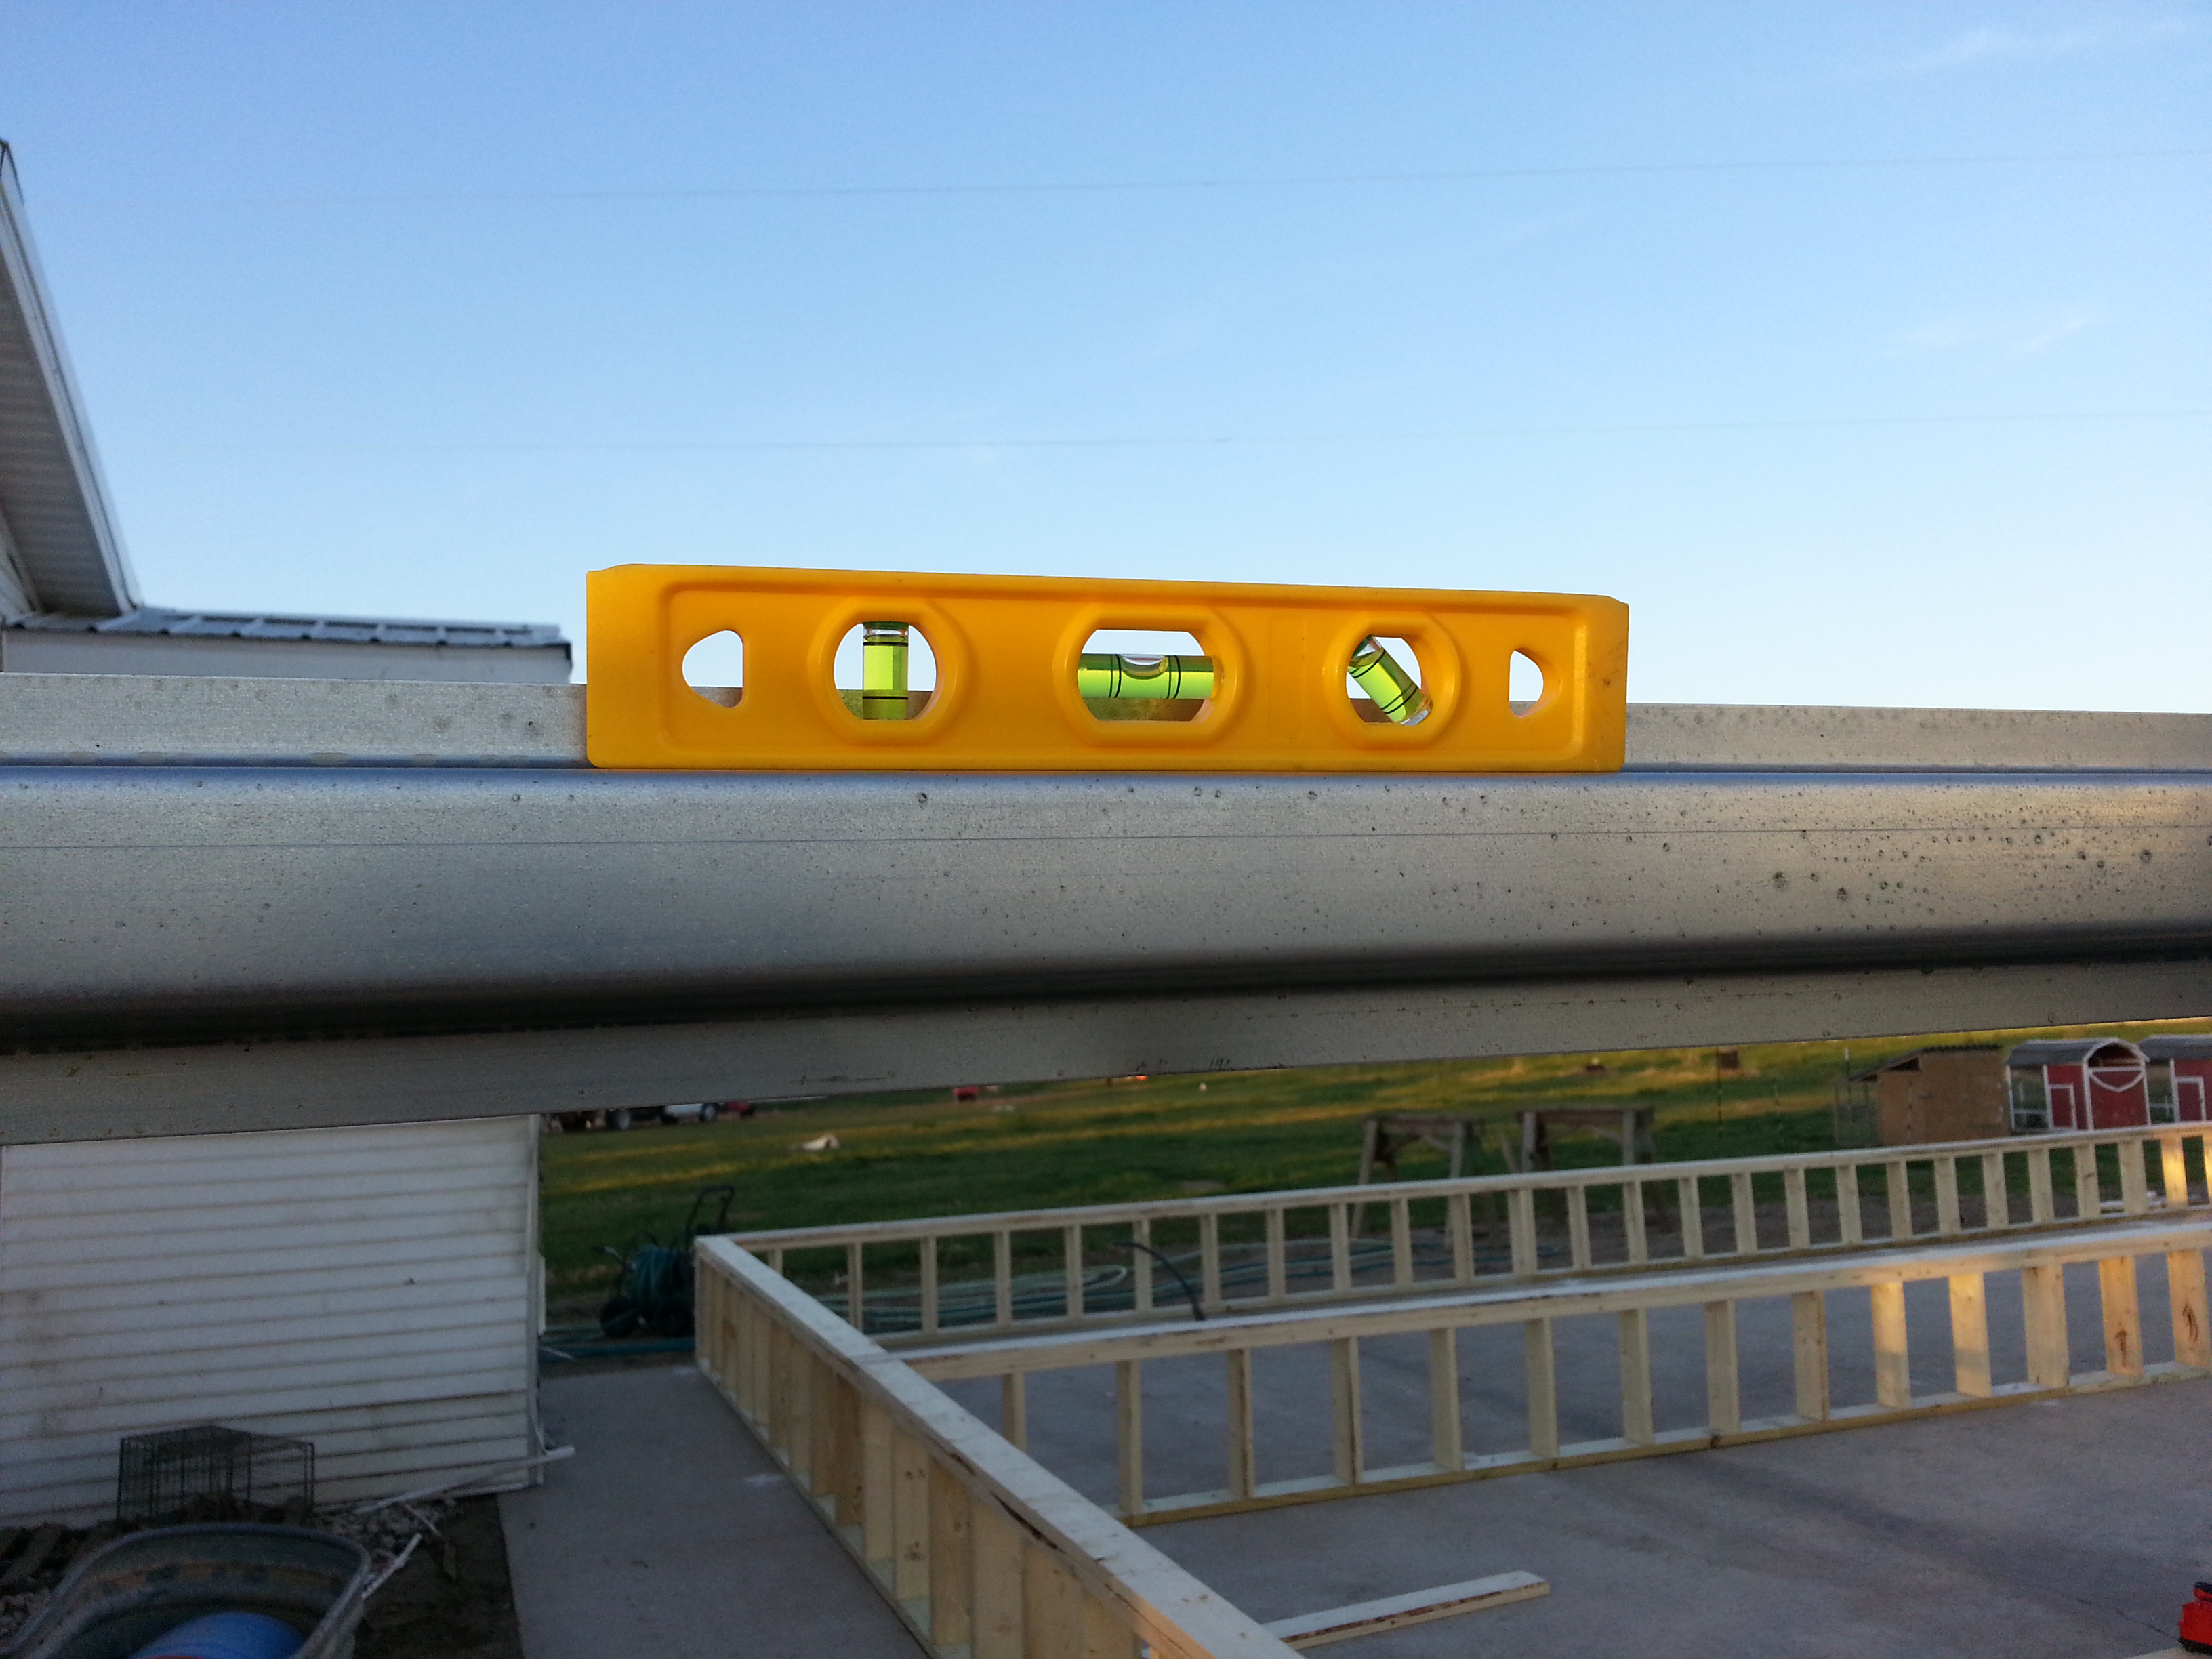
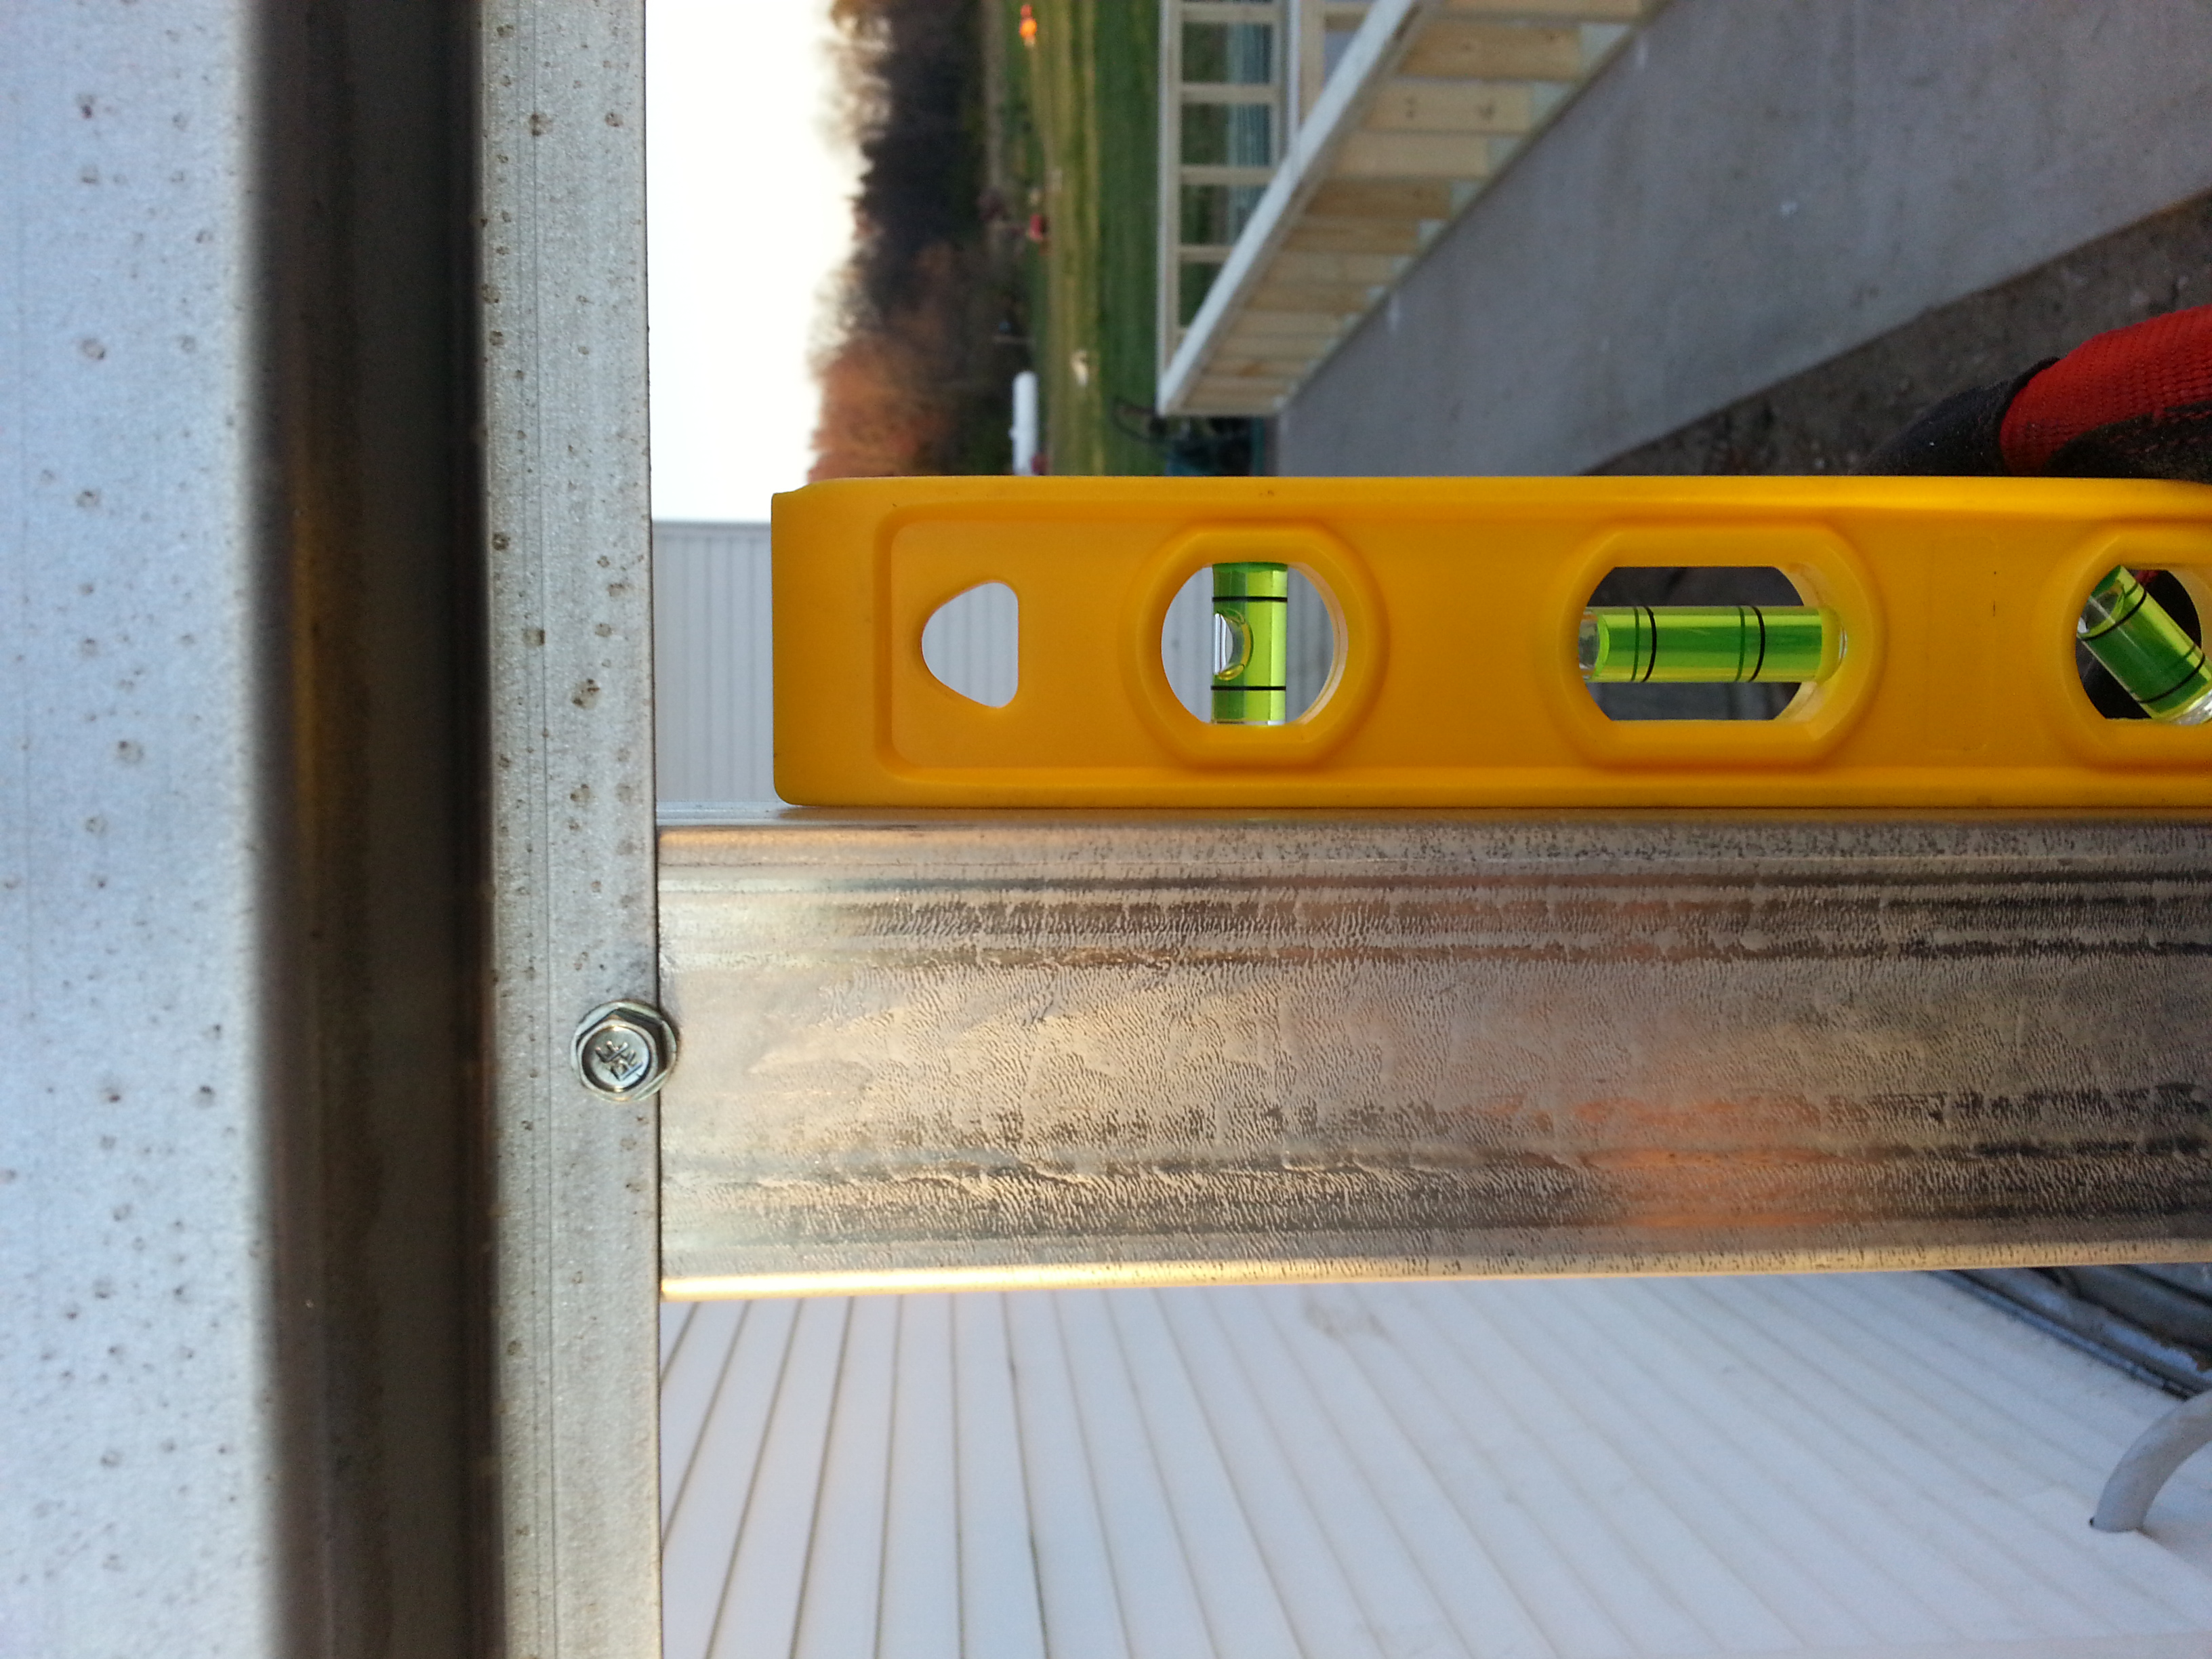
This is showing how we push or pull the arch until it is level and then shoot a couple of screws into the hat channel to hold it plumb. Do this all the way down so your building not only looks correct but when it is time to attach the plastic on the roof, you will not have a large gap that becomes difficult to cover.
Here you can see the hat channel running all the way down the sidewall near the top.
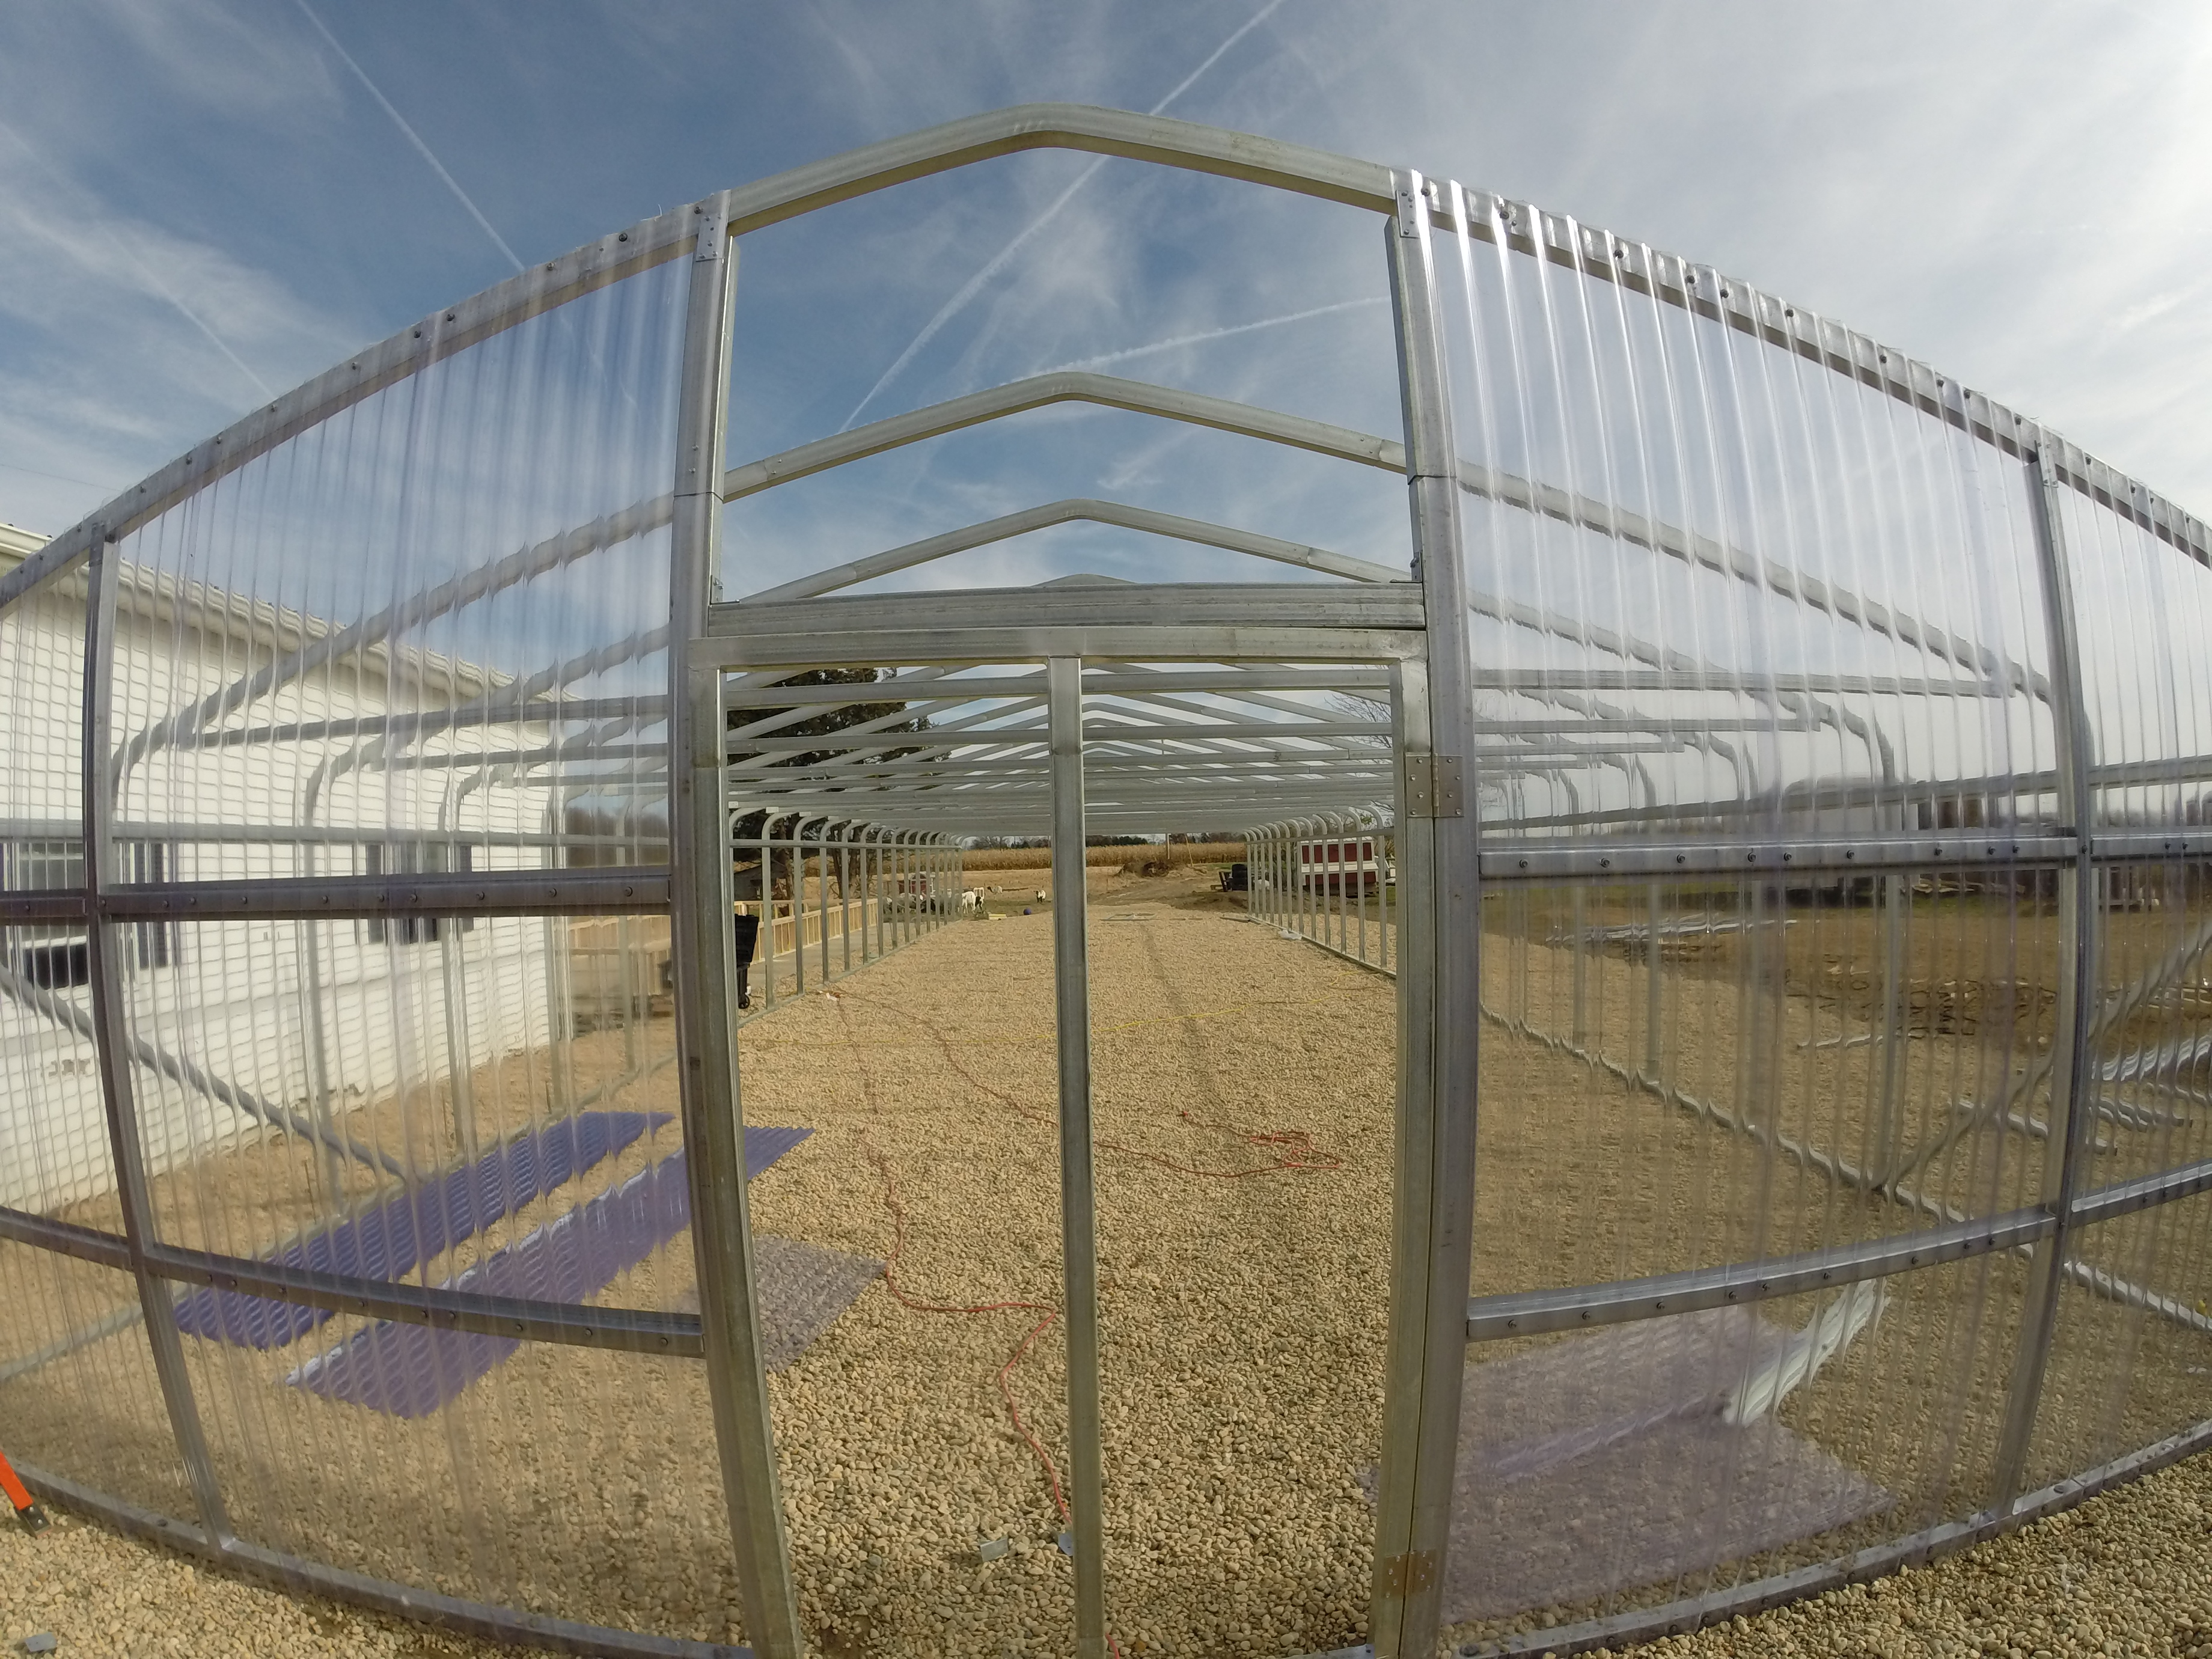
Now it is time to attach the plastic.
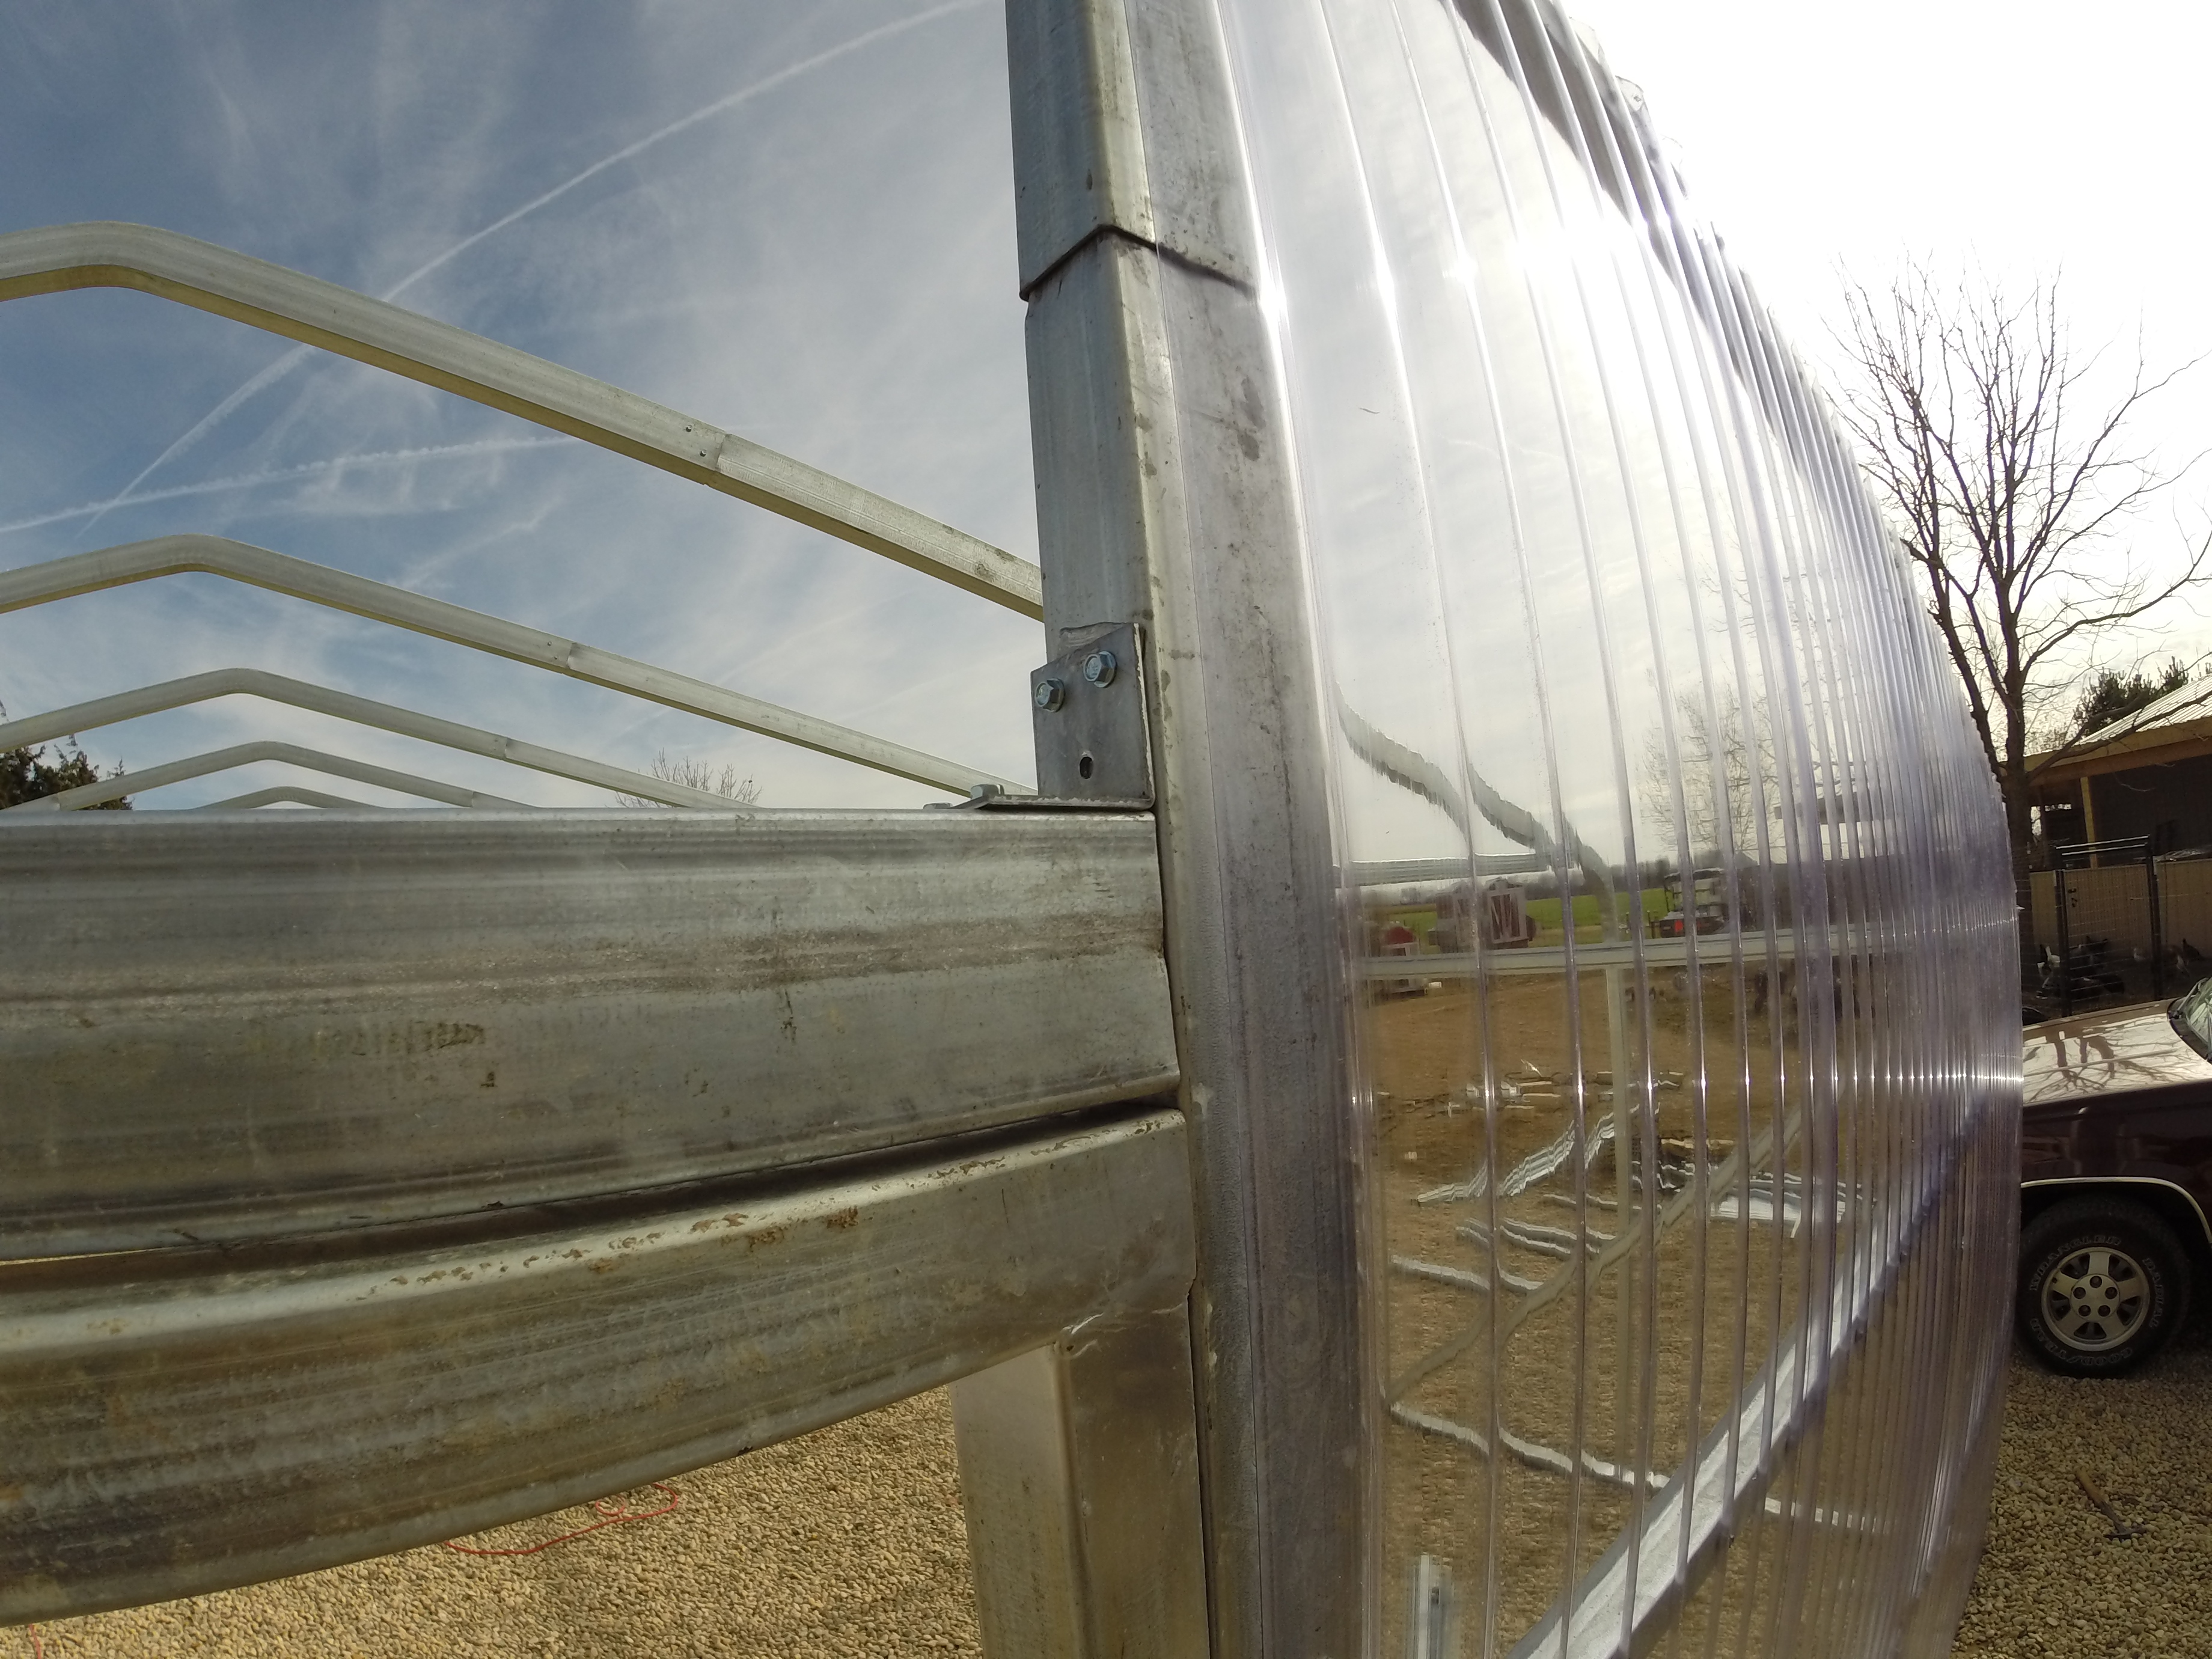
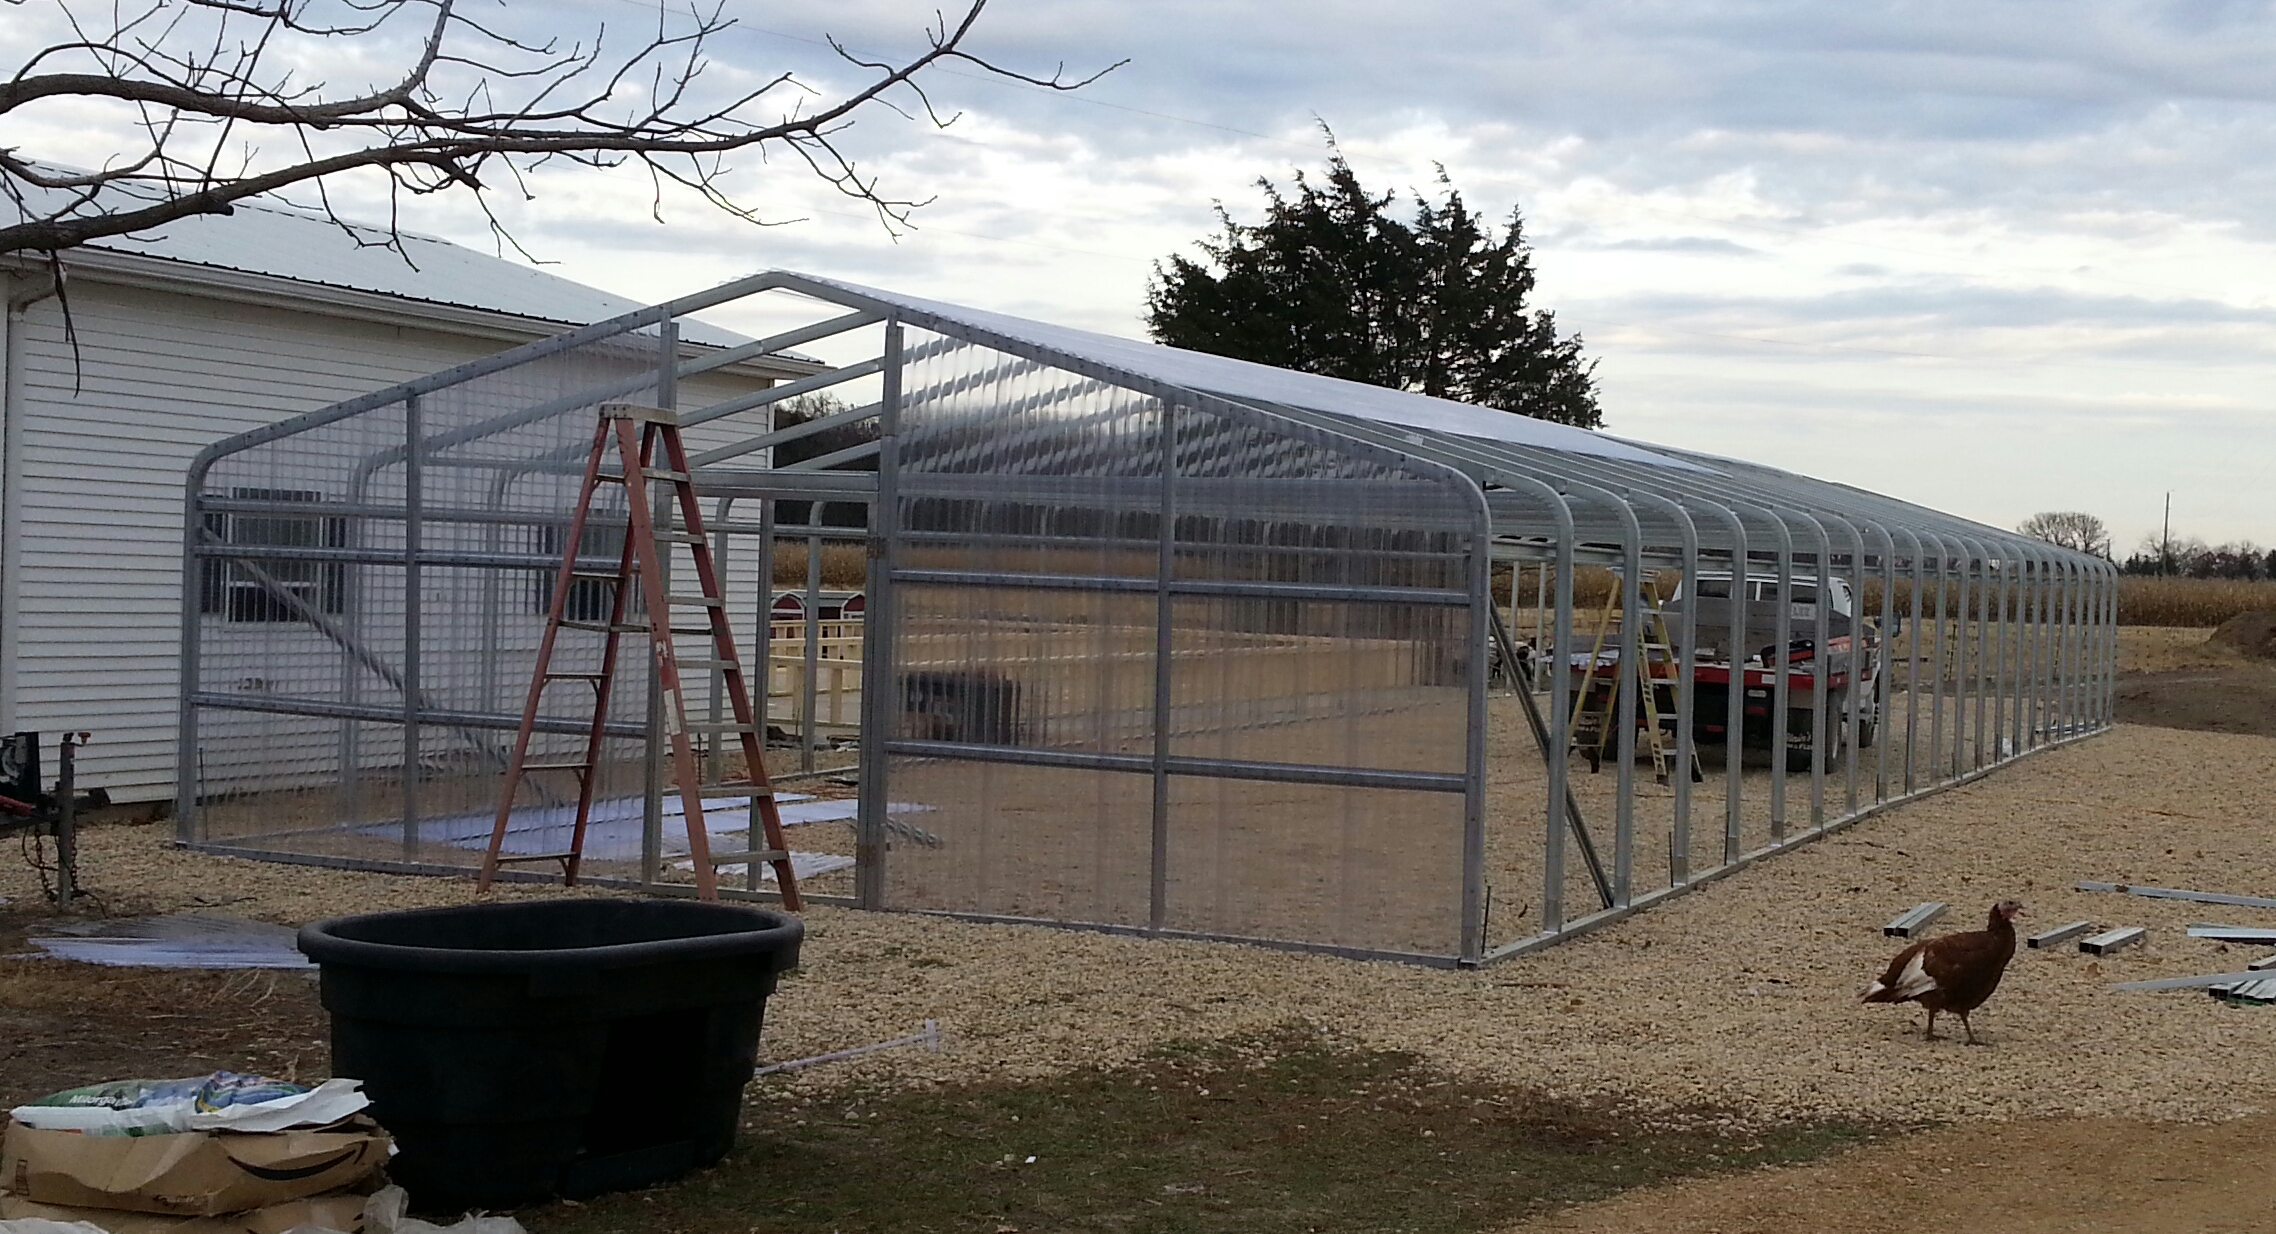
Start alongside the door frame and work your way toward the outside of the building. If you need to do any trimming of the plastic that will be hidden behind the white finish trim. Leave about a 1/4 inch from the edge of the frame. Make sure it looks nice and straight running up the post and then attach it using ONLY (3/4 up to 1.5") self tapping hex head screws with the rubber washer on it. If you use the ones without the washer it may leak when it rains.

You may place the screws anywhere you wish but normally we place them every other rib. You do not need to cut the plastic ahead of time to fit the curve of the roof line. Go ahead and just stand up the 12' sheet of plastic and attach it. Then when you are done you can simply grab your hand held grinder with the steel cutting disc in it and run along the roof line cutting off the excess.
The very first picture on this page shows the hand held grinder on the left. It works great because it literally melts the plastic as it is spinning. We have tried using a razor knife, tin snips and other ways to trim the plastic but the grinder seems to work the cleanest and the fastest.
Here you can see how we attached the door with 8 screws and also see about haw far away from the door the plastic begins.
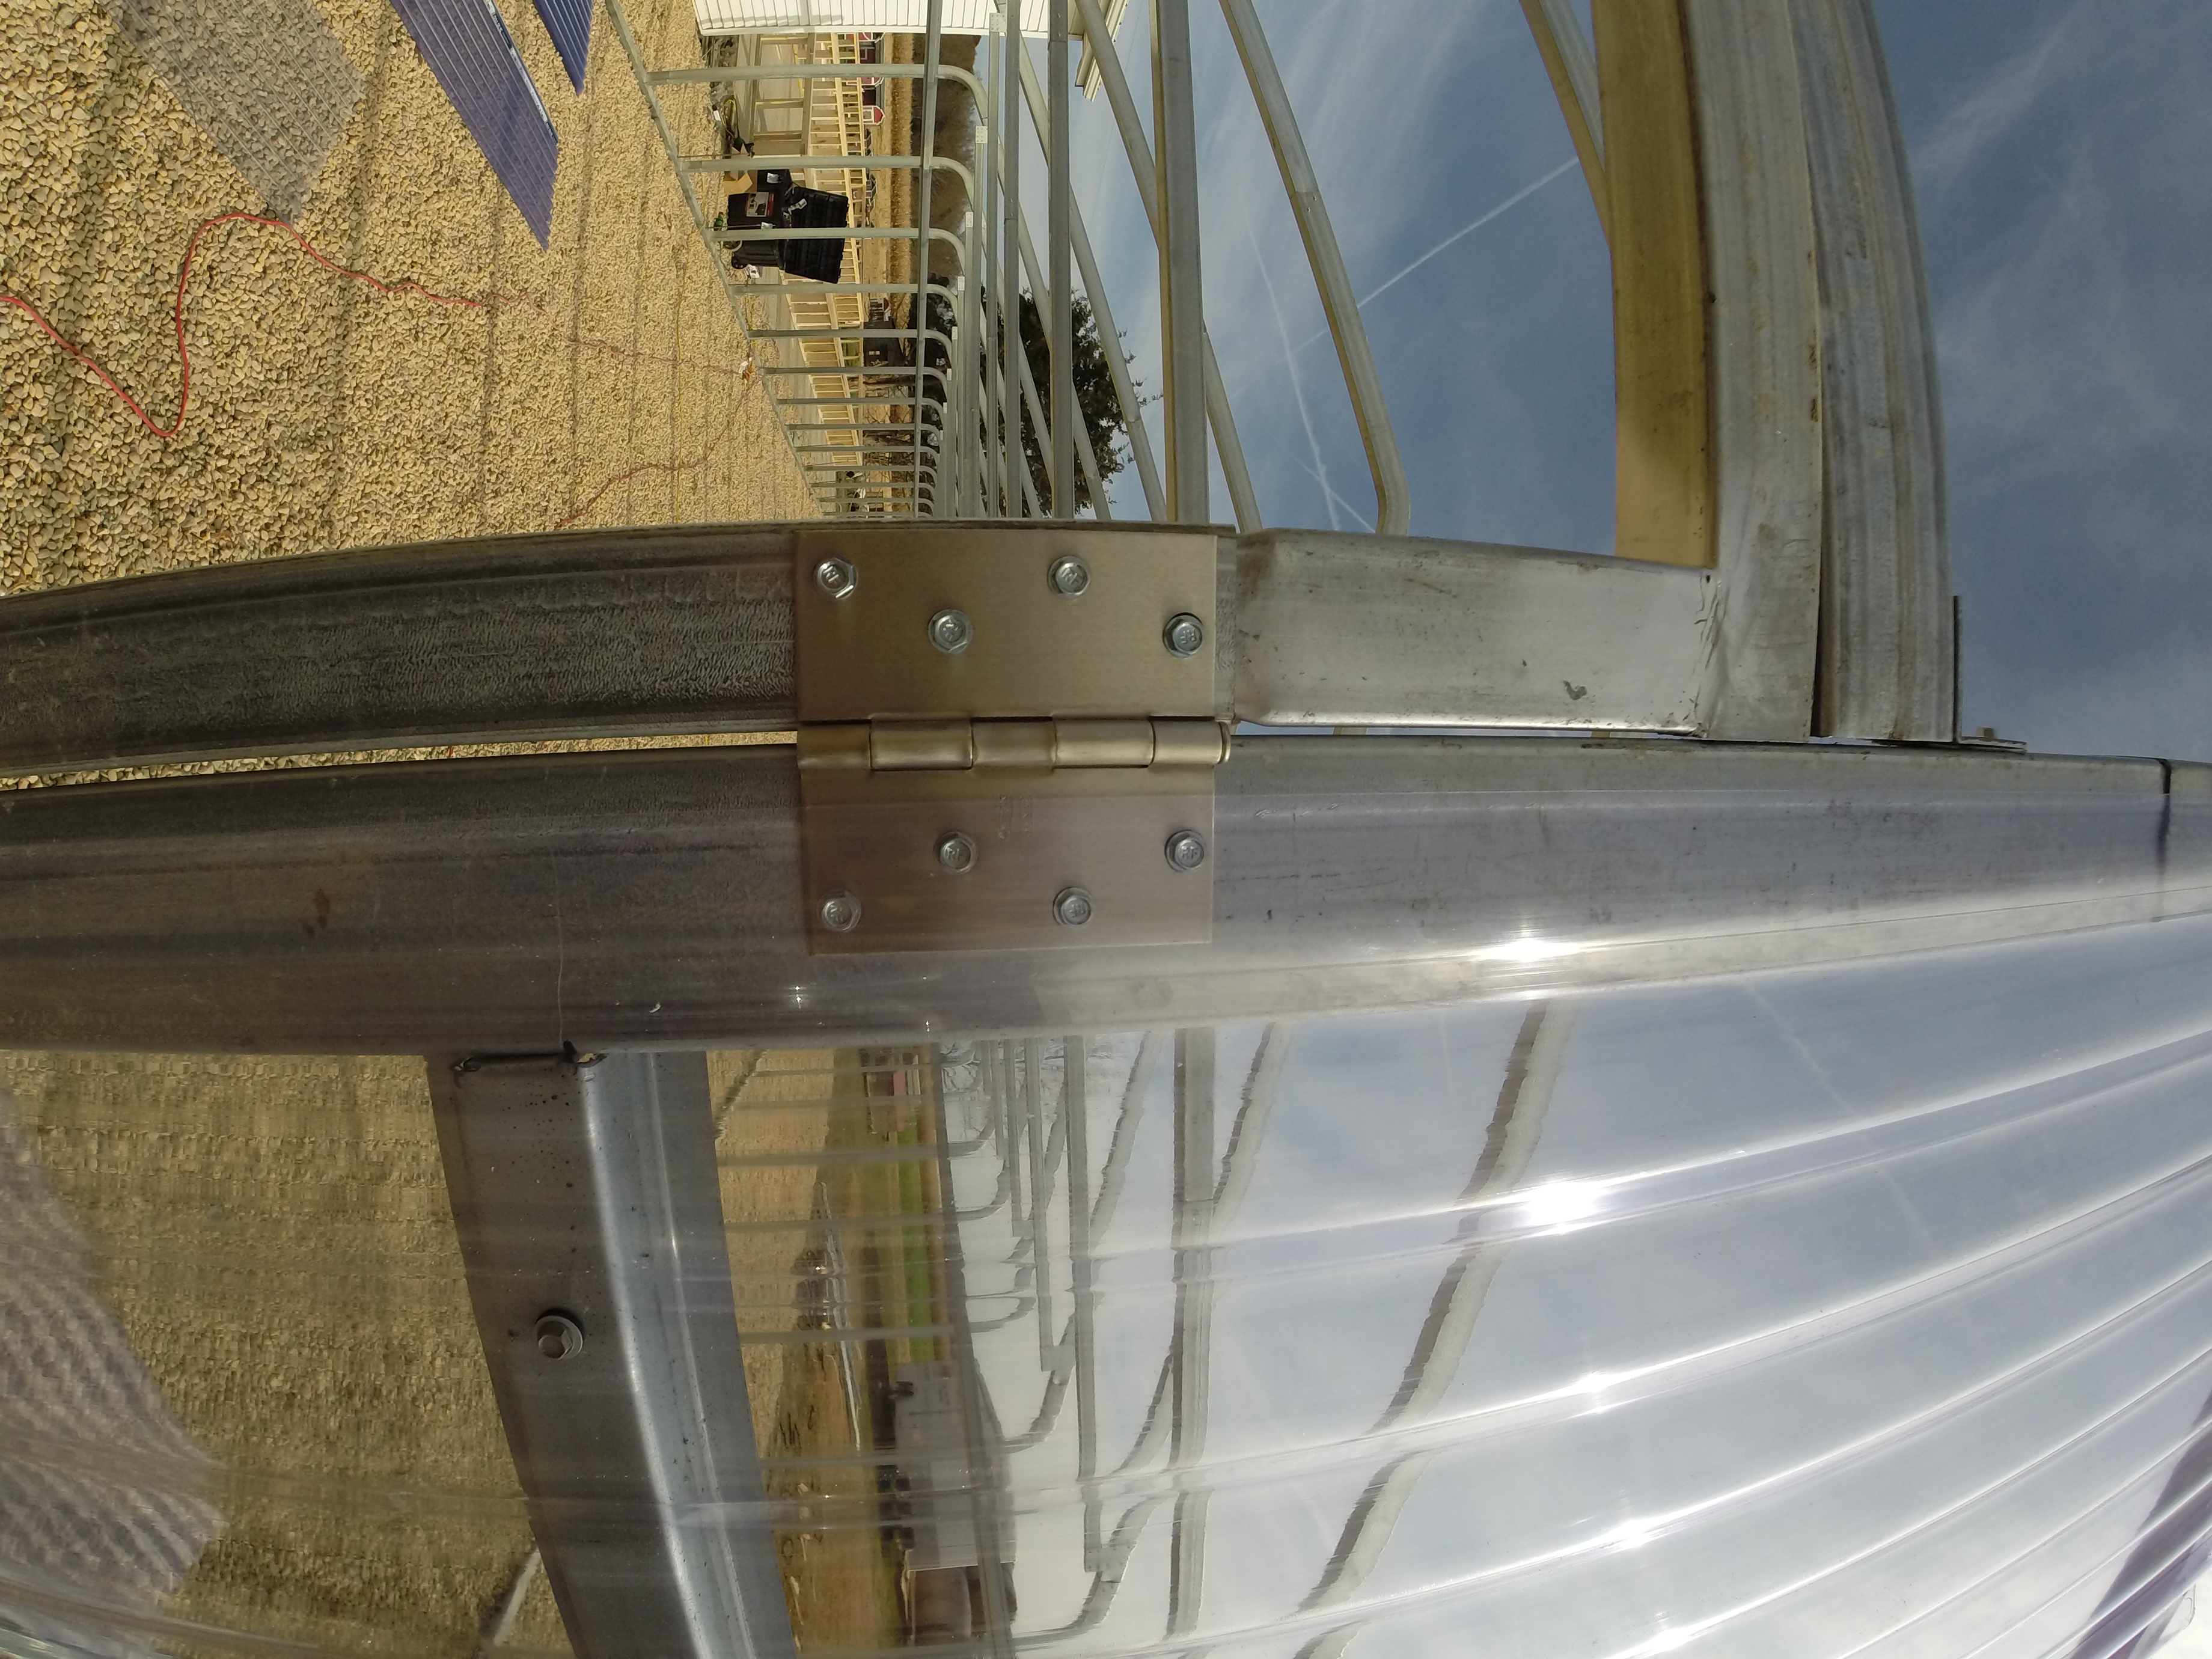
Here you can see the bracket used to mount the header above the door. This same bracket is also used to attach the end wall base rail to the first arch at the bottom.
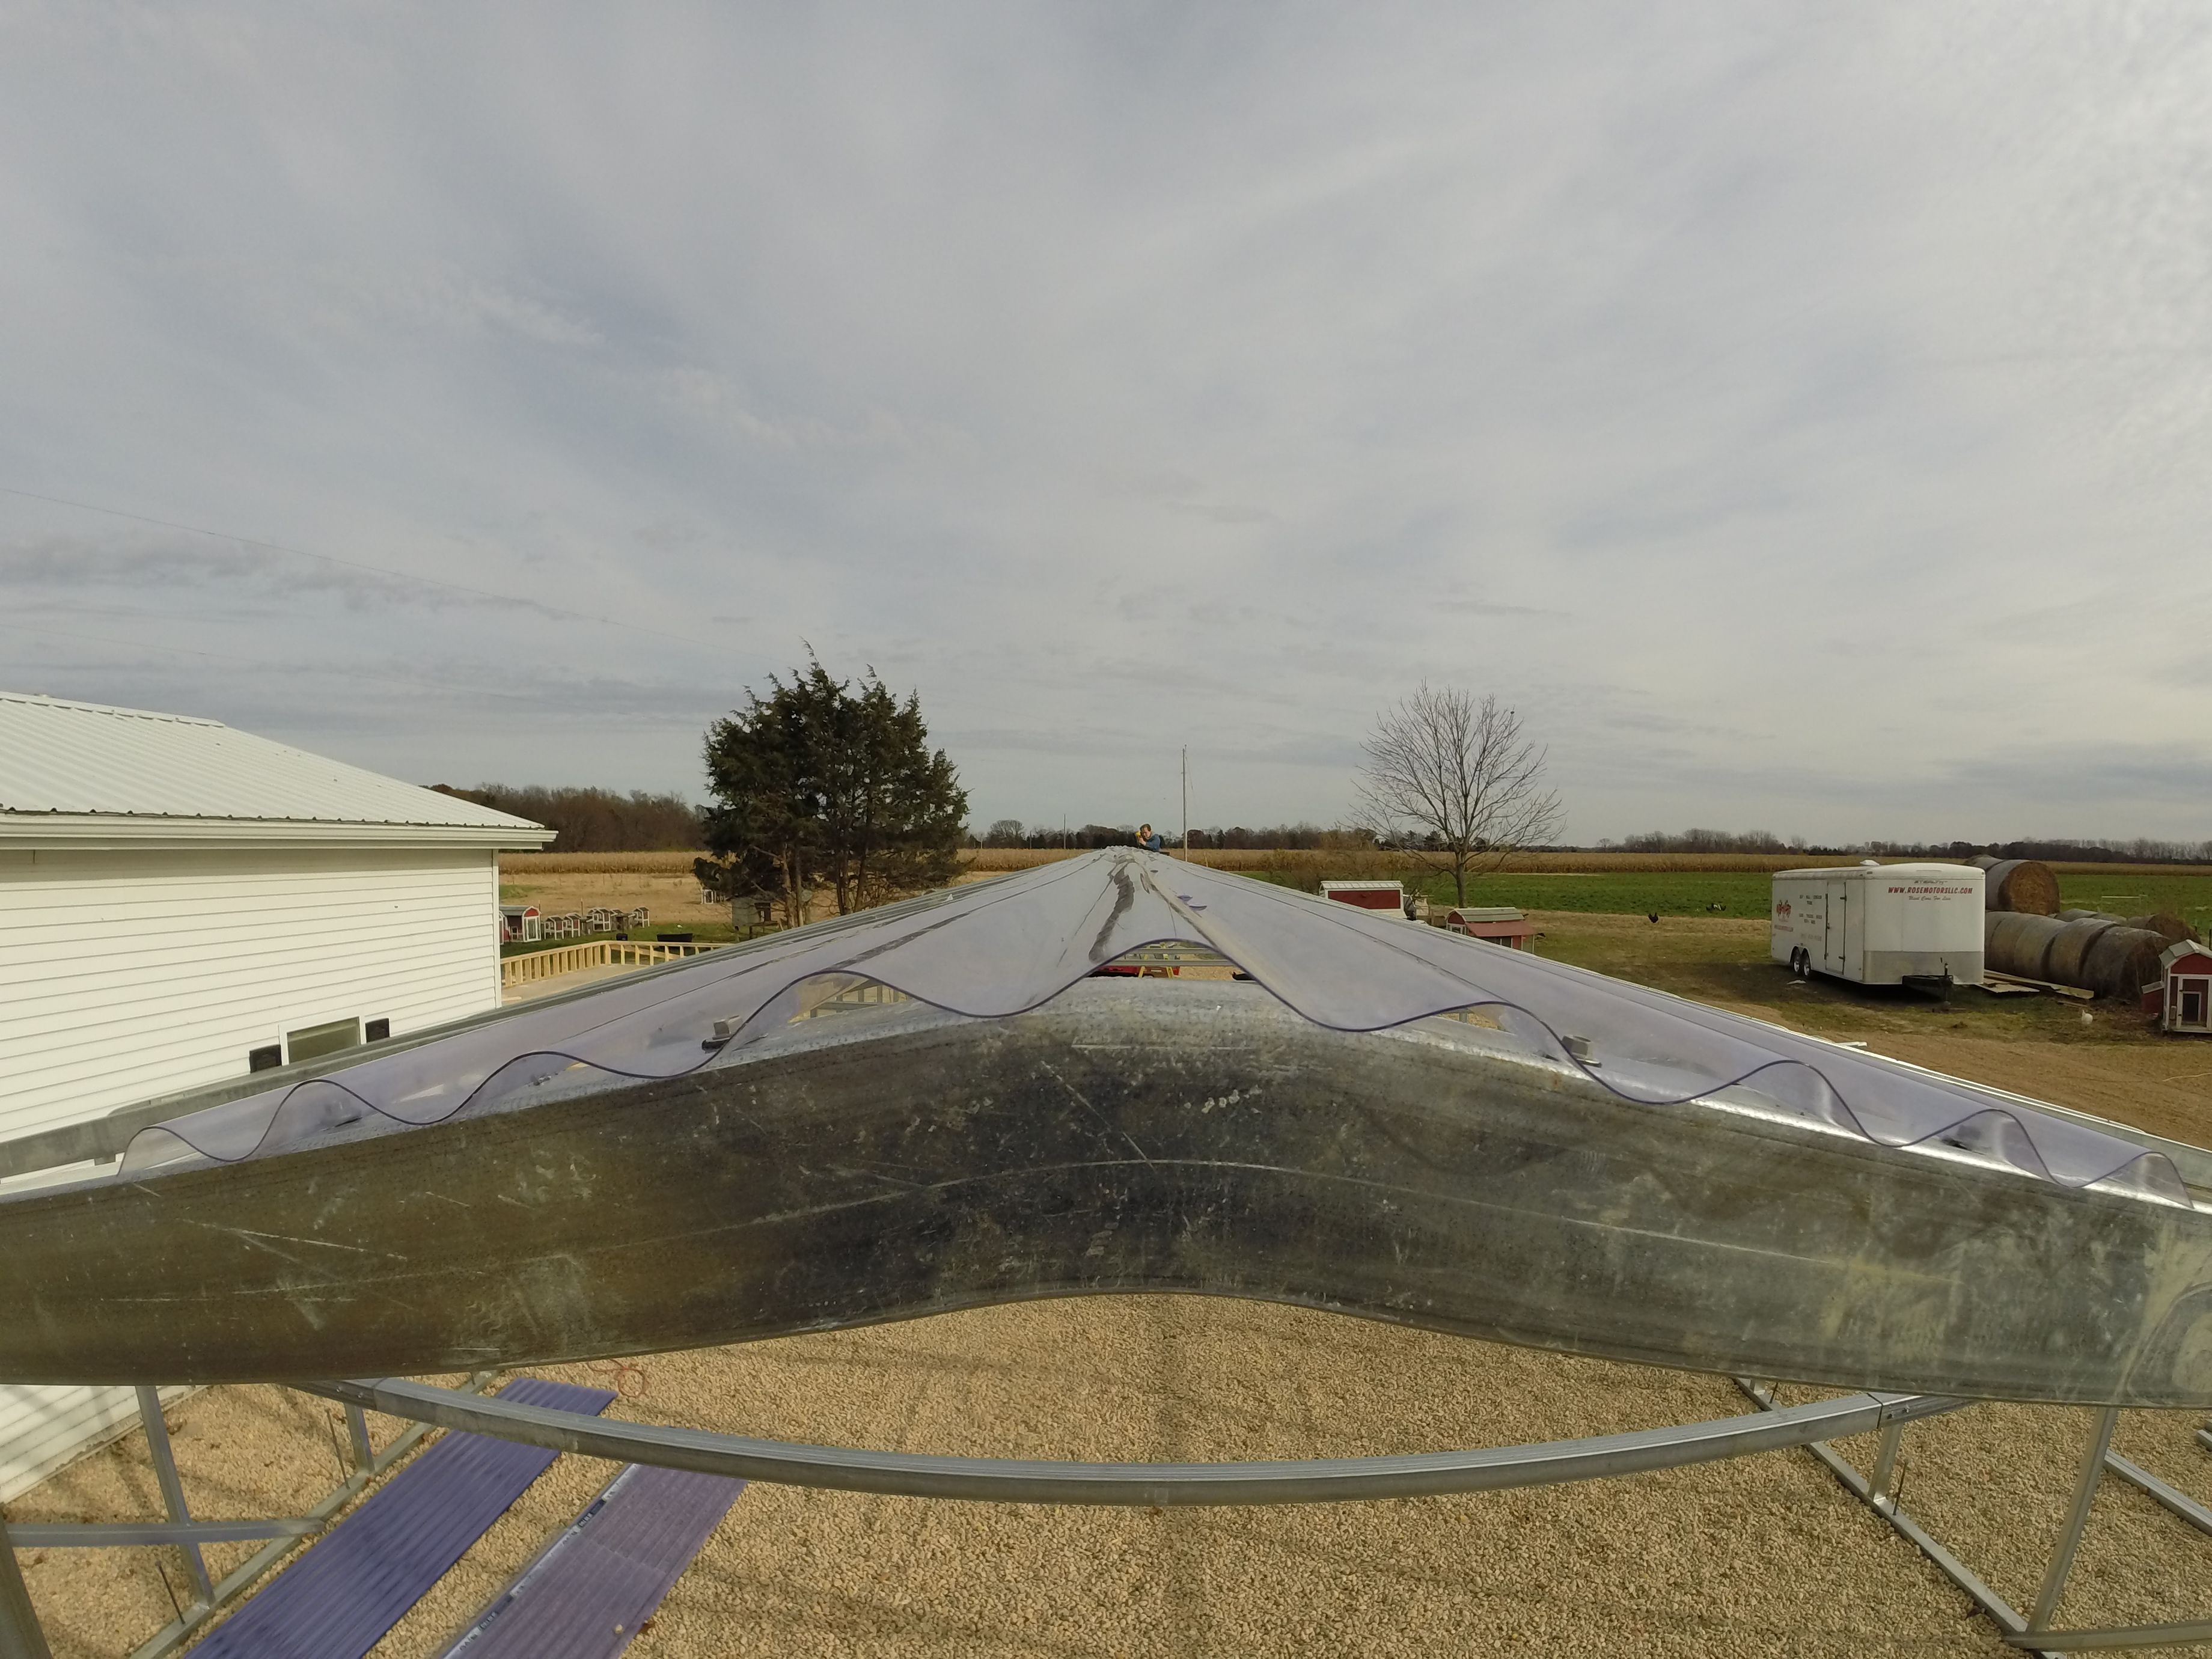
Now it's time to attach the plastic on the roof. Start with the peak and work your way down. Line up each piece looking down the center rib to make sure it is straight as you go. There is no need to put a screw right in the top or in any of the sharpest curves of the steel. Just use screws where the steel is flat. Also a reminder to not push really hard at first or the screw may crack the plastic. I usually put my drill where I want the screw to go in and slightly pull the trigger as it starts touching the plastic. This sort of gives a quick pre-drill to the plastic and then I start pushing hard on the steel while drilling in the screw.
Here is another shot looking down the centerline to keep it straight.
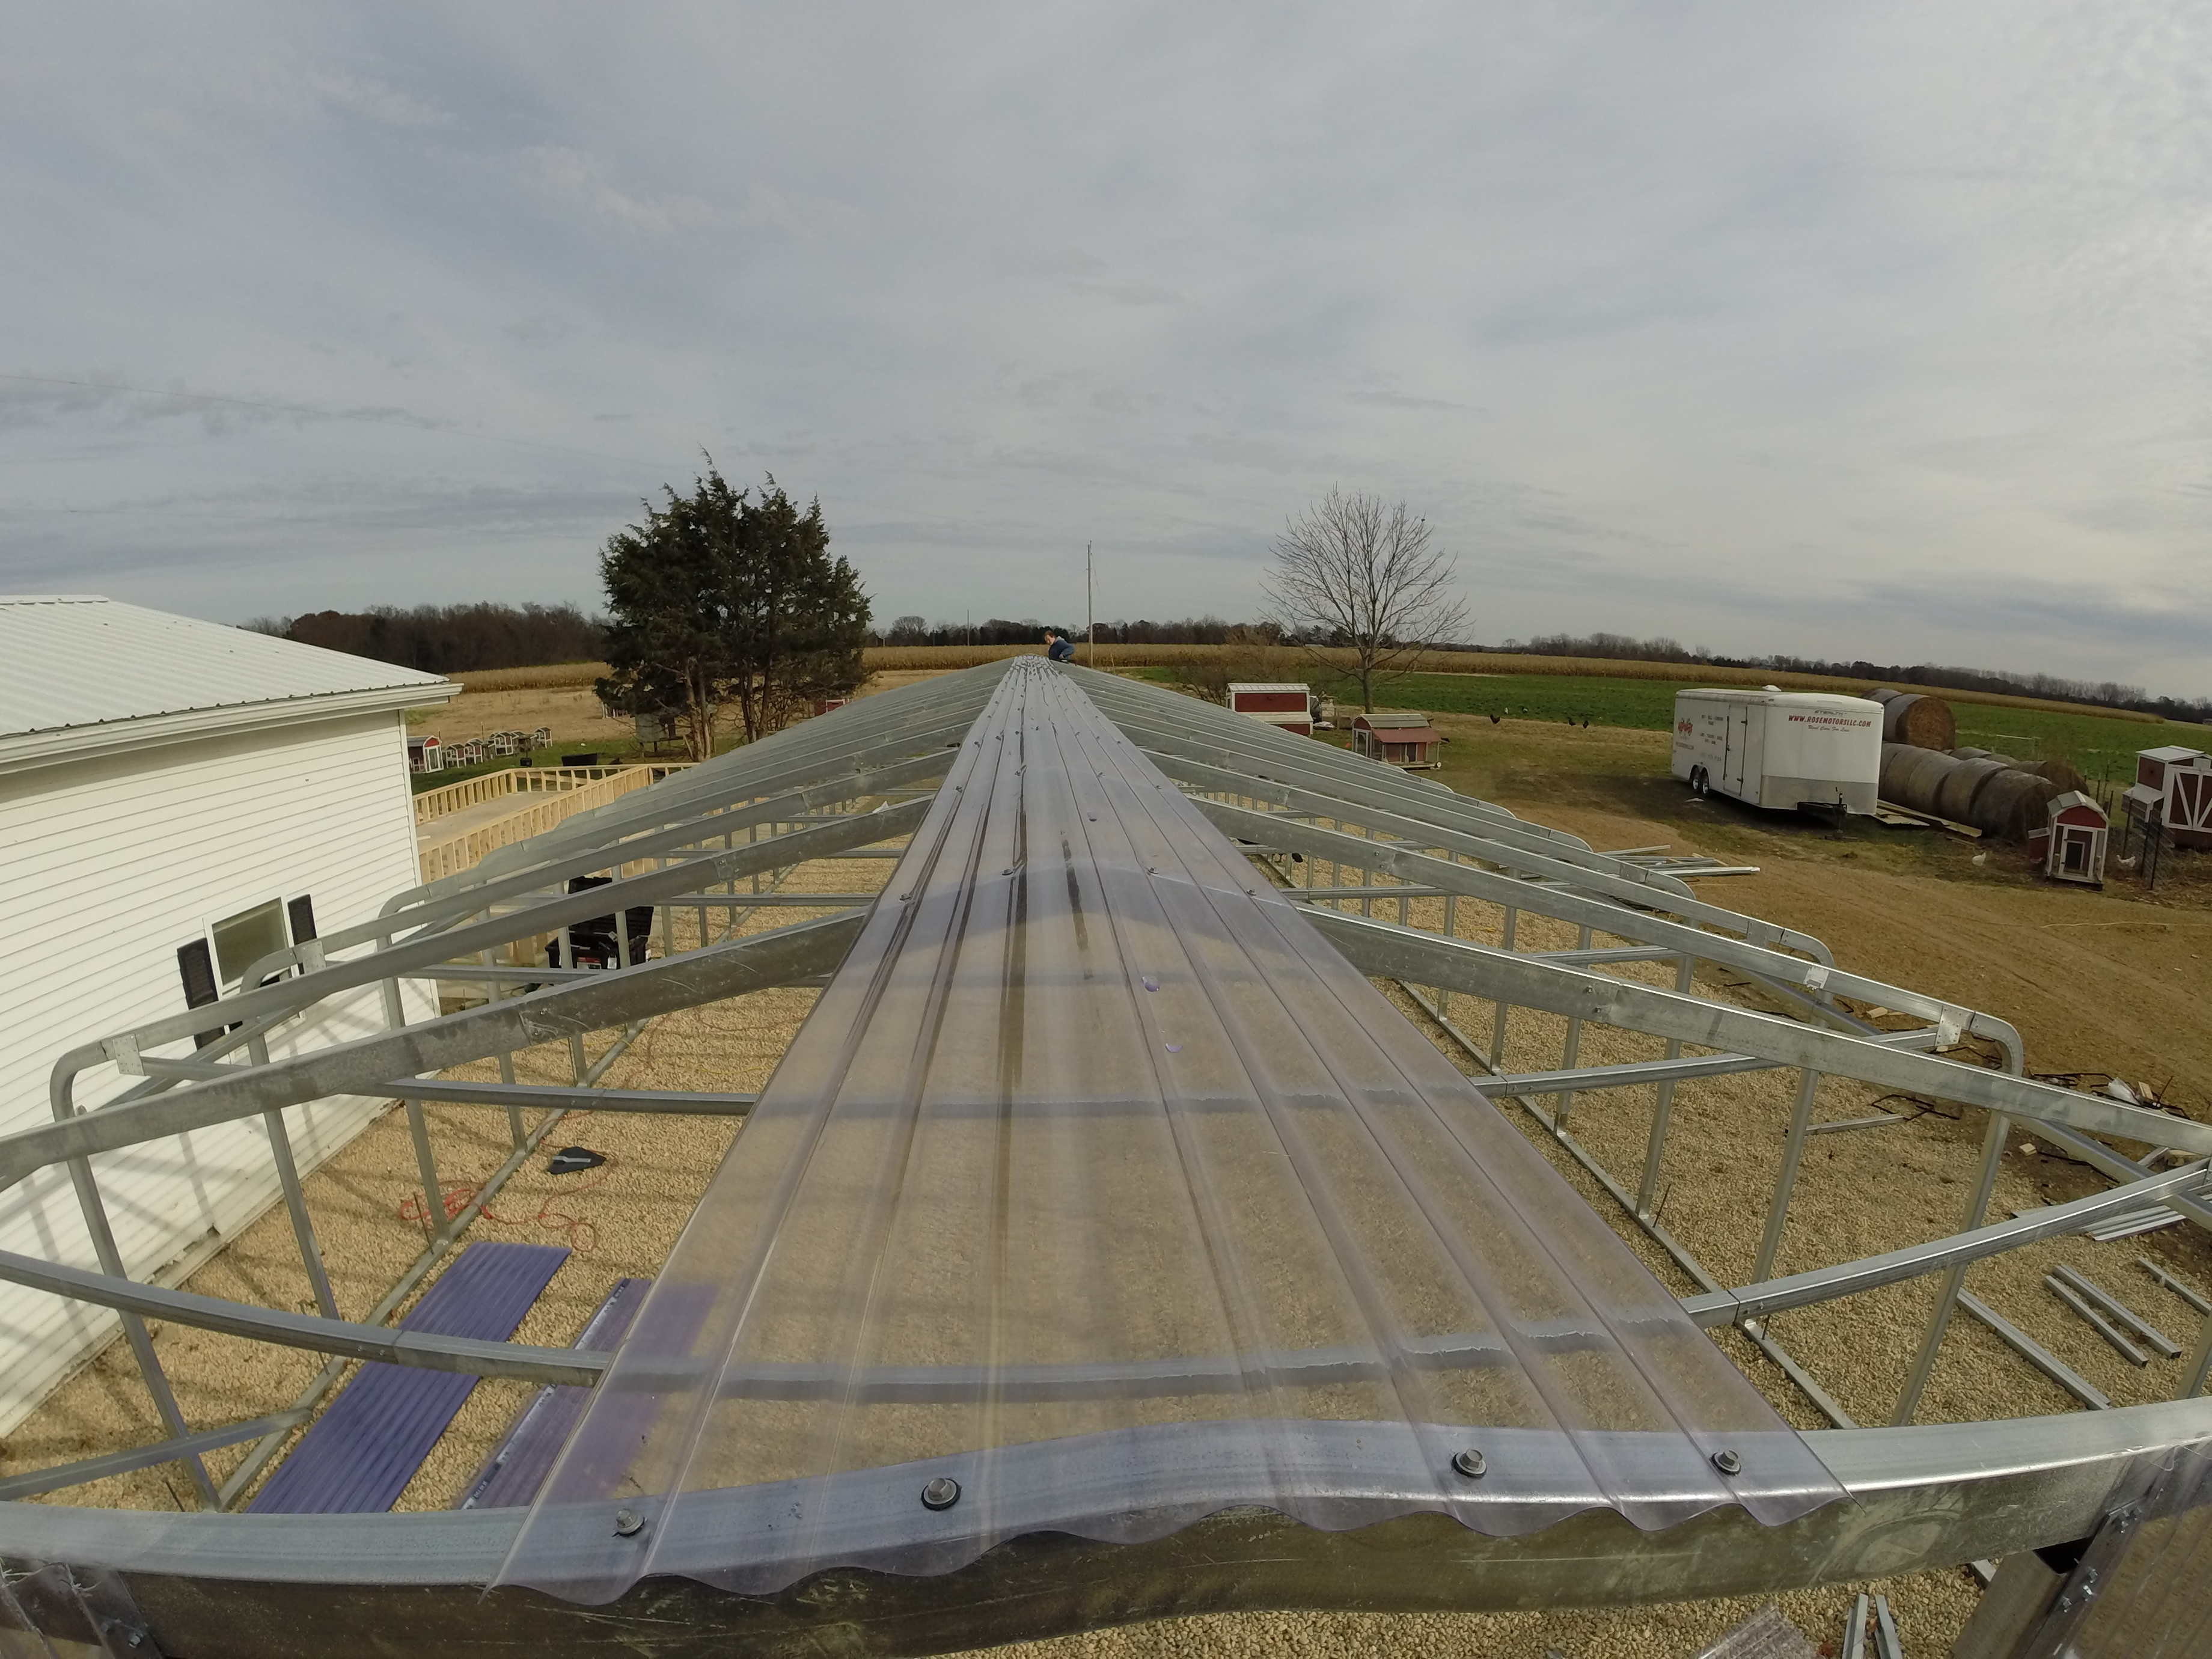
Here you can see we have finished the peak and are now working our way down one side. Sliding each piece underneath the one above it 1 rib. Use the self tapping hex head screws with the rubber washers on them to make sure the rain stays out.
Also if you have a greenhouse with multiple sections of plastic be sure to run a bead of clear silicone between the layers overlapping as you go down. I normally use 1 screw every other rib, except where 2 pieces overlap and have caulking. In these areas I use 1 screw on every rib. When you reach the ground you may need to trim some off at the bottom or you can also just make a double or triple overlap above it if you have excess plastic. Just be sure to leave enough plastic to go at least part way down the base rail. This way you can shoot a few screws in along the bottom to keep the critters out.

I set up a piece of the finish trim in this shot so you could see how this goes on. Obviously it is not yet finished in this shot but you can see easily how it goes on last when your all done with the clear plastic. You can start on the sides at the bottom or cut the front side of one piece in half and start at the peak as you see in our other shots on our website. Use 1.5" self tapping hex head screws to attach this to the steel.
We will be updating this page often over the next few weeks so please check back or call us if you have any questions at all.